Multimedia
Trim a long video into clips: cuts, subtitles, and exports without losing the original
A practical guide to turning long recordings into useful clips, with clear cuts, reviewed subtitles, controlled exports, and traceability in Cloud.
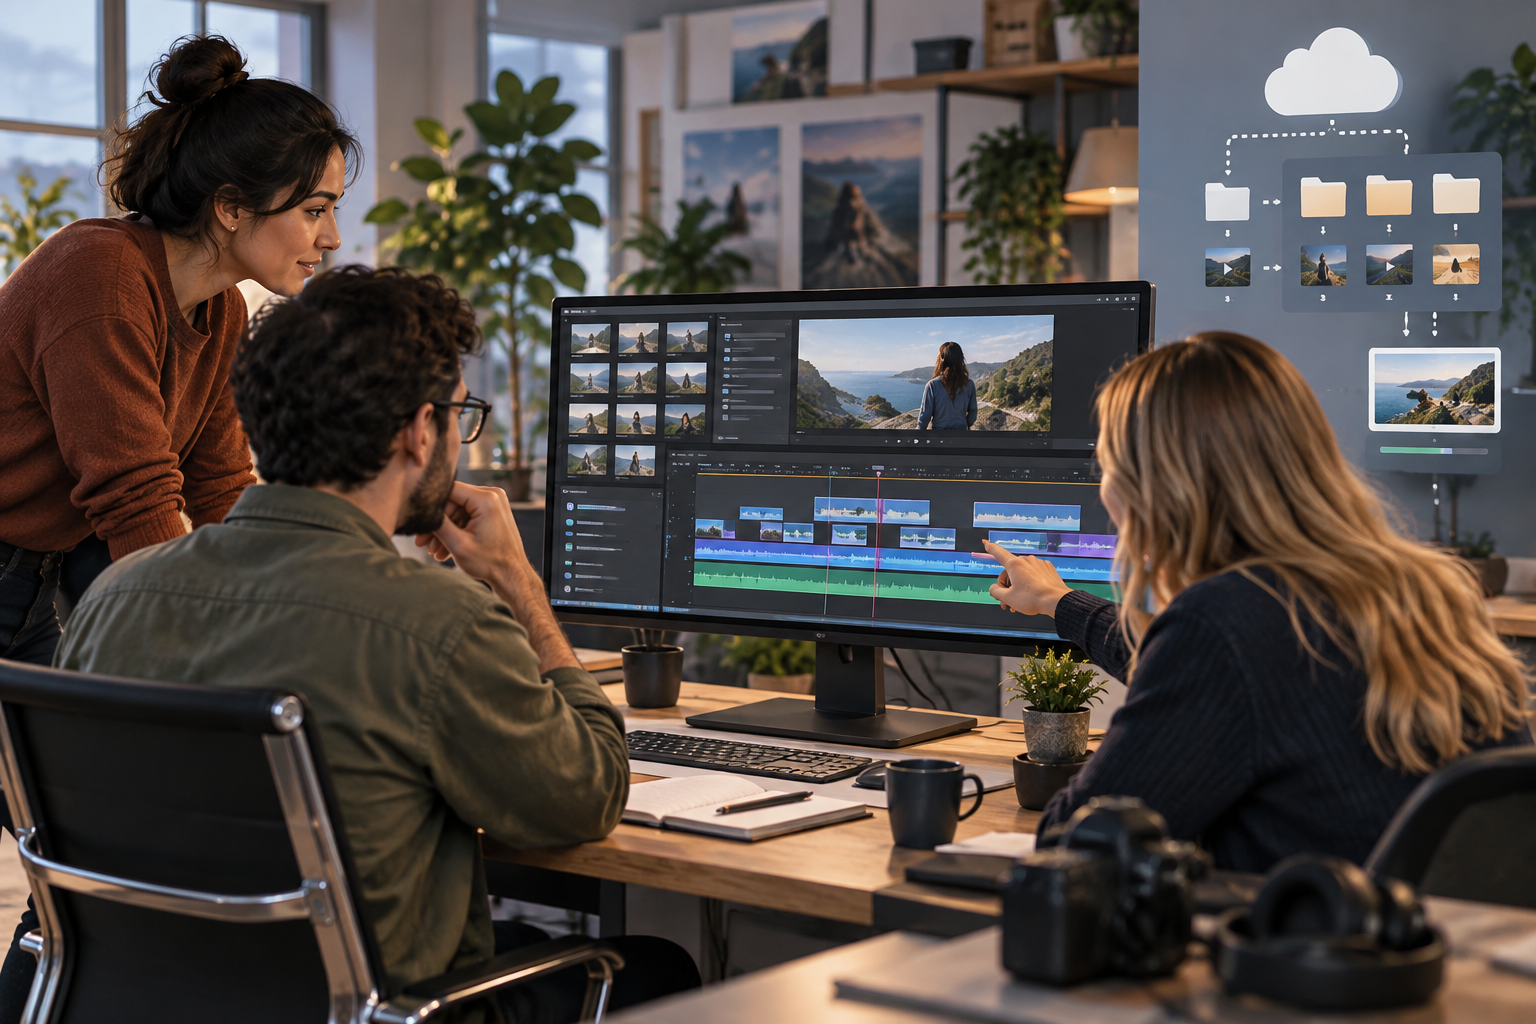
A long recording is not a final deliverable
A training session, product demo, or recorded meeting rarely works as a final piece. It may contain waiting time, repetitions, internal questions, silences, or topic changes. Trimming a long video into clips means turning that raw material into units with a clear goal: explaining an idea, answering a question, publishing a notable moment, or delivering a learning capsule. The criterion is not only to make the video shorter, but to make it understandable outside its original context.
The most common mistake is cutting by length rather than by meaning. A thirty-second clip can fail if it starts with “as I was saying earlier” or ends before the conclusion. Before opening the editor, it is worth deciding what someone who did not watch the full recording needs to understand: the topic, the starting point, the result, and the expected action. In support teams, for example, a useful clip may show the problem, the path to the solution, and the final check; in marketing, it may need a cleaner opening sentence and a usable closing.
- Define the goal of each clip before cutting.
- Avoid clips that depend on a previous explanation that is not included.
- Prioritize a clear opening, an understandable ending, and minimal context.
Prepare the project without touching the original file
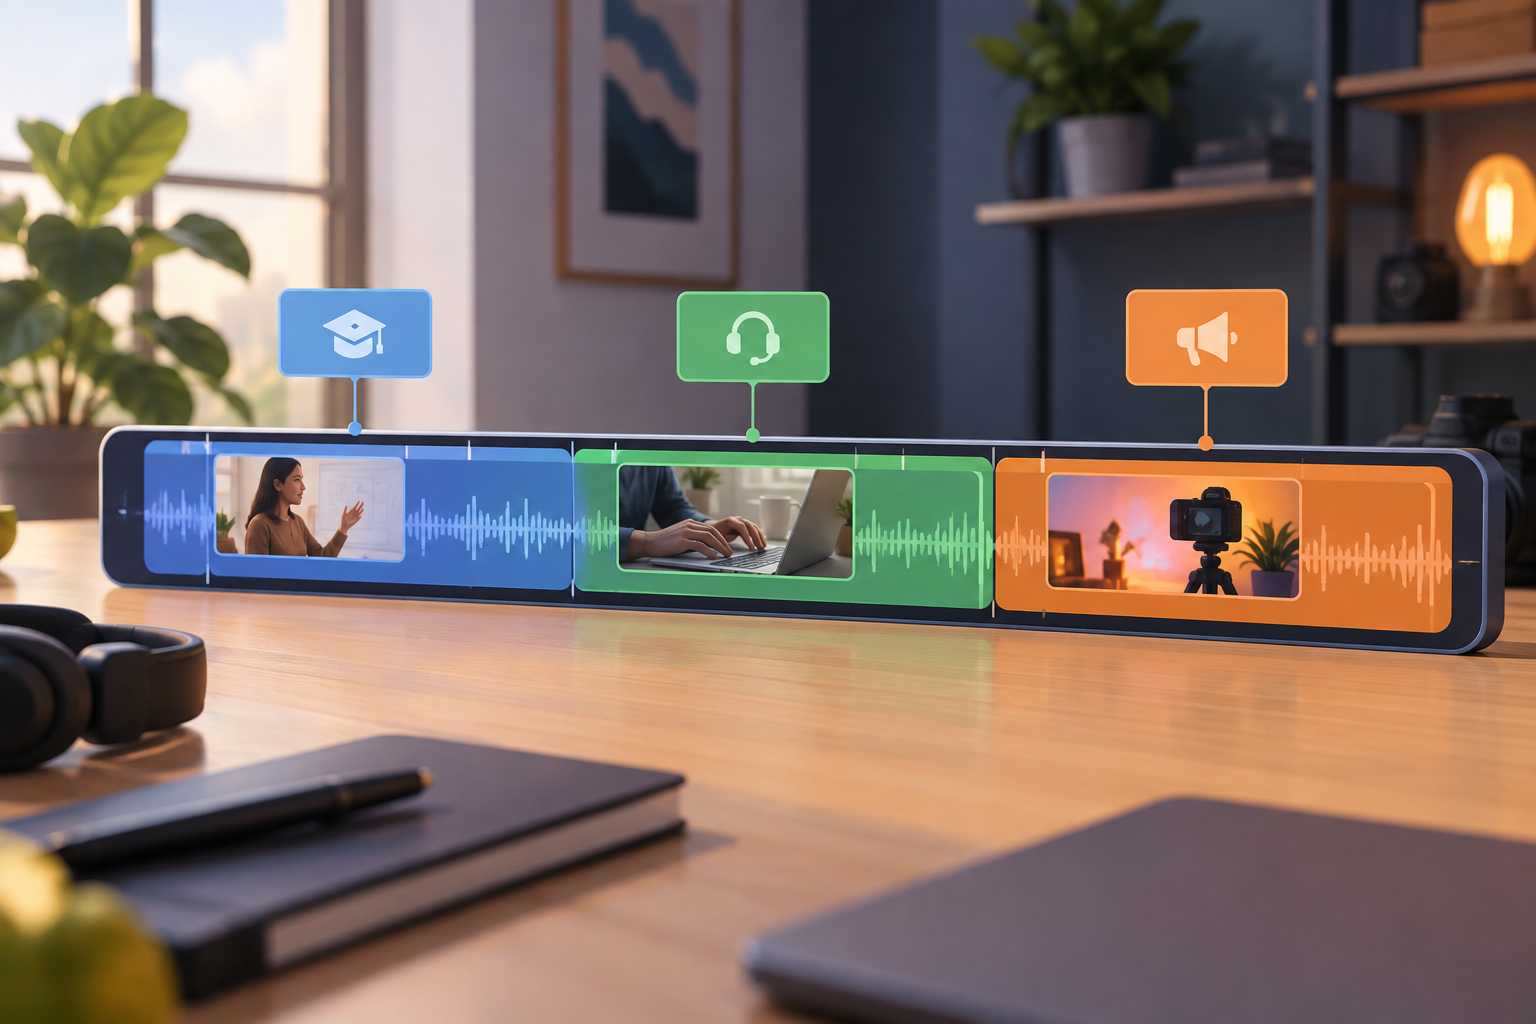
In Apification, Video Studio works as a non-destructive editor: it lets you compose video, audio, images, text, and subtitles on a layered timeline without modifying the original file stored in Cloud. The editable project keeps layers and references to assets, while the final result is generated separately through rendering. This separation is key for teams that need to return to the source material, redo a clip, or produce new variants without duplicating confusing decisions.
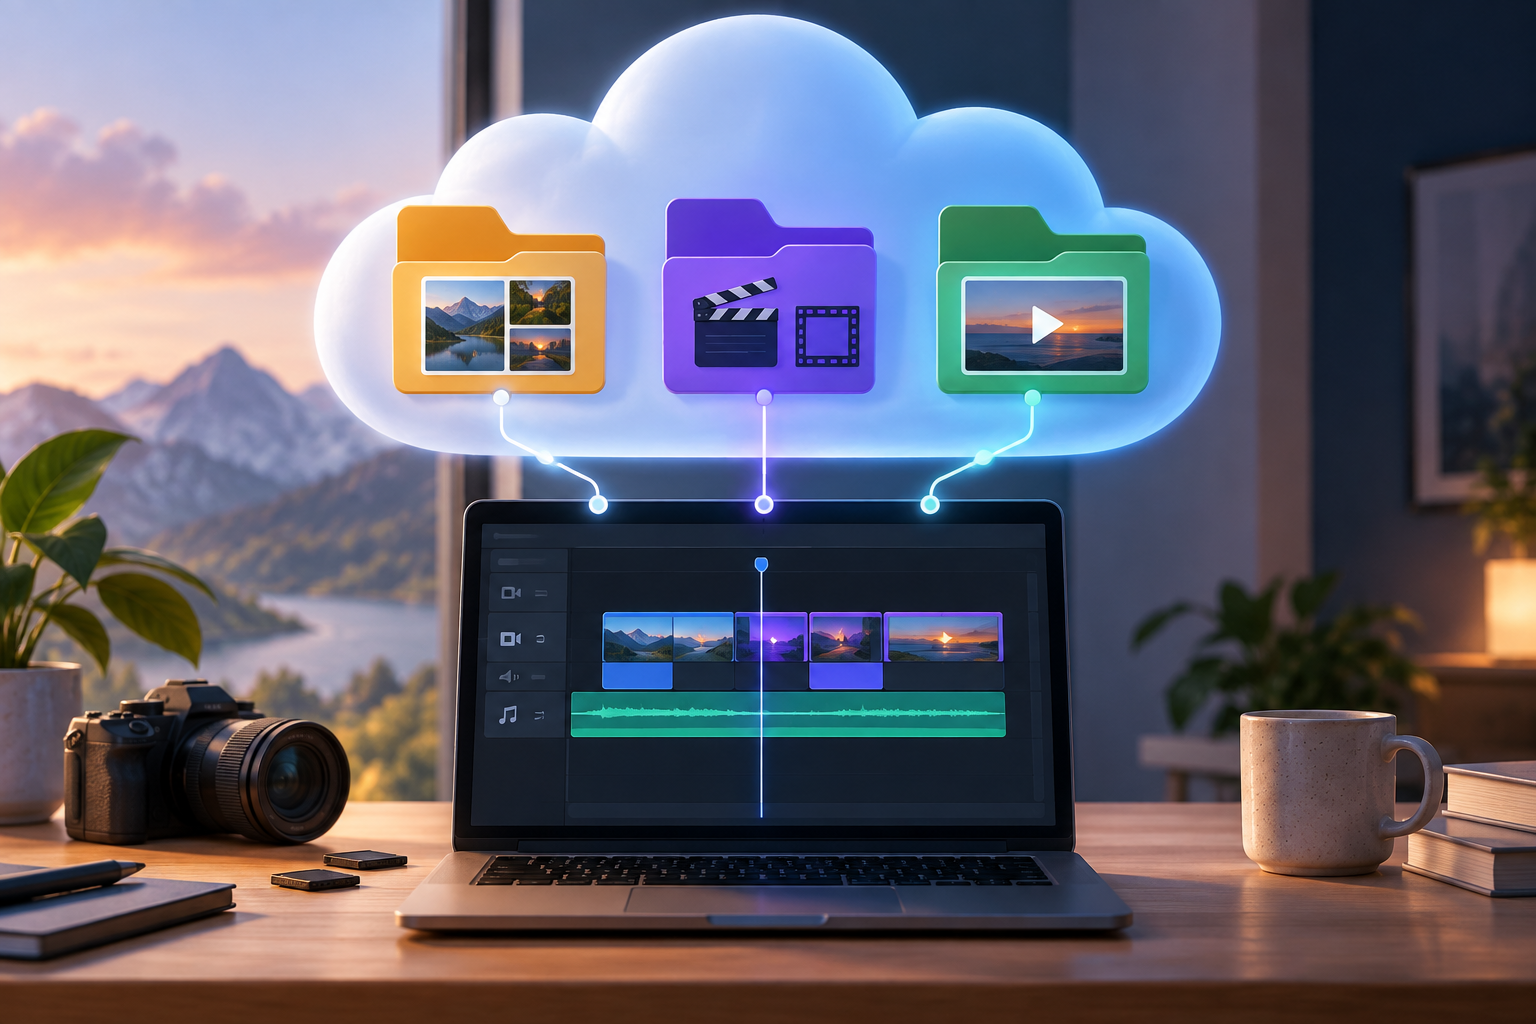
An orderly workflow starts in Cloud. You can create a project from Cloud > New Item by selecting Video Studio and assigning a name and folder, or open a Cloud video through its edit action to use it as the initial asset. The operational recommendation is to create one folder per recording or campaign, with subfolders for originals, editable projects, and final renders. Each saved render counts as a separate asset from the editable project, so it is best to name and keep only the outputs you need.
- Save the original in an identifiable folder and do not replace it with exports.
- Create project names that indicate date, topic, and use.
- Do not delete assets used by the project: the preview or render may fail if a referenced file is missing.
Decide which clips to cut: practical criteria
A good clip starts with a specific editorial decision. For training, it often works to separate by concept or procedure: “configure access,” “resolve error,” “export report.” For marketing, the cut may depend on a phrase with standalone value, a visual demonstration, or a brief explanation. For support, the clip should reduce ambiguity: show the symptom, the action, and the result. In every case, duration should be a consequence of the content, not an automatic rule.
A pre-cut review checklist helps avoid weak versions. Check that the first second does not include breaths, cut-off words, or a meaningless transition; that the ending does not leave an unresolved promise; and that the clip does not depend on visual elements that have been left out. If the fragment needs context, you can solve it with a title, a brief image, or subtitles, but it is not advisable to use text to compensate for a poorly planned cut. If you have to explain too much outside the video, the clip may be starting too late.
- Clean opening: it should not begin in the middle of a sentence.
- Single topic: avoid mixing two decisions or two long explanations.
- Understandable ending: include a conclusion, result, or next step.
- Minimal context: add a title or subtitle only when it improves understanding.
Workflow in Video Studio: import, cut, and adjust boundaries
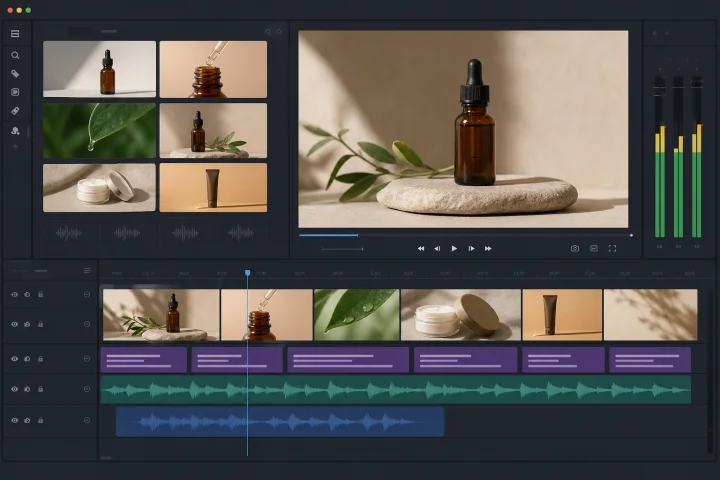
Video Studio provides an interface with a canvas, playback controls, assets, a layered timeline with folders and clips, Inspector, History, and Export controls. In a basic workflow, you first configure the canvas according to the format you need, add assets from Cloud, organize layers or folders, and place the material on the timeline. Then you adjust start, duration, trim, position, scale, rotation, opacity, or speed according to what each clip requires.
To trim a long recording, work in short cycles: locate the approximate start, play a few seconds before and after it, adjust the trim, repeat with the ending, and review the full fragment. Non-destructive editing lets you change source ranges, start, duration, and speed without altering the original Cloud video. If a clip does not move, check whether the layer or the clip itself is locked. If thumbnails are missing or the video does not appear, it is worth checking the asset URL, its visibility, and the FFprobe analysis according to the documented issue.
- Import from Cloud or open the video with the edit action.
- Organize assets and layers before multiplying clips.
- Adjust cuts by playing before and after the chosen point.
- Use History to review changes while you work.
Text, images, and subtitles: when they help and when they get in the way
Text is useful when the clip will circulate separately from the full recording. An opening title can indicate the topic, a short text can highlight an instruction, and an image can provide visual reference if the speaker mentions something that is not on screen. Video Studio lets you add styled text and work with timed subtitle clips. It also supports importing SRT and VTT subtitles, preserving their original timing when used as a subtitle asset.
The caution is not to “burn in” decisions too early. Review the content first, then the cuts, and finally the subtitles or text. An out-of-sync subtitle or a title that covers an important part of the demonstration may force you to redo the render. Check readability on the canvas, the duration of each text, and consistency with the final format. Before publishing or sharing, review the rights to images, music, voices, fonts, and subtitles, especially if the clip will circulate outside the internal team.
- Use titles for context, not to explain the whole video.
- Import SRT or VTT when you already have a subtitle base that can be reviewed.
- Verify that text does not cover controls, faces, or essential information.
- Do not publish without checking rights to visual, audio, and typographic assets.
Clip audio: clean cuts, silences, and fades
Audio often reveals a bad cut before the image does. A cut-off sentence, a sound bump, or a long silence at the beginning reduces the feeling of quality even when the content is correct. In Video Studio, you can adjust volume, mute or normalize sound, and apply fade-in, fade-out, and layer entry or exit effects. These tools are enough to smooth starts and endings, balance a contribution, and prevent the clip from ending abruptly.
The practical criterion is to listen to the full clip without looking at the timeline. If the start feels sudden, try a small fade-in or move the entry point back to before the complete sentence. If the ending stops sharply, use fade-out or include a few more moments of breathing room. If a part adds nothing, trim it; if the silence is part of the demonstration, keep it only if it helps explain the action. It is not advisable to try to mix as if you were in an advanced audio workstation: the goal here is to prepare a clear, exportable clip.
- Listen to the full clip before rendering.
- Avoid cutting consonants, necessary breaths, or sentence endings.
- Use fade-in and fade-out to soften entries and exits.
- Normalize or adjust volume when the level makes comprehension difficult.
Controlled exports: editable project versus rendered video
Saving the project is not the same as exporting a final video. Saving keeps the project, its layers, and references to assets; rendering generates an output that can be saved as a Cloud file or downloaded. This difference prevents many mistakes: the project is for editing; the render is for delivering, publishing, or sharing as a finished video. If the team uses both without naming conventions, it is easy to send the wrong project or publish an old export.
When exporting, Video Studio lets you choose container, codec, resolution, FPS, and quality, with compatible combinations filtered by the interface. Documented containers include MP4, WebM, MKV, MOV, AVI, M4V, WMV, MPG, MPEG, OGV, TS, M2TS, 3GP, FLV, and MXF, subject to FFmpeg compatibility. Keep in mind that duration, resolution, FPS, number of layers, and codec affect render time and resource consumption. If a render remains pending or fails, reduce resolution or complexity when reasonable.
- Include topic, format, date, and version in the name.
- Clearly distinguish “project” from “final render.”
- Make a test export if the clip has many layers, texts, or subtitles.
- Use codec combinations offered by the interface if an option is not available.
Review, distribution, and mistakes to avoid
Preview is essential, but it should not be confused with an exact guarantee of the final file. In Video Studio, the preview is an interactive approximation and the final result is generated by FFmpeg; there may be variations due to codec, source, resolution, or effects. That is why a safe workflow includes reviewing the project in preview, rendering, opening the exported file, and checking image, audio, text, and subtitles before distribution. This final review prevents publishing the wrong render or a version with subtitles still pending.
For distribution, Apification lets you share items through links, users, or groups, and offer original or transformed downloads depending on the workflow. If the team works with several versions, Cloud lets you review an item’s history, download previous versions, and restore content safely. Maintain traceability with consistent names and clear folders. And do not try to solve unavailable features in Video Studio such as masks, tracking, chroma key, or video keyframes: if the clip requires that kind of composition, identify it early and adjust the scope of the work.
- Always review the final render, not only the preview.
- Share by link, user, or group according to the intended audience.
- Keep traceability with history, versions, and clear names.
- Do not delete originals or assets referenced by active projects.
- Do not use ambiguous names like final, final2, or good.
Frequently asked questions
Can I trim a long video into clips without modifying the original?
Yes. Video Studio works non-destructively: you adjust ranges, start, duration, and speed in the project, while the original file remains unchanged in Cloud.
What is the difference between saving the project and rendering?
Saving keeps the editable project with layers and references to assets. Rendering generates an independent final video that can be saved in Cloud or downloaded.
Can I add subtitles to the clips?
Yes. You can add timed subtitle clips or import SRT and VTT files, preserving their original timing when applicable.
Will the preview be identical to the exported file?
Not necessarily. The preview is an interactive approximation; the final result is generated with FFmpeg and may vary due to codec, source, resolution, or effects.
What mistakes should I avoid when sharing final clips?
Avoid ambiguous names, publishing an old export, deleting assets used by the project, sharing without reviewing the final render, and confusing the editable project with the rendered video.
Sources and further reading
Documentation consulted while preparing this article.
- Apification Video Studio documentation — Apification
- Apification Video Studio product page — Apification
- Apification Cloud product page — Apification
- Apification Sharing and distribution feature page — Apification
Explore Apification
Related articles
Multimedia
Exporting images with transparency: how to avoid black backgrounds, halos, and wrong versions
A practical guide to deciding when to use transparency, preparing layers, checking edges, and keeping the editable file in Cloud alongside the correct variants.
Multimedia
Create a Video with Images and Audio Without Losing the Originals
A practical guide to turning screenshots, exported slides, and a voice-over into a publishable video while separating originals, the editing project, and exports.
Multimedia
Annotate Screenshots Without Exposing Internal Data
A practical guide to preparing clear screenshots, with layers and visual markers, without accidentally sharing originals or internal data.