Multimedia
How to Prepare Images for Print: Size, Resolution, and Cropping Without Surprises
Check effective resolution, adjust the crop, and confirm specifications with the printer before exporting your file.
Pixels, Physical Size, and Effective Resolution
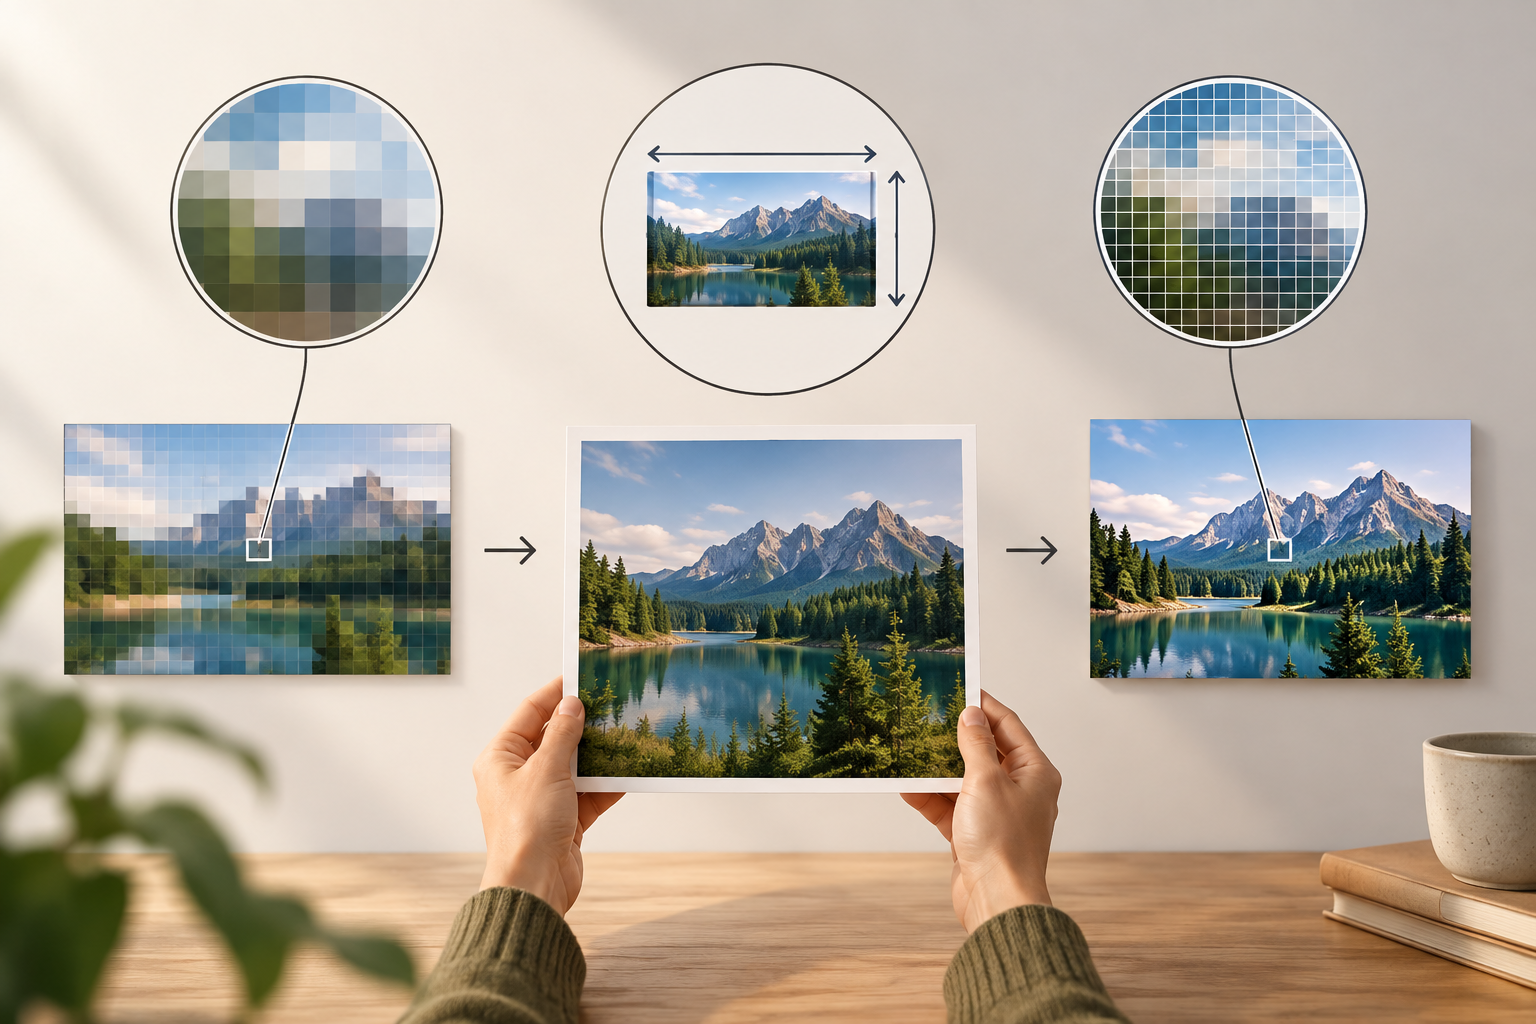
When preparing images for print, distinguish three details that are often confused. Pixel dimensions indicate how many pixels make up the file; physical size is the final measurement on paper; and effective resolution expresses how many pixels correspond to each printed inch. The potential quality depends on the relationship between the first two details and the requested size, not on a single figure in the file properties.
You can estimate effective resolution by dividing the pixels along one side by the print size of that same side in inches. For example, 3,000 pixels divided by 30 cm, or about 11.81 inches, gives approximately 254 pixels per inch. This is an estimate for assessing the file, not a guarantee of acceptance: requirements vary depending on the job and viewing distance. Confirm the target with the printer.
- Note the width and height in pixels of the original file.
- Use the final print dimensions, not those of an on-screen preview.
- Changing a density figure without adding pixels does not create new detail.
Ask for Specifications Before Editing
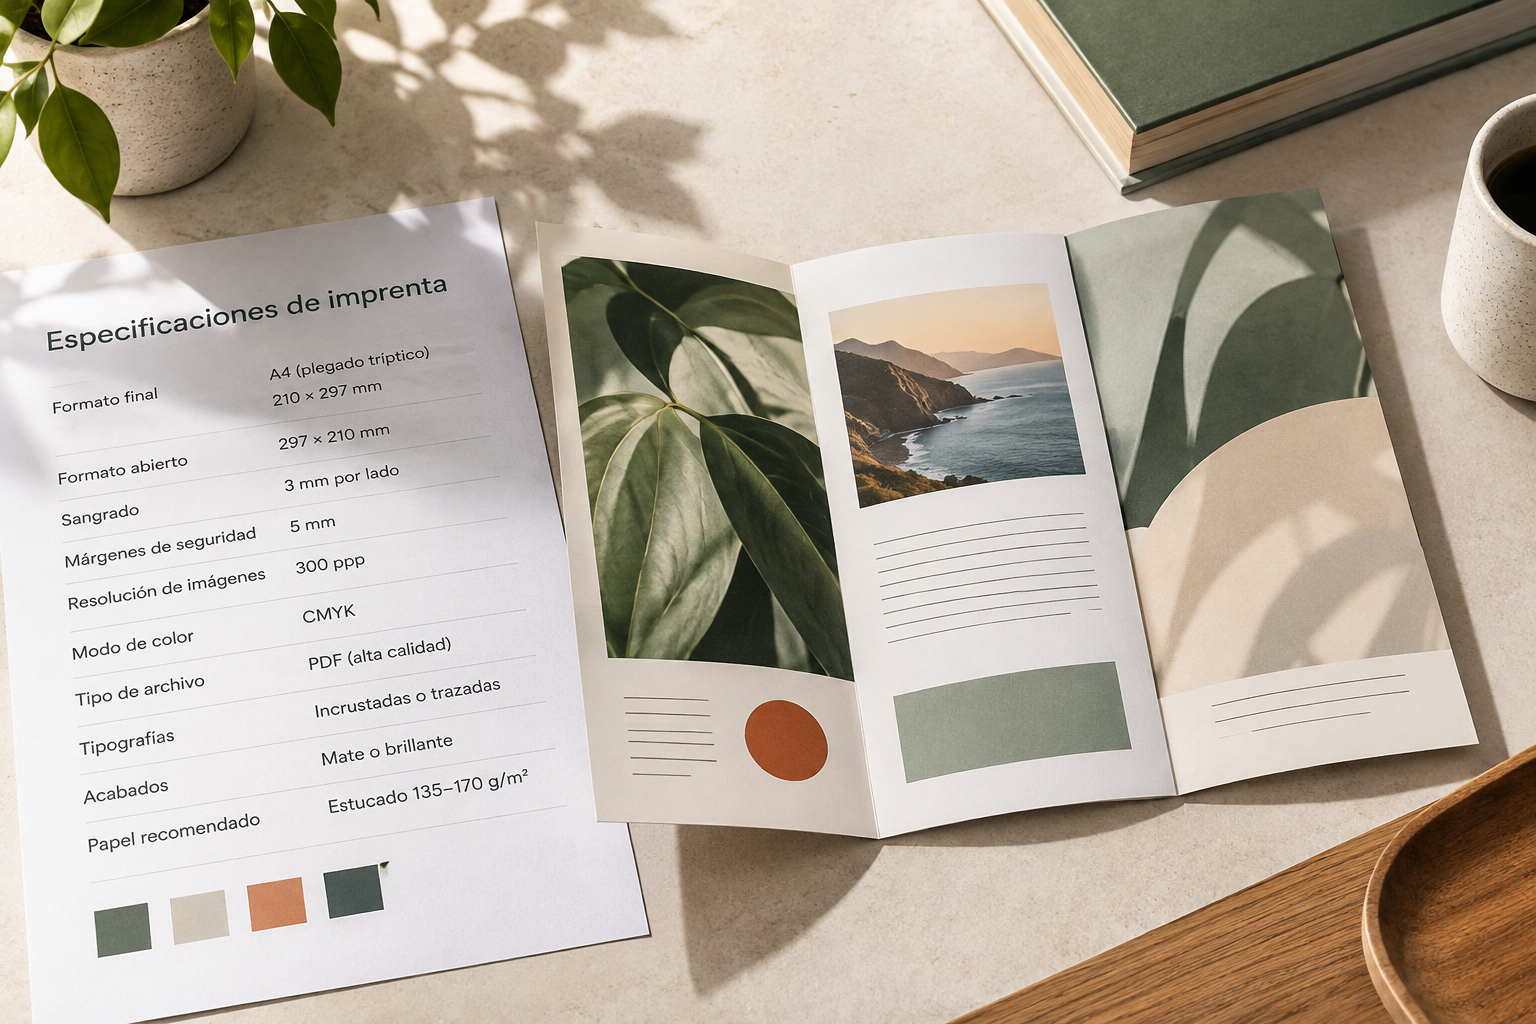
Ask the printer for the requirements for the specific product before cropping or exporting. Check the final dimensions, recommended resolution for that job, bleed, delivery format, and color instructions. Do not assume the requirements for a poster are the same as those for a brochure, or that a file suitable for one printer will work without changes at another.
Bleed is the extra margin that may be required around the final size when the design extends to the edge. Its measurement and how it should be incorporated depend on the printer; do not make up a value out of habit. Also ask whether they need marks, a specific color profile or mode, and whether they prefer a file with a single image or editable elements. These answers determine both the canvas and the delivery file.
- Confirm the final dimensions and bleed, in writing if possible.
- Ask which format and color requirements the provider accepts.
- Save the instructions with the project so the team uses the same version.
Assess Whether the Source File Has Enough Detail
Calculate the effective resolution for the intended print size and compare it with the printer's requirements. If you do not yet have a final size, assess several possible sizes: increasing the print area while keeping the same number of pixels reduces effective resolution. An image may be sufficient for a small item but fall short for a larger format; the file name or the number shown in a resolution field will not resolve that difference.
Look for the original, not a copy downloaded from an application that may have reduced or compressed the image. Examine edges, textures, and fine details at an enlarged view, but remember that a preview is no substitute for a proof. Visible pixelation, jagged edges, or a lack of detail are warning signs. Enlarging the file can change its dimensions, but it cannot recover information that was not in the source.
- Use the original file rather than a compressed or resized copy.
- Assess detail at the intended size, not only at extreme zoom.
- If the resolution falls below the requirement, look for another source or reduce the final size.
Adjust the Aspect Ratio Without Distorting the Image
Compare the image's aspect ratio with that of the final item: divide the width by the height in both cases. If the ratios do not match, stretching the image to fill the format distorts people, objects, and shapes. Decide what must be preserved before cropping: a face, product, headline, or element near the edge may matter more than the background.
There are three common options. Cropping fills the format but removes part of the image; adding compositional space can preserve the content if the design allows for margins or an extended background; redesigning the item lets you rearrange the photo and other elements when none of the crops work. Review the result at the final dimensions and with the specified bleed, because an element near the edge could be too exposed or get lost.
- Mark the elements that must remain complete before cropping.
- Do not stretch an image to match aspect ratios.
- Choose between cropping, adding space, or redesigning based on the content and format.
Edit a Variant and Keep the Original
Work on a copy to protect the source. In Image Studio, you can edit images on an integrated canvas with layers, text, shapes, and filters, and export them in modern formats. This workflow is useful if you need to rearrange the image with headlines or shapes, prepare an alternative composition, or compare crops. Keep the original and print version separate so a later correction does not require you to rebuild the work.
Organize the composition in layers when you need to adjust the image, text, or shapes separately. Before exporting, check that the composition meets the dimensions and includes any extra space requested by the printer. Do not assume that an export from Image Studio includes bleed, marks, a color profile, or specific resolution metadata: the described capabilities allow you to edit and export, but those requirements must be confirmed with the provider and checked in the resulting file.
- Duplicate the original and give the print variant a clear name.
- Review layers, text, and shapes in the final composition.
- Do not assume prepress requirements have been met just because you exported the file.
Export, Review, and Request a Proof if It Matters
After exporting, open the final file and check its dimensions, format, and whether any elements are missing. View it at a useful size: large enough to assess the overall composition and also to spot defects in small text, edges, and details. On-screen appearance does not guarantee the printed result; resolution, cropping, and compression can all have an effect, and a preview alone cannot reproduce print conditions.
If color, a tight crop, or small text is critical, ask the provider for a proof or confirmation of how to review these details. Do not try to correct color differences blindly without their instructions. Save the submitted version and the instructions you received in an organized space; Apification Cloud lets you organize and version files, share them, and review earlier versions. This helps you identify which variant was submitted and recover an earlier version if you need to make a correction.
- Check the exported file, not just the editable project.
- Request a proof when a critical detail cannot be validated on screen.
- Keep the submitted file and record which version the printer received.
Common Mistakes and a Final Checklist
The most common mistake is enlarging a small image in the hope of recovering detail: resizing does not reconstruct the original information. It is also easy to confuse screen resolution with the quality the image will have on paper, or to assume that any exported format meets the printer's requirements. Another trap is forcing an image into a new aspect ratio; even if it fills the space, it may distort the content or cut out important information.
Before sending the file, do a brief, systematic review. If anything has not been confirmed, pause the submission rather than guessing: ask the provider or prepare an alternative. When the file does not meet the resolution requirement, consider finding a higher-quality source or changing the size and composition. Do not present interpolation as if it added original detail, and do not skip a proof when color or cropping is critical.
- Do I have the original, and do I know the final dimensions?
- Have I assessed the effective resolution for this size and job?
- Does the crop preserve important elements without distortion?
- Have I confirmed the format, bleed, and color requirements with the printer?
- Have I reviewed the export and saved the submitted version?
Frequently asked questions
Does changing the resolution listed in the file improve quality?
Not by itself. Changing the listed density without changing the pixel dimensions does not add detail. Effective resolution depends on the available pixels and the physical print size.
What resolution do I need for print?
It depends on the job. Calculate the effective resolution for the final dimensions and ask the printer what they require for that specific item.
Can I enlarge a small image to make a poster?
Enlarging it does not recover detail that was not in the original file. Look for a higher-quality source or ask the printer whether the intended size is viable.
Does Image Studio confirm that a file is print-ready?
Image Studio lets you edit images in layers with text, shapes, and filters, and export them. You must confirm the format, bleed, and color requirements with the printer, and review the exported file.
Sources and further reading
Documentation consulted while preparing this article.
- Preparar las imágenes para la impresión — WhiteWall Magazine
- Cómo preparar una imagen para imprimir sin perder calidad — OEDIM
- ¿Cómo preparar tus fotos para una impresión perfecta? — AgfaPhoto Print
- Prepara tus fotos para imprimirlas — José Barceló
Explore Apification
Related articles
Multimedia
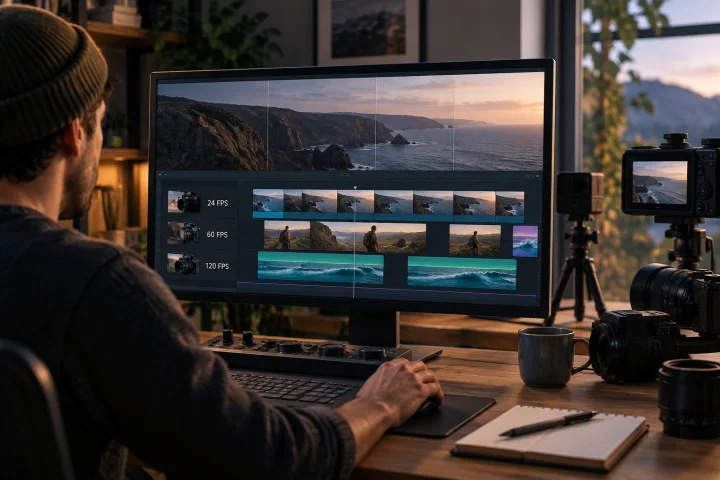
Editing Videos with Different FPS: How to Choose a Timeline and Review the Result
A practical method for cataloging clips, choosing a project frame rate thoughtfully, and reviewing the exported file without assuming every editor handles differences in the same way.
Multimedia
Audio and video out of sync after export: how to detect and fix the offset before delivery
Find out whether the sync offset comes from the recording, the edit, or the export, make a careful correction, and verify the final file before delivery.
Multimedia
Adapt a Vertical Video to Landscape: Cropping, Side Bars, and Exporting Without Distortion
Choose between cropping, keeping side bars, or designing a landscape layout to reuse a vertical video without stretching the image or losing important information.