Multimedia
Audio and video out of sync after export: how to detect and fix the offset before delivery
Find out whether the sync offset comes from the recording, the edit, or the export, make a careful correction, and verify the final file before delivery.
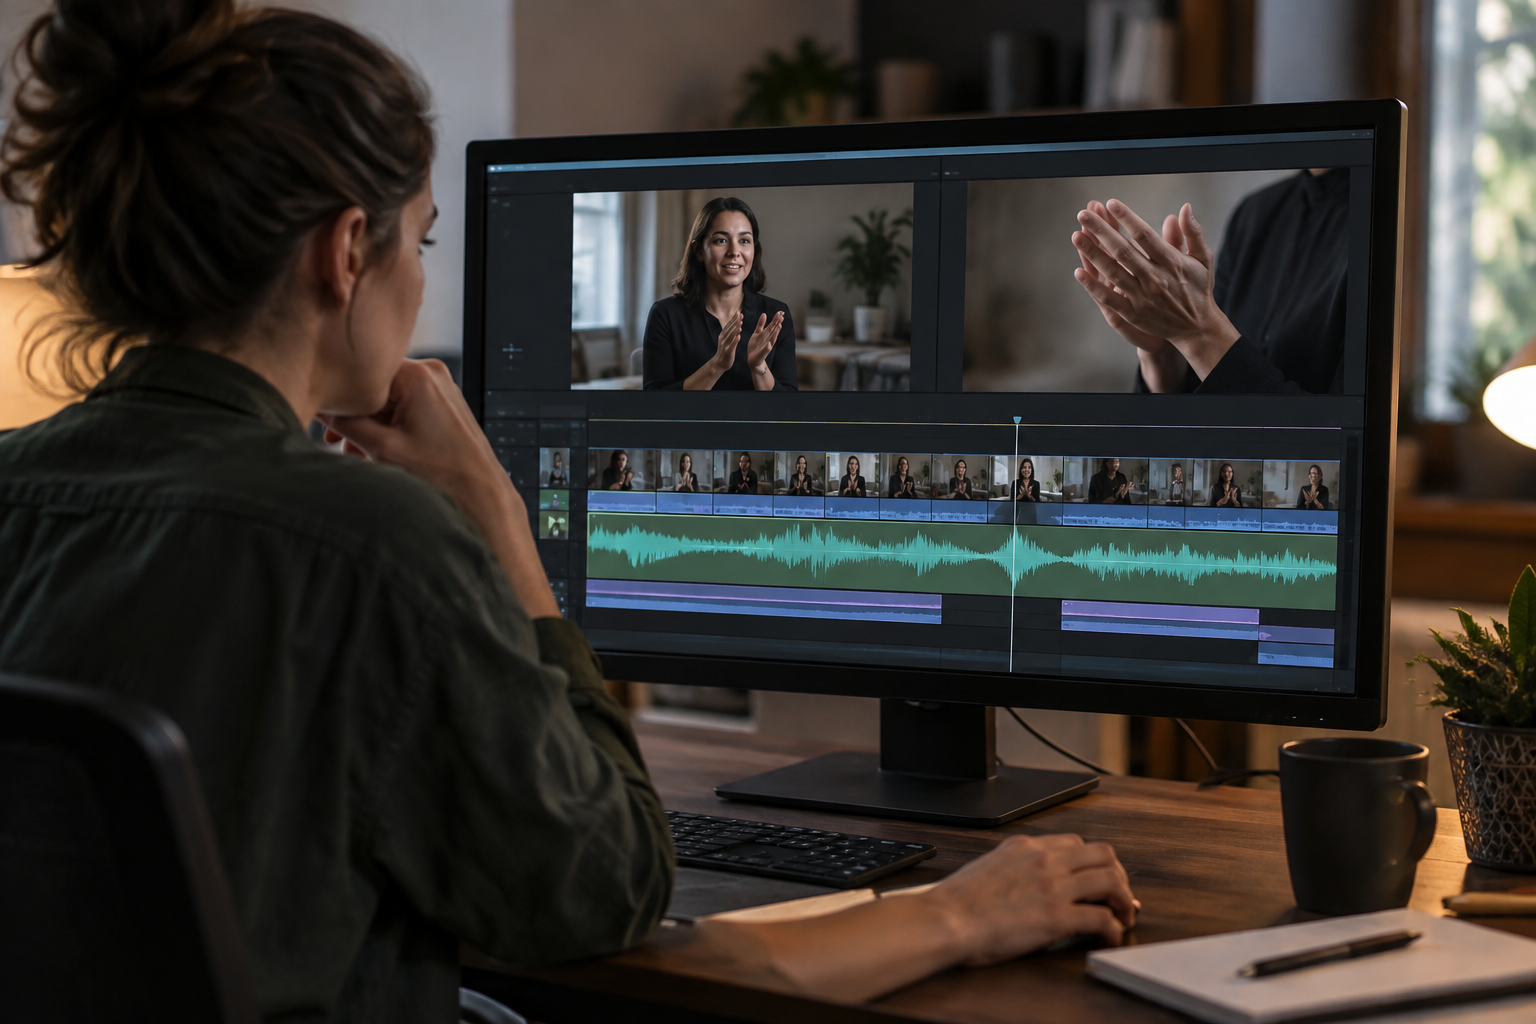
Why an exported file can lose sync
When a voice does not match the movement of the lips, it does not mean you need to redo the video. The offset may be present in the original recording, introduced when arranging tracks on the timeline, or appear only in the exported file. It may also be perceived differently depending on playback. Compare the same cues at each stage before moving tracks or changing settings.
A fixed offset stays roughly the same throughout the video. With progressive drift, the gap increases over time. A localized jump can also occur after a cut or speed change. Distinguishing these patterns helps you decide what to investigate.
- Note whether the sound comes before or after the image.
- Distinguish between a constant offset, progressive drift, and a localized jump.
- Do not mistake choppy playback for proof that the file itself is out of sync.
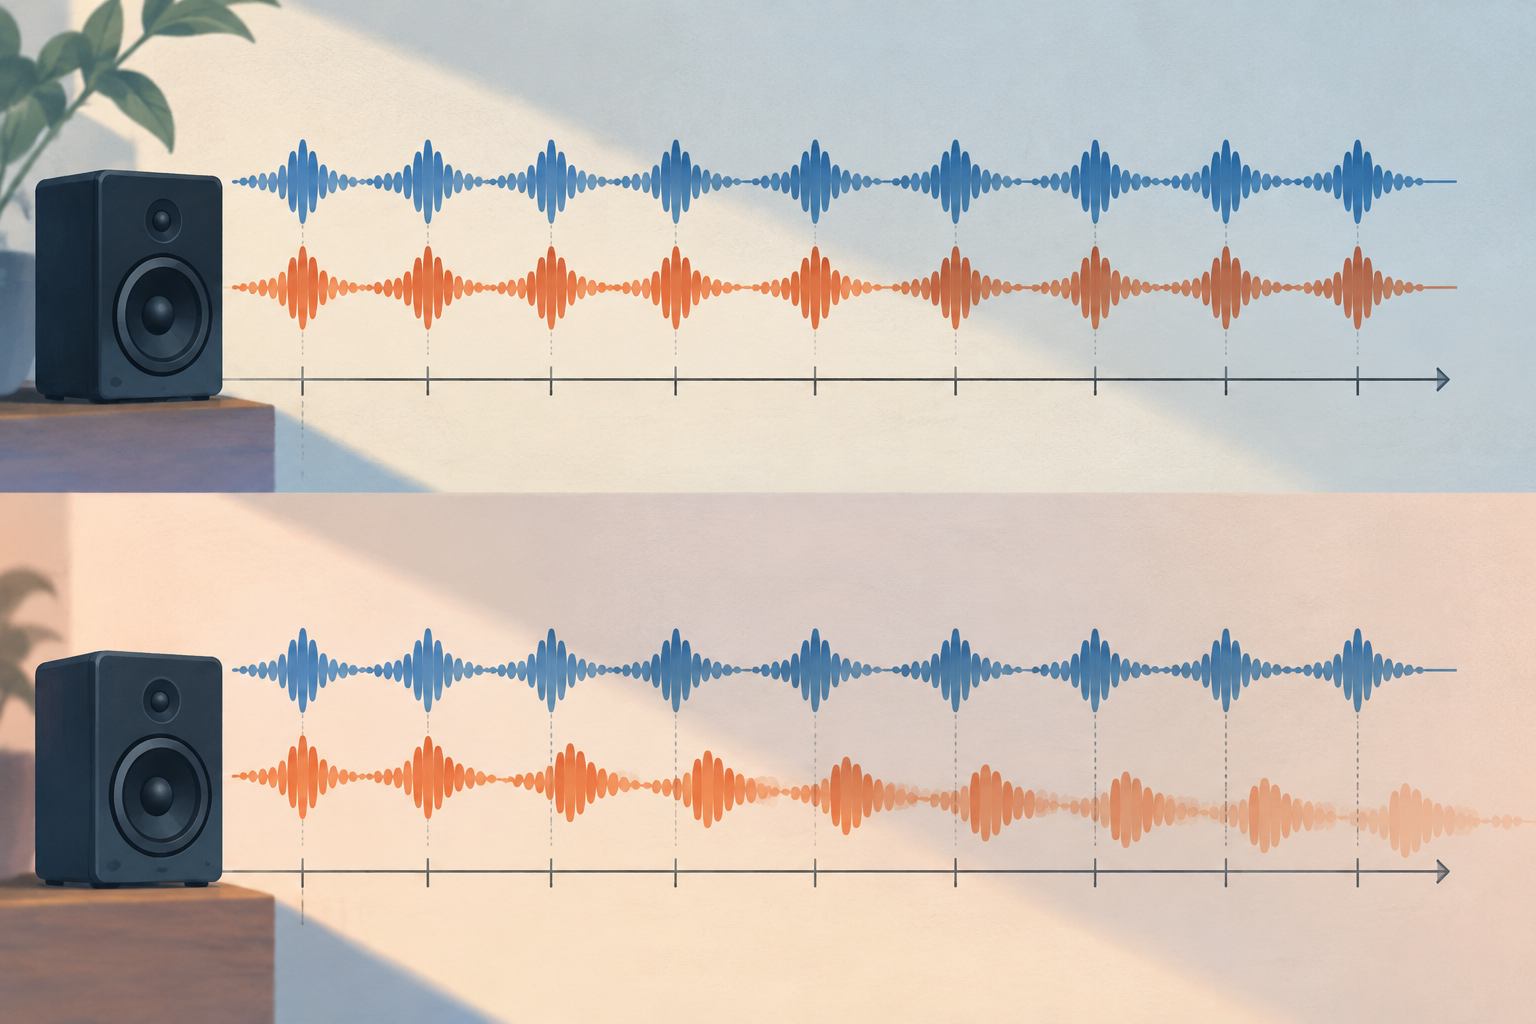
Prepare a short, repeatable test
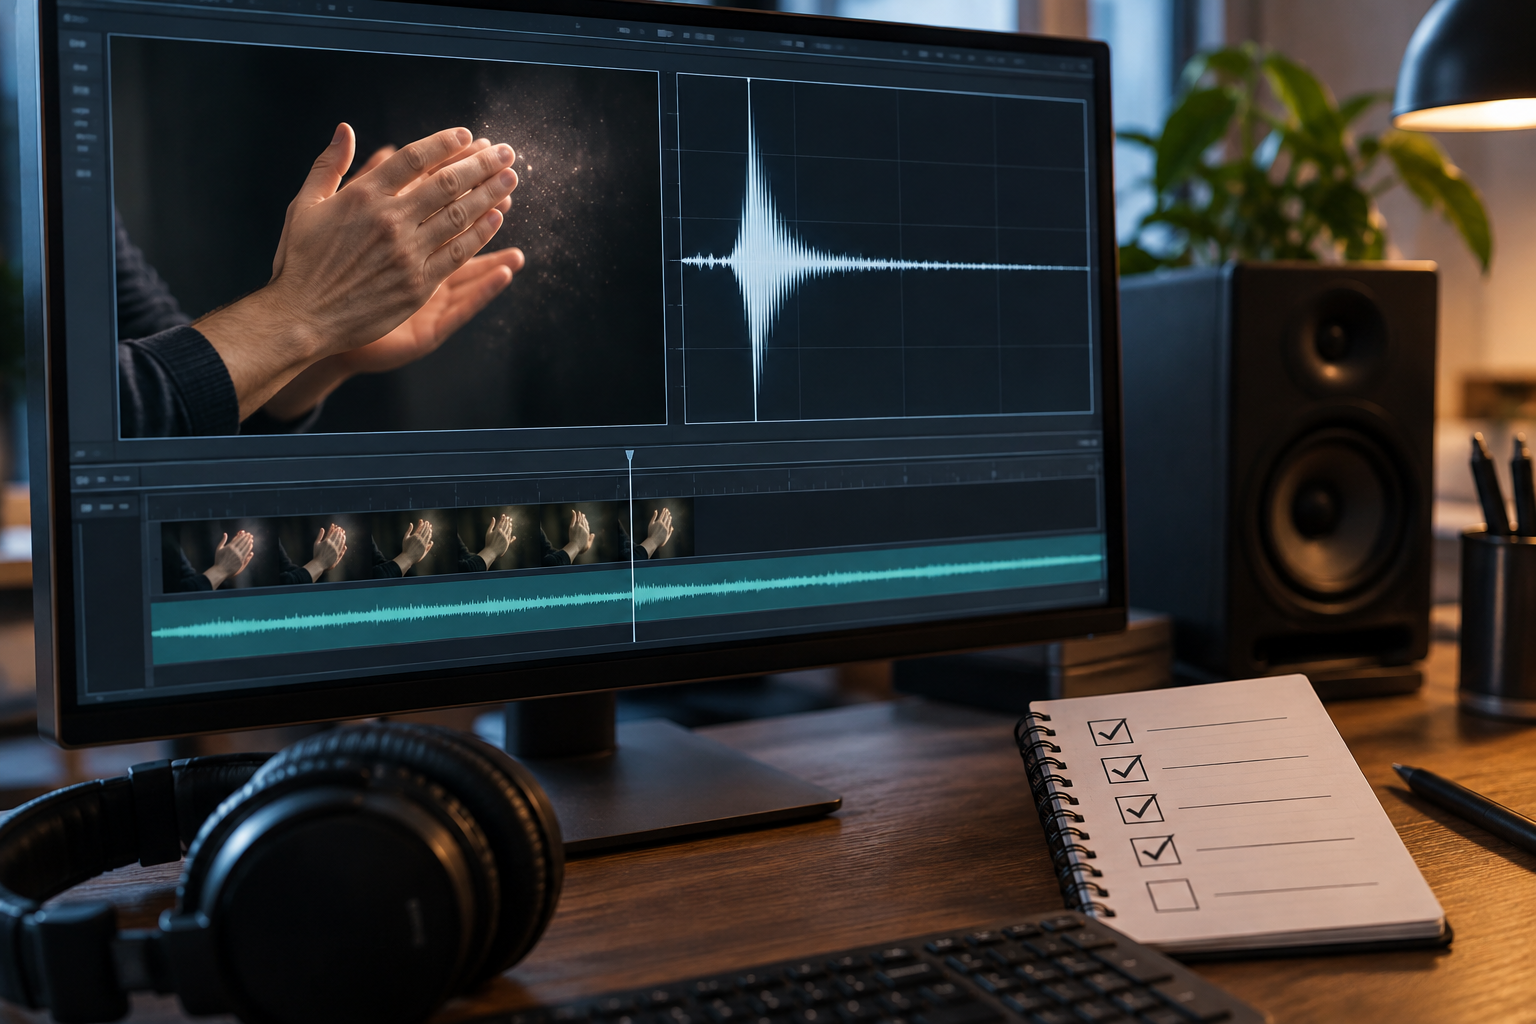
Look for an event with recognizable visual and audio cues. A clap can work because the hands coming together and the sound peak occur almost at the same time; you can also use a spoken word while the speaker’s mouth is visible. If possible, choose more than one event spaced apart in time. Avoid relying on diffuse ambient sounds or movements without a clear instant.
Review the event in the original recording, then in the timeline preview and the exported file. Use the same criterion for each comparison: identify the visible contact or the start of the word and compare it with the corresponding sound. Zoom in on the waveform or step through frame by frame if your editor allows it.
- Choose clear cues, such as a clap or a spoken word.
- Use stable playback to assess the sound.
- Record at which stage you observe the offset.
Diagnose the offset pattern
Compare the cues you selected at different points in the video. If the difference stays about the same, investigate a fixed offset. If it starts small and increases, investigate drift. If sync changes suddenly, check the cut or section where the jump occurs instead of changing the whole project.
Confirm the trend with another reference: the acoustic instant does not always coincide exactly with the visible gesture. If the offset changes direction or varies irregularly, there may be more than one problem or playback may be unstable.
- Similar difference at several points: investigate a fixed offset.
- Increasing gap: check the duration and timestamps.
- Sudden change: locate the cut or section where it begins.
Locate the source by comparing the recording, edit, and export
Start with the original recording. If it is already out of sync, the edit did not create the problem, although it may still allow you to correct it. If the original is fine, check the preview: an offset there may indicate that the tracks have shifted or that a segment has different sync.
If the recording and preview seem correct but the exported file does not, generate another sample and examine it. As a technical option, ffprobe can query information about streams, packets, and frames, including fields such as PTS and duration. It is not required for every editor; use it to inspect before modifying timestamps.
- Offset in the original: keep that recording as a reference.
- Original is correct, preview is not: check track placement and continuity.
- Preview is correct, export is not: focus your diagnosis on the generated file.
Correct the tracks without sacrificing the originals
For a fixed offset, try a small adjustment to the track that has shifted, if your editor allows you to move it independently. If the sound comes after the gesture, move the audio earlier; if it comes before, move it later. Keep the original material and check that the change has not made other sections worse.
Progressive drift is not necessarily fixed by moving the whole track. Check that the audio and video cover the same interval, and review speed changes and joins. FFmpeg documents that setpts and asetpts modify video and audio timestamps. It also documents that aresample can stretch or compress audio, insert silence, or trim it to match timestamps. These are technical operations and should be used only after identifying the cause.
- Make one change at a time and note what you changed.
- Avoid using a fixed offset as an automatic solution to drift.
- Do not overwrite the only valid copy.
Export a sample and validate the result
To check an initial correction, export a clip that includes the reference cues and the section where the problem was detected. Play the generated file, not just the editor preview, and verify that sync holds. If it fails, return to the diagnosis and change one variable at a time.
Apification Video Studio lets you edit video, audio, images, text, and subtitles in a multitrack editor with preview and rendering. These features help prepare the edit, but sync must be confirmed in the exported file.
- Confirm that the exported clip includes the area you need to review.
- Check sync after the relevant cuts.
- Review the generated file before approving it for delivery.
Check playback and share the correct version
Open the file in the player or on the device intended for delivery and check a scene with clear dialogue and movement. If the offset is noticeable on only one device, test the same file in another playback environment before changing the edit: a correction made to compensate for one situation could throw off the others.
For shared work, identify the original and revised version separately. Apification Cloud lets you organize files and projects in a versioned space; its history lets you review earlier versions, download them, and restore content. Share the approved export using a link or with users or groups.
- Test the file in the intended environment when possible.
- Clearly identify which export is approved.
- Share the final file, not just the editable project.
Common mistakes to avoid
Do not adjust both tracks if only one has shifted, and do not consider the problem solved after correcting just one scene. Unstable playback can also make diagnosis difficult. Keep the original recording as a reference and, if you use command-line tools, inspect timestamps before transforming them.
Follow a clear sequence: identify the pattern, locate the stage where it appears, apply an appropriate correction, and validate the generated file. Sync is a result you need to check, not assume.
- Do not use a fixed adjustment to correct drift without measuring its effect.
- Do not overwrite the original before validating the export.
- Do not consider delivery complete until you have reviewed the final file.
Frequently asked questions
How can I tell whether the offset is fixed or progressive?
Compare similar events at different points: if the difference stays the same, it is fixed; if it increases, there is progressive drift.
Should I correct the audio or the video?
Adjust the track that is shifted relative to the other. If the problem grows over time, investigate the duration and timestamps before applying an offset.
Is checking the editor preview enough?
No. The preview is useful while editing, but the final check must be made on the exported file.
Which Apification tool can help with the edit?
Video Studio lets you edit video, audio, images, text, and subtitles in a multitrack editor with preview and rendering. The exported file’s sync must be verified separately.
Sources and further reading
Documentation consulted while preparing this article.
- FFmpeg Filters Documentation — FFmpeg
- ffprobe Documentation — FFmpeg
Explore Apification
Related articles
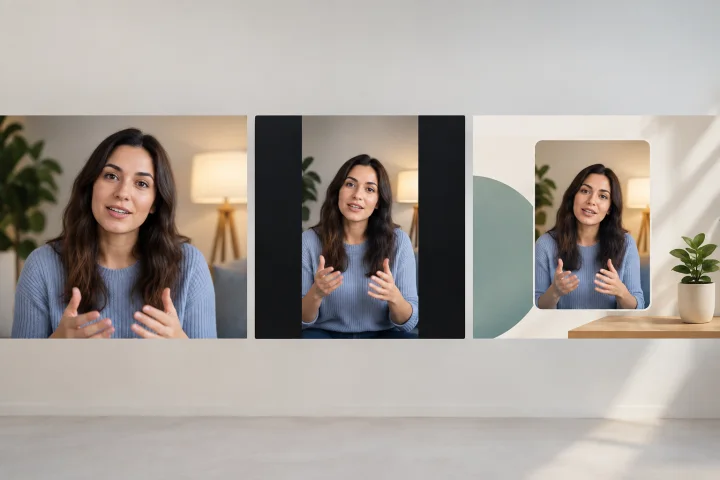
Multimedia
Adapt a Vertical Video to Landscape: Cropping, Side Bars, and Exporting Without Distortion
Choose between cropping, keeping side bars, or designing a landscape layout to reuse a vertical video without stretching the image or losing important information.

Multimedia
Trim a long video into clips: cuts, subtitles, and exports without losing the original
A practical guide to turning long recordings into useful clips, with clear cuts, reviewed subtitles, controlled exports, and traceability in Cloud.
Multimedia
Exporting images with transparency: how to avoid black backgrounds, halos, and wrong versions
A practical guide to deciding when to use transparency, preparing layers, checking edges, and keeping the editable file in Cloud alongside the correct variants.