Multimedia
Exporting images with transparency: how to avoid black backgrounds, halos, and wrong versions
A practical guide to deciding when to use transparency, preparing layers, checking edges, and keeping the editable file in Cloud alongside the correct variants.
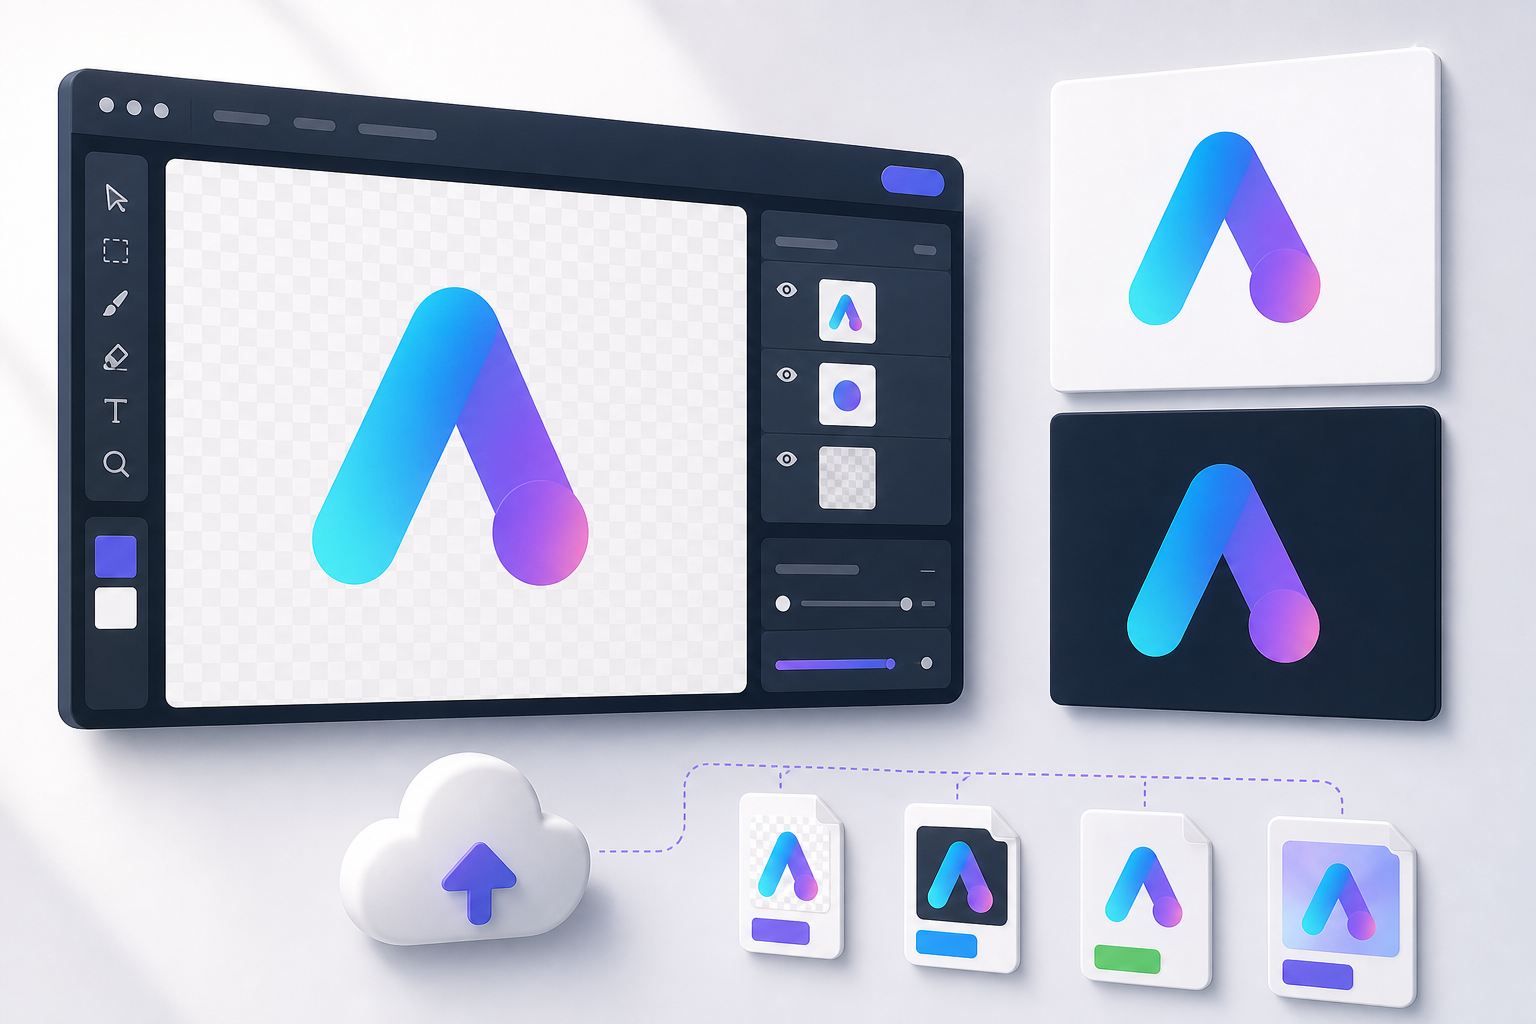
The real problem is not just the format
An image may look transparent while you edit it and still appear with a black or white background, or with dirty edges, when you insert it into a page, a presentation, or a video. The issue usually appears because three different decisions get mixed together: whether the design needs transparency, how it has been visually composed, and which final format has been exported. If any of those decisions is made out of habit, the file may look correct in a preview but fail in production.
A typical case is a cut-out logo on a transparency checkerboard that is exported to a format without an alpha channel. In Apification Image Studio, the documentation states that formats without an alpha channel replace transparency with the chosen background. That is why “removing the background” is not enough: before you export an image with transparency, you need to confirm that the canvas, layers, and output format are aligned with the intended use.
- Common symptom: a black or white background where transparency was expected.
- Common cause: export to a format that does not preserve an alpha channel.
- Operational risk: someone shares a variant with a background believing it is the transparent file.

When you need transparency and when you do not
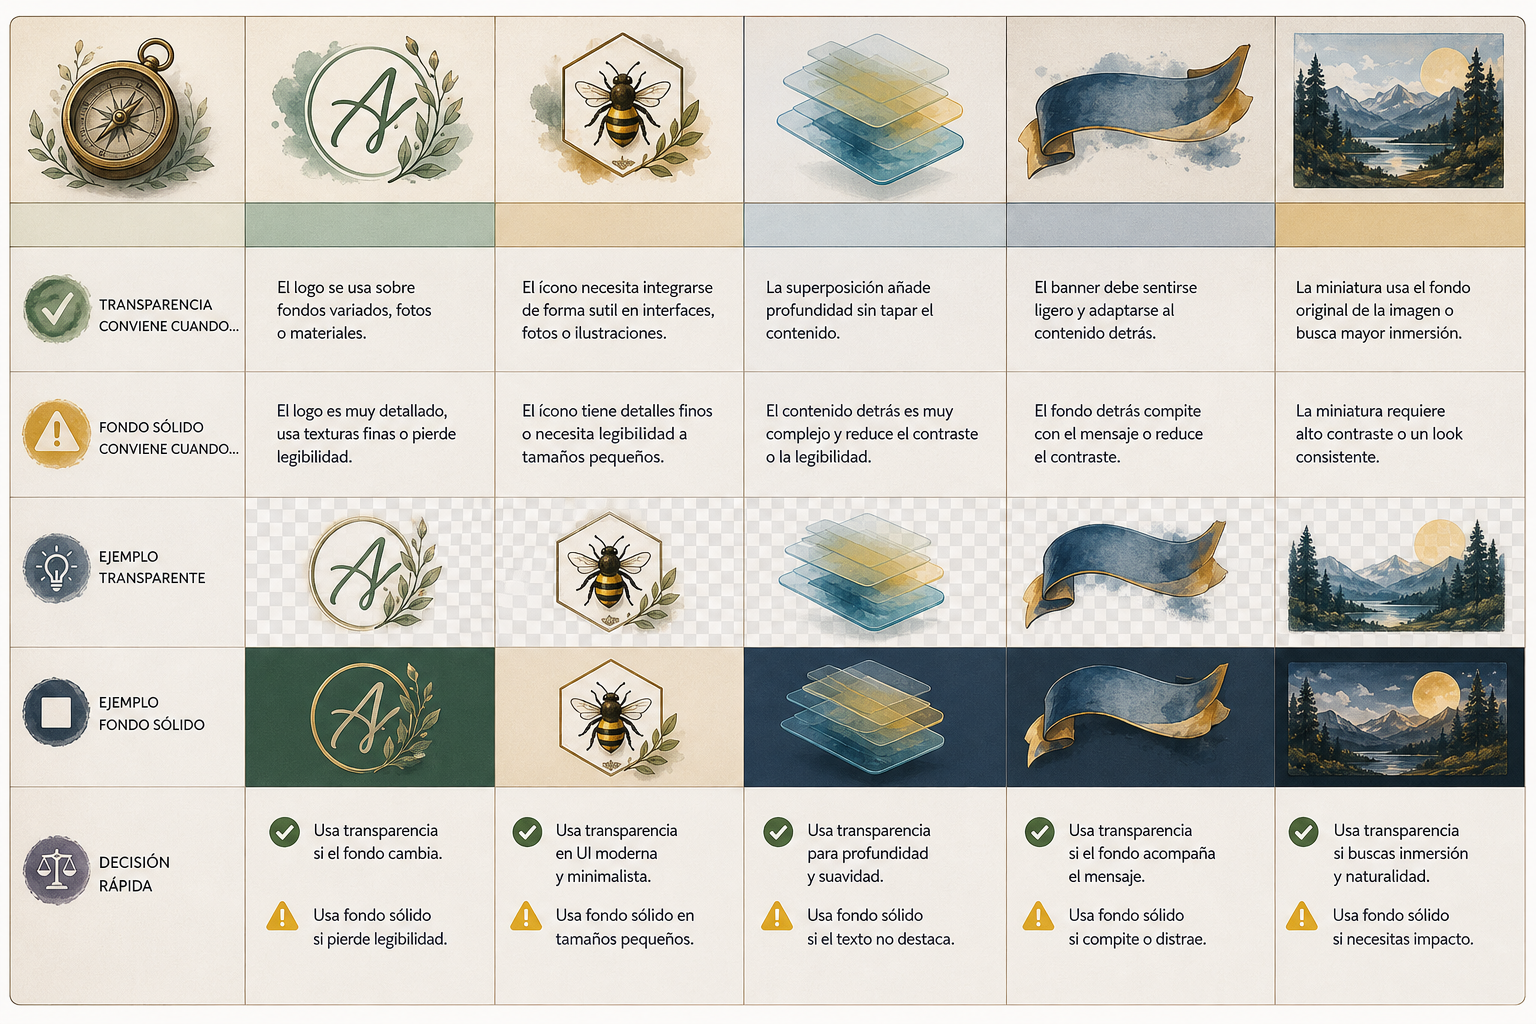
Transparency is useful when the image needs to fit into variable backgrounds: logos, icons, watermarks, video overlays, visual signatures, interface elements, stamps on screenshots, or small resources for documentation. In those cases, the file should not impose a colored rectangle around the object, because that rectangle will break the design when the background of the website, slide, or player changes.
By contrast, a solid background may be better for thumbnails, banners, ads, email images, or pieces that will always be displayed inside a specific container. A controlled background prevents contrast surprises and lets you fix a visual intention. The practical decision is simple: if the final destination has an unknown or changing background, prepare transparency; if the destination has a fixed surface and it is part of the message, also export a version with a background.
- Use transparency for reusable resources on variable backgrounds.
- Use a solid background when the final composition must always look the same.
- Keep both variants if different teams publish on different channels.
Editable file, export, and variant are not the same thing
One of the most costly mistakes is always working on the final file. An exported image is intended for distribution, insertion, or publication; it does not necessarily preserve the working structure. In Image Studio, the editable project preserves the canvas, layers, and objects, while exports are independent final images. In addition, saving keeps the editable project, and exporting produces a new image.
That separation protects the workflow. The team can keep an editable original with layers, text, shapes, and the editable composition; then generate a transparent version, another with a white background, another optimized for a specific destination, and perhaps a variant with a different size. If someone detects a halo, small text, or an incorrect proportion, the editable project is corrected and exported again, instead of degrading a final copy with successive touch-ups.
- Editable file: preserves the composition structure.
- Export: final image for use or review.
- Converted variant: result adapted to a specific channel, size, or format.
Preparing the canvas in Image Studio with control
Image Studio is designed to edit images on an integrated canvas with layers, text, shapes, filters, and modern export formats. The canvas can be configured with width, height, orientation, background, and transparency for the final composition. That initial configuration matters: it defines the real size of the resource, prevents accidental cropping, and lets you decide whether the background will be part of the result or only a temporary aid for review.
A practical method is to compose with transparency but enable a temporary test background while checking contrast. Layers help separate the main object, shadows, text, shapes, and annotations. Image Studio lets you add, rename, reorder, hide, and lock layers while keeping the source images unchanged. It also lets you adjust the position, scale, crop, rotation, and flip of each object independently, which makes it easier to correct a composition without destroying the original material.
- Configure the final size before you start.
- Name layers with a clear function: logo, shadow, text, test background.
- Lock layers that should not move during review.
- Hide the test background before exporting the transparent variant.
Review before export: the checklist that prevents halos
Before exporting, it is worth reviewing the image under less favorable conditions. Halos appear when semi-transparent edges were prepared on a color different from the real background. Overly opaque shadows, tight crops, small text that loses legibility, or elements stuck to the edge of the canvas can also appear. The Image Studio documentation includes reviewing transparencies before saving the editable project and choosing the format, quality, and output options.
The review should be done on both light and dark backgrounds, even if the final file is transparent. This does not destroy transparency if the background is used only as a test. Check that the outline does not have dirty pixels, that the shadow does not form a rectangular stain, that the text keeps enough contrast, and that the proportion matches the space where it will be published. If the resource will be used in video, presentations, and web, also check whether the size and margin work in each context.
- View edges at 100% and, where appropriate, magnified.
- Test on a white background, a black background, and a color similar to the destination.
- Check shadows, highlights, and opacity.
- Confirm that no background layer remains visible by mistake.
- Validate proportion, margin, and crop before generating variants.
Choosing the output format with purpose
The format choice should come after the visual decision, not before it. In general, you need a format with an alpha channel when the file must preserve transparency. In the Image Studio workflow, if transparency is lost, the documented recommendation is to select PNG, WebP, or another output format with alpha. The output catalog includes common web and raster formats such as PNG, JPG/JPEG, WebP, GIF, BMP, AVIF, and TIFF, as well as additional formats when ImageMagick is available.
The operational rule is to distinguish a “correct file” from a “convenient file.” JPG/JPEG can be practical for photographs with a solid background, but it is not the right choice if you need to preserve transparency. If you export to a format without an alpha channel, Image Studio replaces transparency with the chosen background. Therefore, document which formats are valid for transparency in your team and which formats are reserved for solid backgrounds, thumbnails, or channels that do not need alpha.
- For transparency: select PNG, WebP, or another available format with alpha.
- For a solid background: choose the desired background before exporting.
- For advanced formats: remember that they depend on ImageMagick 7 on the server where applicable.
- When composing on canvas, keep in mind that animation, color profiles, metadata, and bit depth may not be preserved.
Saving, versioning, and naming variants in Cloud
Apification Cloud lets you keep files, folders, editable services, and generated results in the same workspace. That helps avoid duplicate folders such as “final,” “final2,” or “use this.” A clear structure could separate the editable project, the transparent export, the version with a background, and the optimized file. The result exported from Image Studio can be downloaded, saved to Cloud, transformed later, or shared from the listing.
Apification version history keeps recoverable states connected to the same Cloud resource, instead of relying on renamed copies scattered across folders. It also lets you inspect saved versions, download previous content, and restore a previous state. In practice, this reduces the risk of losing the correct editable file when logo, color, shadow, or size changes are approved, because revisions remain linked to the resource and are not dispersed among attachments.
- Recommended name: brand_asset_use_format_size_version.
- Example: acme_logo_transparent_png_1200_v03.
- Keep the editable file alongside its final results.
- Use versions to compare or recover previous states without activating the wrong copy.
Sharing the correct image without breaking production
The final failure happens when sharing. The designer may have exported the transparent image correctly, but support, marketing, or product downloads another variant and uploads it to production. Apification allows items to be shared through links, users, or groups, and offers original or transformed downloads. That difference matters: it is not always appropriate to give everyone the original editable file, and it is not always appropriate to deliver a transformation if the recipient needs the master file.
A safe practice is to publish or share only the variant that matches the use. For a web team, share the approved transparent export; for a presentation with a fixed background, share the version with a background; for someone who will continue editing, share the editable project or the appropriate source resource according to permissions. If a Cloud result needs to feed another editor, transformation, public service, API operation, or transformed download, it can do so without an intermediate manual download and upload, reducing handling errors.
- Define who can use the editable file and who only downloads finals.
- Include the use in the file name: transparent, white-background, thumbnail.
- Share by group when several roles need the same variant.
- When in doubt, link the approved version in Cloud instead of sending loose copies.
Frequently asked questions
Why does a black background appear when I export an image that looked transparent?
This usually happens because it was exported to a format without an alpha channel or because a background was chosen during export. In Image Studio, formats without an alpha channel replace transparency with the chosen background.
What format should I use to export an image with transparency?
In Image Studio, if transparency is lost, the documentation recommends selecting PNG, WebP, or another output format with alpha. Avoid formats without an alpha channel when transparency is required.
Should I save the editable project or only the final image?
It is best to save both. In Image Studio, saving keeps the editable project with canvas, layers, and objects; exporting produces an independent final image for sharing or publishing.
How do I avoid halos on transparent edges?
Review the image on light and dark backgrounds before exporting, check semi-transparent edges, shadows, and crops, and make sure no background layer remains visible by mistake.
How does Apification Cloud help prevent using the wrong version?
Cloud lets you keep editable files, results, and variants in a versioned workspace, share through links, users, or groups, and offer original or transformed downloads depending on the case.
Sources and further reading
Documentation consulted while preparing this article.
- Apification Image Studio product page — Apification
- Apification Image Studio documentation — Apification
- Apification Cloud product page — Apification
- Apification Sharing and distribution feature page — Apification
- Apification Versions and restoration feature page — Apification
- Apification File Transformer documentation — Apification
- MDN image file type and format guide — MDN Web Docs
- PNG Specification Third Edition — World Wide Web Consortium
- PNG encoder recommendations — World Wide Web Consortium
- ImageMagick command-line options — ImageMagick
Explore Apification
Related articles
Multimedia
Create a Video with Images and Audio Without Losing the Originals
A practical guide to turning screenshots, exported slides, and a voice-over into a publishable video while separating originals, the editing project, and exports.
Multimedia
Annotate Screenshots Without Exposing Internal Data
A practical guide to preparing clear screenshots, with layers and visual markers, without accidentally sharing originals or internal data.

Multimedia
Update a Training Video Without Re-recording It
A practical guide to correcting a published tutorial or course using timestamps, multitrack editing, Cloud traceability, preview, rendering, and controlled distribution.