Multimedia
Editing Videos with Different FPS: How to Choose a Timeline and Review the Result
A practical method for cataloging clips, choosing a project frame rate thoughtfully, and reviewing the exported file without assuming every editor handles differences in the same way.
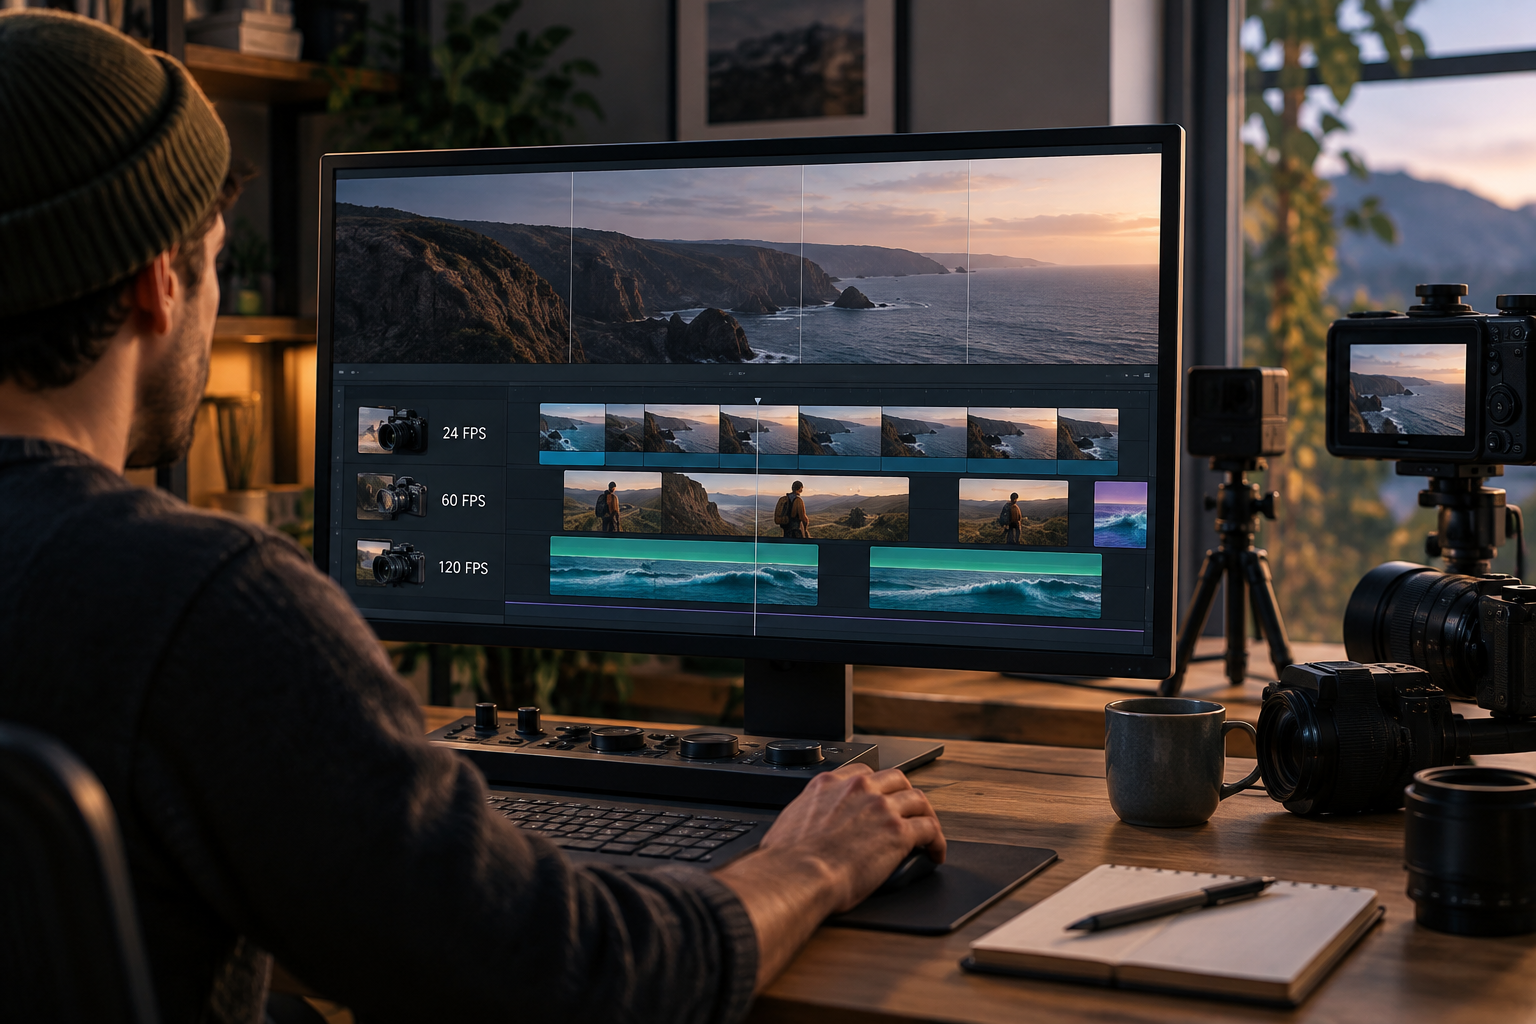
What FPS Means and Why Clips Can Differ
FPS stands for frames per second: it describes how many images make up each second of video. Not every clip in a project has to be recorded at the same frame rate. You might receive files from phones, cameras, or screen recordings that show different values, even if they capture moments from the same scene. Treat each file as a source with its own characteristics, not as footage that necessarily matches the others.
Frame rate affects how motion is perceived: [VEED](https://www.veed.io/es-ES/herramientas/convertidor-de-fotogramas-por-segundo-para-video) notes that a higher frame rate produces smoother playback, while a lower one can make video look choppy or stuttery. That does not mean the highest value is always the best choice. The goal is to make the footage feel consistent overall and ensure important scenes look as expected in the final file.

Inventory Your Footage Before Editing
Before choosing project settings, note each file’s name and the FPS shown by your editor or the information tool you use. Record its origin—phone, camera, screen capture, or received footage—and intended role, such as a main shot, brief insert, interview, or supporting footage. If you cannot confirm the value, mark it as unknown rather than guessing.
Flag clips where motion matters, such as pans, camera movements, people running, hands at work, or passing vehicles. A stable interview shot and fast action are not equivalent tests. This inventory helps you identify which parts of the edit deserve closer review.
- Record the FPS and origin of each file.
- Flag scenes with visible or fast motion.
- Note any clip whose frame rate you could not verify.

Choose the Project Frame Rate in a Clear Sequence
Use this decision sequence: first, check whether the person receiving the video or its intended destination specifies a frame rate. If so, use that requirement as your starting point. If not, identify the primary footage and the kinds of shots that dominate the edit, then choose a candidate project setting to test. There is no universal rule in the available evidence that determines the right frame rate for every source or destination.
Keep the project timeline, source clips, and export setting distinct in your thinking. These settings are related, but do not assume every editor presents them in the same way or that changing one automatically changes the others. For example, [Filmora documents](https://filmora.wondershare.es/master-class/how-to-adjust-to-different-frame-rates.html) a project setting of 23.97 fps and an option to keep the project settings when importing a clip. This is an example from that application, not a recommendation for every project.
- Check destination or recipient requirements first.
- If no requirement is specified, use the primary footage and dominant shot types to choose a candidate setting.
- Test that candidate on representative scenes before committing to the full edit.
What to Watch for When Combining Different Frame Rates
Do not assume clips with different frame rates will all look identical on the timeline. The result depends on the editor and its settings. The available information does not establish what specific operation each program uses to adapt each clip, so do not assume it repeats, drops, or generates frames. Consult the editor’s documentation if you need to understand its technical behavior.
In your review, look for motion that appears irregular, a shot that seems choppier than others, or a noticeable change in feel between clips. Note the scene and exact section. If something looks wrong, consider the preview, exported file, and playback device separately rather than assuming FPS is the only possible cause.
Run a Short Test Before Finishing the Edit
Build a short sequence with a relatively static shot, a pan, and fast action. If the project alternates between sources, include representative clips from the types that will have a significant presence. Compare the frame-rate options you are considering with the same scenes and in and out points. Changing several things at once makes it harder to identify which setting explains a noticeable difference.
Write down specific observations, such as “the pan feels less continuous in this section” or “the transition between shots is noticeable.” Use the test to decide whether the candidate setting is acceptable for the footage and any stated destination requirements before investing time in the full edit.
- Include a static scene, a pan, and fast action.
- Compare options using identical cut points.
- Record which setting you tested and what difference you observed.
Review the Exported File
After exporting, play the final file on a player and device commonly used by your audience. Check the scenes flagged in your inventory, transitions between sources, and the first and last few seconds. If you notice an anomaly, note the exact time and inspect that segment in the project; after making changes, review the complete result again.
Check that cuts align with the action and that audio remains synchronized with the image. Do not treat a successful export or a correct-looking preview as proof that the final file is right. [FlexClip describes](https://www.flexclip.com/es/tools/video-frame-rate-converter/) a workflow in which you edit the video and choose the frame rate in the export options; that option belongs to its product and should not be assumed to work the same way in other editors.
Common Mistakes When Choosing FPS
Changing the frame rate at random makes comparisons hard to reproduce. Avoid choosing the highest value because you believe it always guarantees the best result, or the lowest simply to get a smaller file without confirming the effect. The available evidence supports that frame rate can affect perceived smoothness, but it does not establish a universally optimal setting or how every editor works internally.
Do not assume that changing frame rate restores motion information that is not present in the source. The collected documentation does not establish how each video is transformed or what information each method preserves. If the appearance changes unexpectedly, compare the source and export, review the editor’s specific settings, and test a short section again.
- Do not change multiple settings at once.
- Do not assume a frame-rate change restores information missing from the source.
- Check the editor’s documentation for how it handles footage.
Keep Your Originals, Project, and Export Decision
Keep original files separate from transformed versions and retain the editable project. Record the frame rate chosen for the timeline and export, the intended destination, and any issues found during testing. These notes make it easier to reproduce the process or compare another render. If you work with others, share the final result and the settings notes.
Apification Video Studio lets you edit video, audio, images, text, and subtitles in a multitrack editor with preview and rendering. Apification Cloud helps organize files and projects in a versioned, shareable workspace. Do not assume a specific FPS feature is available; check the editor’s options for your project. Cloud’s version history lets you review previous versions, download them, and restore content where appropriate.
Frequently asked questions
What should I use to choose a project frame rate?
Check destination or recipient requirements first. If none are specified, consider the primary footage and dominant shot types, then compare a short test using representative scenes.
Does changing the FPS guarantee smoother motion?
No. Frame rate affects perceived smoothness, but the result depends on the clip, editor, and settings. Test the footage and review the exported file.
Is the editor preview enough to evaluate the result?
No. Review the exported file too, paying attention to flagged motion, transitions, cuts, and audio synchronization.
Does Apification Video Studio have a specific option for setting FPS?
The available information confirms multitrack editing, preview, and rendering, but does not specify frame-rate controls. Check the options available in the editor.
Sources and further reading
Documentation consulted while preparing this article.
- Convertidor de fotogramas por segundo para video — VEED
- Cómo realizar ediciones con múltiples velocidades de fotogramas — Wondershare Filmora
- Convertidor de fotogramas por segundo para video — FlexClip
Explore Apification
Related articles
Multimedia
Audio and video out of sync after export: how to detect and fix the offset before delivery
Find out whether the sync offset comes from the recording, the edit, or the export, make a careful correction, and verify the final file before delivery.
Multimedia
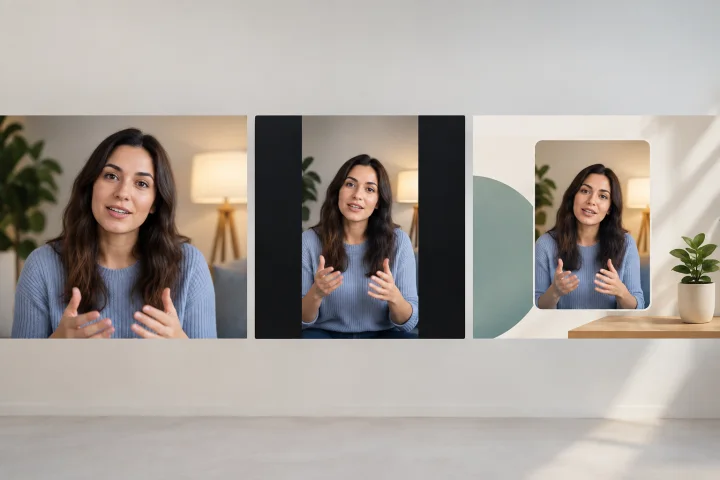
Adapt a Vertical Video to Landscape: Cropping, Side Bars, and Exporting Without Distortion
Choose between cropping, keeping side bars, or designing a landscape layout to reuse a vertical video without stretching the image or losing important information.
Multimedia
Trim a long video into clips: cuts, subtitles, and exports without losing the original
A practical guide to turning long recordings into useful clips, with clear cuts, reviewed subtitles, controlled exports, and traceability in Cloud.