Files and formats
How to Convert a PDF to Images Without Losing Legibility
Choose dimensions and a format for your intended use, check representative pages, and keep the original PDF to avoid sharing exports that are difficult to read.
When to Convert Pages and When to Keep the PDF
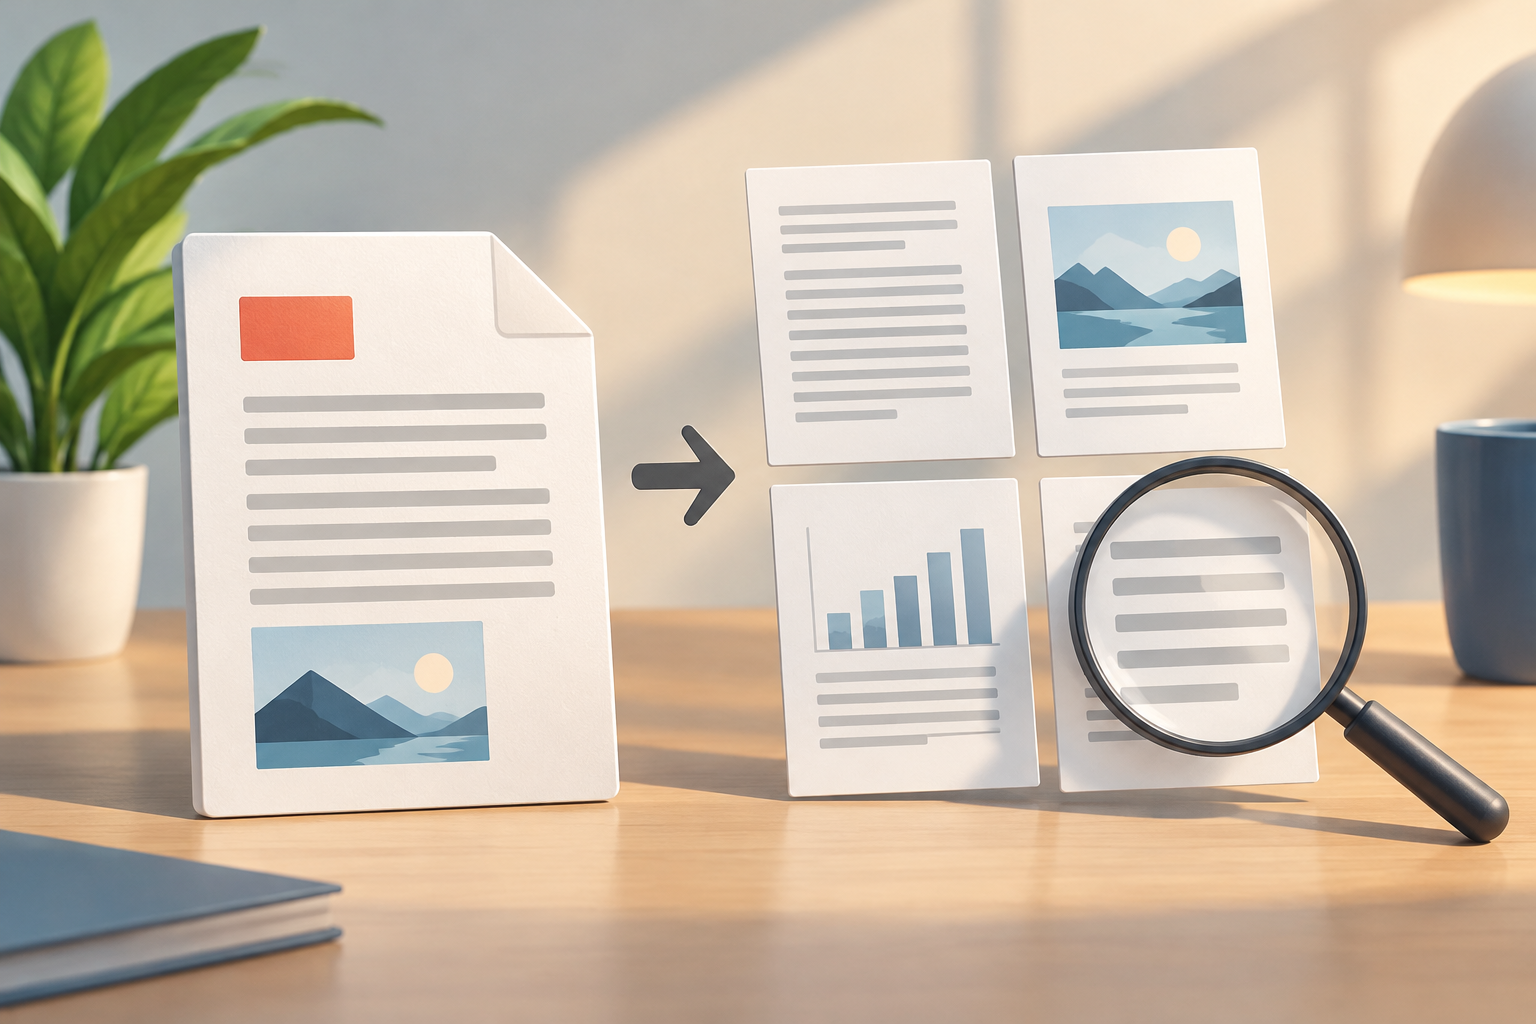
Converting a PDF to images is useful when you need to show a page as a web preview, insert a slide into a presentation, or send specific pages for visual review. It can also help when the next step in your workflow accepts images but not PDF documents. Decide where the images will be used before you begin: a small on-screen preview and a page someone needs to enlarge and read call for different choices.
Do not convert by default if people need to search the text, select passages, follow links, or read the entire document. An image shows how a page looks, not the full PDF experience. Keep the original file if you need those features.
- Convert when the destination requires or favors page images.
- Keep the PDF if searching, selecting text, or reading the complete document matters.
What Changes When You Rasterize a Page
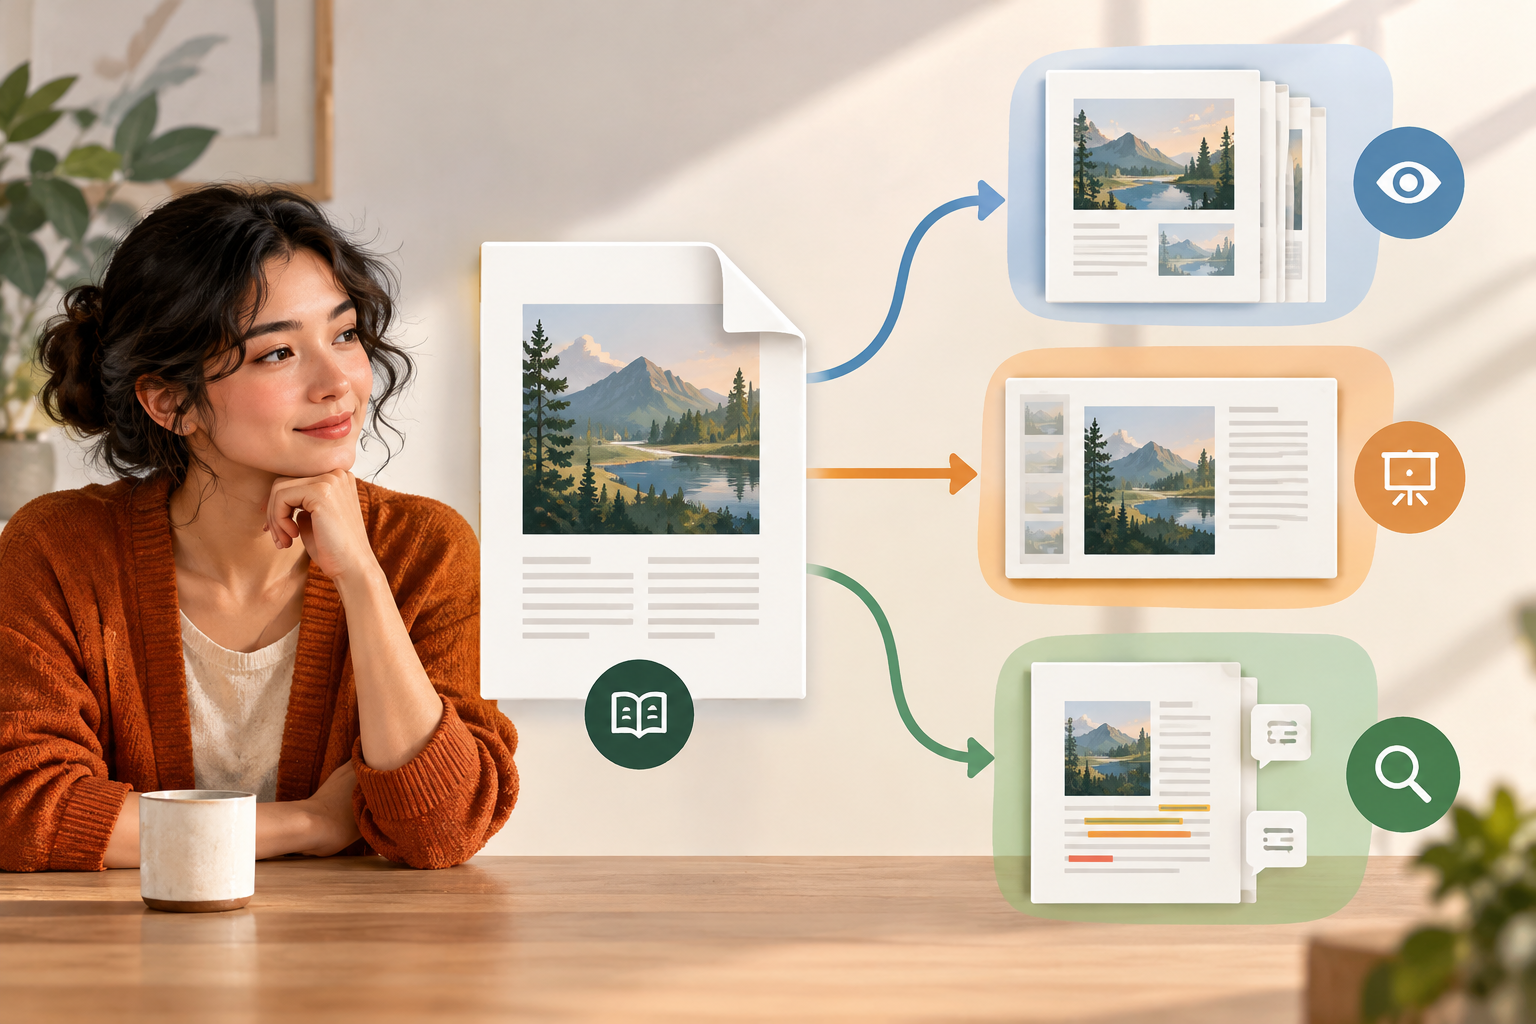
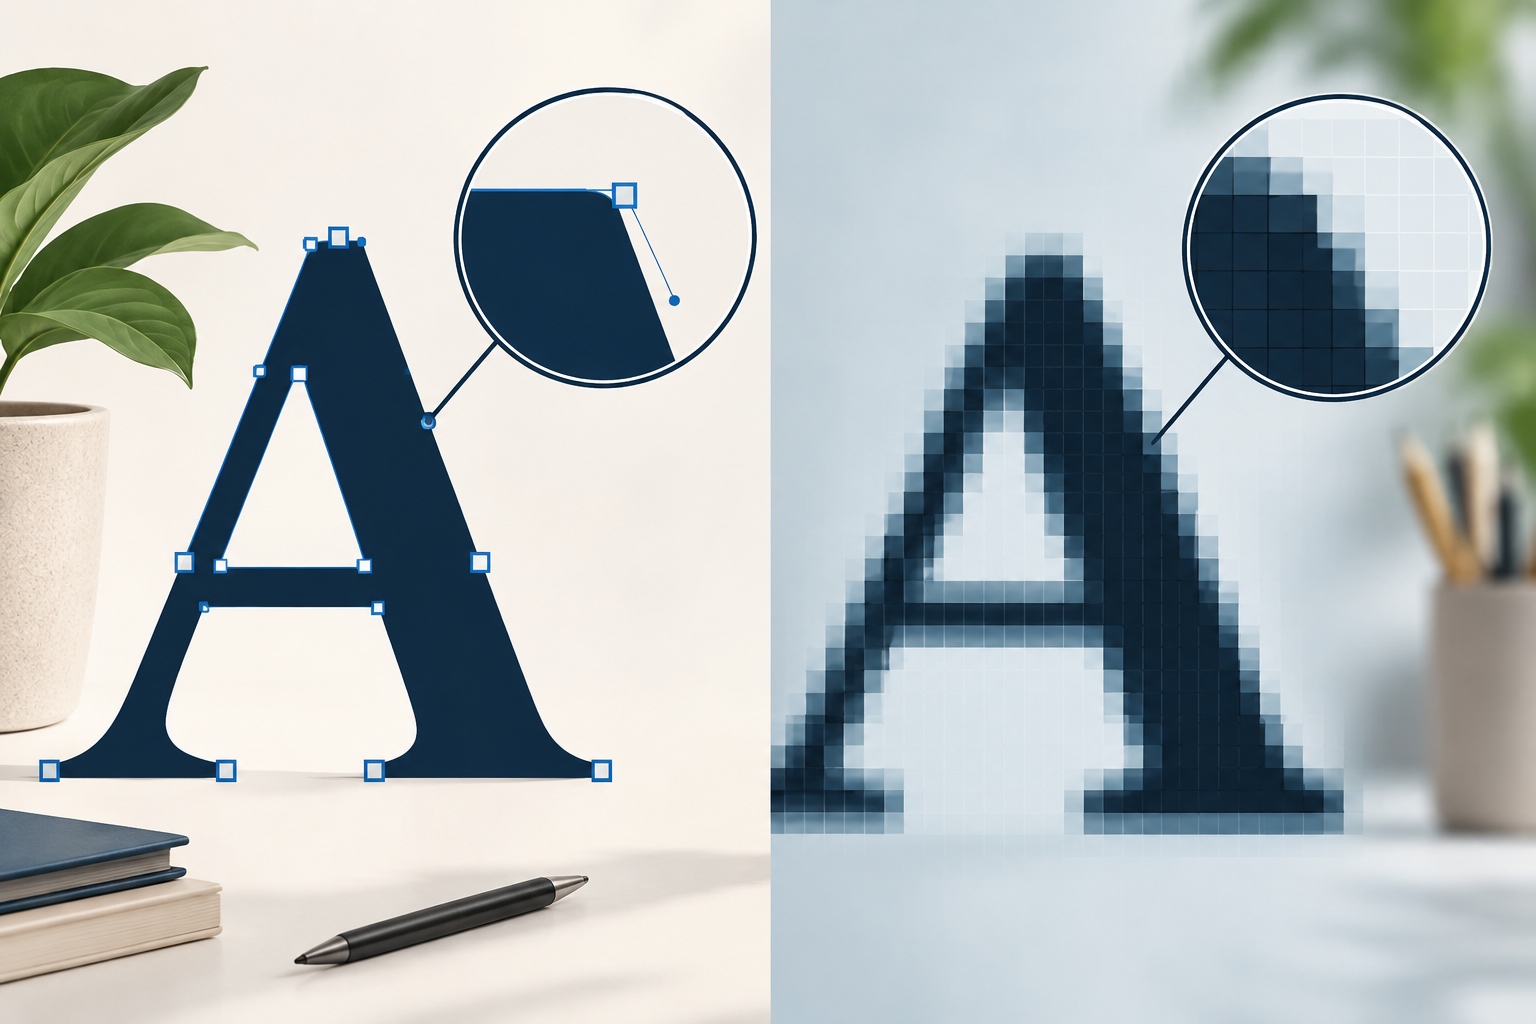
When you convert a page to an image, its content is represented by pixels. Text is no longer selectable as text, and vector elements such as lines or shapes are no longer preserved as separate objects in that image. Sharpness when enlarged depends on the output dimensions, so conversion is not a neutral substitute for the source file.
Rasterization can be useful for showing a page with a fixed appearance. However, there is less room to resize it without visible loss of detail, and searching the text does not work as it does in the PDF. If the document combines text, photographs, and diagrams, check each type of content: dimensions that are sufficient for a photo may not be enough for the small lettering in a table.
- Think of the image as a visual representation, not an editable copy of the PDF.
- Enlarging an image cannot restore detail that was not included in the export.
Choose Dimensions Based on Display Size
Start with the size at which the image will be viewed, rather than choosing a resolution at random. A thumbnail may not need as much detail as a full-screen presentation or a review of footnotes. If the image will be enlarged, it needs enough detail for that use; if it will only be viewed at a small size, an enormous file may add weight without a visible improvement.
You can estimate the dimensions by relating the physical display size to the intended pixel density: output pixels = display inches × intended pixels per inch. This does not automatically guarantee legibility; the original text size and PDF quality also matter. If you do not know where the image will be used, prepare a test and assess the text at its actual intended display size, not only at extreme zoom.
- Decide where the image will be viewed and whether readers will need to enlarge it.
- Check small lettering, notes, chart labels, and fine lines at the actual display size.
Convert Pages or Extract Embedded Images
These are different operations. Converting pages creates an image of each entire page, including text, charts, and other elements as they appear. Extracting images retrieves graphic assets already inside the PDF without necessarily converting the whole page; it is not the right option if you want a visual copy of every page. Some tools offer both options, as described on the Spanish-language [iLovePDF PDF to JPG converter](https://www.ilovepdf.com/es/pdf_a_jpg). The cited page is in Spanish; it is referenced here for the distinction it describes.
Exporting all pages makes sense when you need a complete visual sequence. If you only need some pages, select a range when the tool allows it, and note the pages using the numbering you will use to communicate with others; printed page numbers may not match their positions in the file. The Spanish-language app description for [Convert PDF to JPG in the Microsoft Store](https://apps.microsoft.com/detail/9p25d77695c0?hl=es-ES&gl=ES) says it lets users choose full pages or contained images and specify a range. The cited description is in Spanish and applies to that app; do not assume this option is available in every converter.
In Apification’s transformation assistant, you can process documents through a guided workflow. Check the options shown for the specific operation; do not assume it lets you extract images or choose pages.
- Choose page conversion to get images of full pages; choose extraction if you only need embedded graphic assets.
- Check the number, order, and correspondence of the exported pages.
Format: Legibility, File Size, and Further Use
The format affects the result and the file size. As a general recommendation, JPEG is often practical for pages dominated by photographs and when keeping the file manageable matters; because it uses lossy compression, it can introduce artifacts around letters and edges. PNG may be preferable when text, diagrams, and sharp outlines predominate, although the file may take up more space. There is no universally best option.
Choose based on the content and destination, and validate one page before converting an entire document. The Spanish-language [Adobe PDF to JPG converter page](https://www.adobe.com/es/acrobat/online/pdf-to-jpg.html) says that its tool also supports PNG and TIFF. The cited page is in Spanish; that information applies to that tool and does not guarantee those formats are available in Apification. In Apification’s assistant, confirm which formats are shown for the selected operation.
- For photographs, try JPEG and look for artifacts around edges and embedded text.
- For text and diagrams, try a format that preserves clean outlines and check the final file size.
Test Quality Before Processing Everything
Do not review only the cover page. Choose representative pages: one with regular text, another with small lettering, one with a table or chart, and, if present, pages that are scanned or have a different orientation. Open each export at its intended display size and enlarge critical areas. Look for confusing characters, disappearing lines, cropped labels, unexpected margins, and blurry details. This test lets you adjust the dimensions or format before repeating the work.
Check the full set: number of images, order, orientation, and file names. If a page has defects, determine whether they were already present in the PDF or appeared during export. When the tool offers adjustable controls, change one variable at a time and repeat the test to identify which change helped.
- Review at least one dense page and another with graphic elements.
- Confirm legibility at the destination size, orientation, and order of the complete sequence.
- Compare the images with the PDF to distinguish source defects from conversion defects.
Common Mistakes and How to Avoid Them
A common mistake is exporting a small image and enlarging it afterward in the hope of restoring sharpness. Enlarging may make it take up more screen space, but it does not reconstruct missing details. If the text looks blurry at the required size, create an output with suitable dimensions, provided the assistant lets you adjust that setting. If it does not offer the control you need, consider another tool or keep the PDF for detailed reading.
It is also easy to share the wrong files or leave pages out. Use names that identify the document, pages, and purpose; before sending, open the final files from the location where they will be shared and check their contents.
- Do not confuse enlarging the image with increasing the detail it captured.
- Do not share files without checking that the files and pages are correct.
A Workflow for Preparing and Sharing
Organize the work in three stages: keep the source PDF, transform a copy, and review the exports. Save the original with a recognizable name and keep the images separate so you can identify which pages you prepared and for which destination. In Apification, the transformation assistant provides a guided workflow for processing documents and images; review the available options without assuming they include a specific resolution, format, or page-range setting.
Share the material that suits the intended use. If the images are only for a quick preview, also provide the PDF when people need to read the whole document or search its text. Apification Cloud lets you organize files and share them through links, users, or groups, with original or transformed downloads.
- Keep the source PDF and transform an identified copy.
- Provide images for visual use and the PDF when consulting the complete document matters.
Frequently asked questions
Can selectable text be recovered from an exported image?
Not from the image alone: a converted page is represented by pixels. Keep the PDF if you need to select, search, or copy text.
Should you convert every page of a PDF?
Only if you need the complete sequence. For a preview or a focused review, first identify the pages you need and confirm that the converter lets you select them.
Which format best preserves legibility?
It depends on the content and destination. As a general guide, compare JPEG for pages with photographs and PNG for text or defined lines; review one page before processing the full set.
Can Apification export at any resolution you choose?
No specific resolution option is stated here. The transformation assistant guides the process; check the controls available for the selected operation.
Sources and further reading
Documentation consulted while preparing this article.
- Acrobat: convertir PDF a JPG — Adobe
- Convertir PDF a imágenes — PDF24
- Convertir PDF a JPG — iLovePDF
- Convertir PDF a JPG — Microsoft Store
- PDF a JPG — Smallpdf
Explore Apification
Related articles

Files and formats
How to Identify a File’s Real Format Before Converting or Importing It
Compare the available clues before importing a file, then decide whether to request a new export or run a controlled test. Keep the original and review the result.
Files and formats
How to Validate a File Conversion Before Sharing the Result
Opening the converted file is not enough. Learn how to check its content, presentation, and compatibility for its intended use without losing the original.

Files and formats
File Conversion Requests: What to Ask Before Transforming a Document, Image, Audio, or Video
A practical workflow for receiving complete requests, storing originals in Cloud, transforming files with clear criteria, and delivering reviewable results without losing traceability.