Multimedia
Audio with Different Sample Rates: How to Combine It Without Changing Speed or Duration
A process for identifying source sample rates, choosing a target, preparing copies with the right conversion, and checking the edit before delivery.
What the sample rate means
The sample rate describes how many times per second an audio signal is measured. Two files may show different sample rates because they were created or prepared using different settings. That information alone does not determine which is the better source or which setting should be used for delivery.
To combine materials, first identify the sample rate shown for each file and the requirement for the final output. Adobe documentation confirms that supported sample rates and audio conformance are part of the editing workflow, but the available evidence does not establish a universal list of values or how each application behaves.
- Note each file’s name and the sample rate reported by the file or the tool you use to inspect it.
- Keep sample-rate information separate from other audio settings.

Process for preparing the tracks
1. Inventory the sources. Record each file’s name, stated sample rate, and role, such as main voice, interview, or music. Keep the originals unchanged and work with copies.
2. Confirm the target before editing. If the client, course, or publishing channel specifies a sample rate, use it as the requirement. If there is no specification, ask rather than automatically choosing the highest value.
3. Decide which sources need preparation. Compare the stated sample rate of each file with the target. For files that do not match, use only an operation that the tool documents as sample-rate conversion or resampling. Do not change only the assigned value or metadata to simulate that operation.
4. Keep a copy of each source and note which operation you applied. Bring the original sources that already match the target into the project, along with copies prepared using the documented conversion. If the application does not let you confirm what the operation does, do not assume it converts the audio: stop and consult its documentation.
- Confirm the target before preparing the sources.
- Preserve the originals and record all changes.
- Use a documented conversion for each source that needs a change; changing a label is not enough.

Resampling and changing a label are not the same thing
Resampling converts the audio representation to produce data at a different sample rate. Changing only the stated sample rate does not prove that this conversion took place. Before applying a setting, check the tool’s documentation to see whether the operation converts the audio or only changes how it is interpreted.
Steinberg warns of a conflict when copying or moving audio between windows whose files have different sample rates; the available excerpt mentions that the audio will play “at the pitch,” but does not include the rest of the explanation. This evidence does not allow us to attribute the conflict to a specific cause or describe how each editor behaves.
- Do not change sample-rate values blindly to make the tracks match.
- If the pitch or duration after an operation does not match what you expected, return to the original copy and check what the tool did.
Assemble and review the project
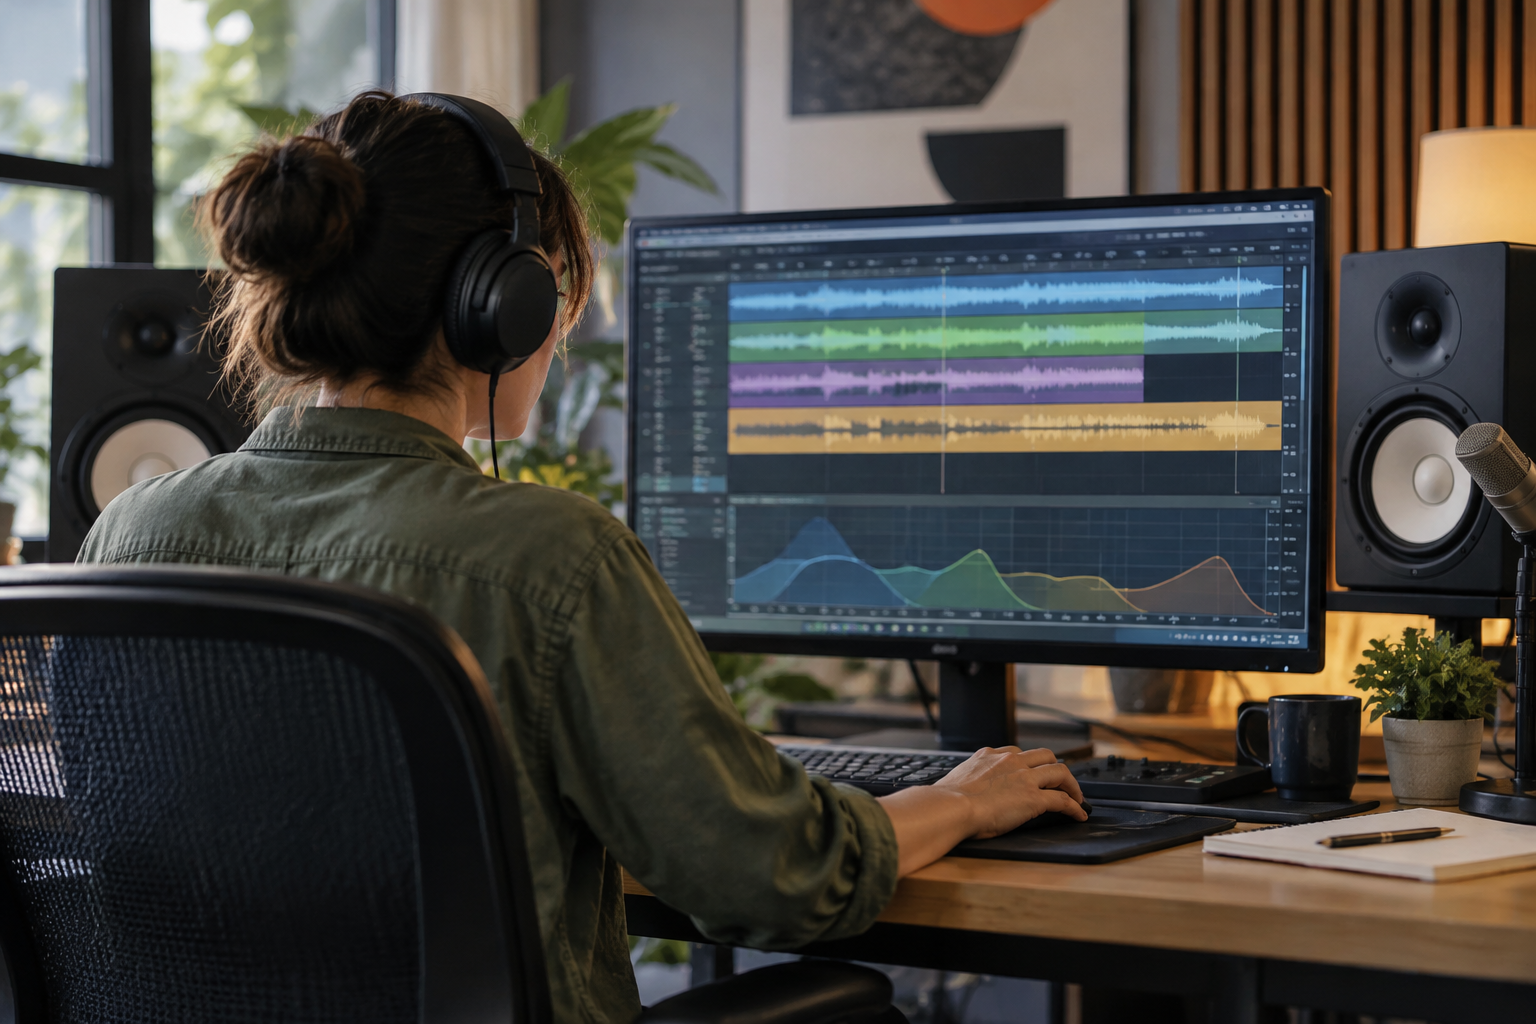
Organize tracks by role and label takes that need review. Listen to entrances, endings, pauses, and transitions between voice and music. The multitrack view helps organize the material; listening can reveal changes or cuts that warrant investigation.
Apification Audio Studio lets you edit recordings and tracks on a multitrack timeline, apply effects and fades, preview, and render a professional export. The catalog does not confirm that Audio Studio can resample sources, display their sample rates, or set an export sample rate. Therefore, do not present it as the tool that converts the tracks: use its documented features for editing and verify any technical settings you need separately.
- Import or gather the sources without overwriting the originals.
- Preview the edit and check cuts, transitions, and possible changes in pitch or duration.
- If the editing tool does not document a conversion operation, do not assume the project performs it automatically.
Export and check the final file
Before exporting, compare the available settings with the confirmed requirement. If you cannot find the control you need or it is unclear what it does, consult the application’s documentation rather than assuming the export will inherit the correct setting.
Then play the entire exported file as an independent check. Compare its duration and the pitch of the voices and music with what you expected from the edit; also check the beginning, ending, cuts, and transitions. If anything has changed, return to the project and preserved sources to locate the step responsible, rather than stacking changes on a faulty export.
- The final file’s sample rate matches the confirmed specification.
- The duration and pitch match what you expected from the edit.
- The beginning, ending, cuts, and transitions all play through completely.
- The file opens and plays in the intended environment.
Organize sources, projects, and versions in Apification
Apification Cloud lets you manage files and projects in an organized, versioned space designed for sharing. Keep the original sources, working copies, and export separate, using names that indicate their purpose. The history lets you review versions, download earlier versions, and restore content.
When you finish the work, clearly identify the export you checked and share that version, not an intermediate render. Cloud helps organize files and their versions, but it does not independently verify the audio’s sample rate, pitch, or duration.
- Use clear names to distinguish sources, working materials, and the final delivery.
- Review the history before replacing or restoring a version.
- Share the exported file after checking it.
Frequently asked questions
Should I convert every track to the highest sample rate?
Do not choose the highest value by default. Use the sample rate stated in the delivery specification; if there is none, ask before preparing the files.
Is changing the stated sample rate the same as resampling?
Not necessarily. Check that the tool documents the operation as conversion or resampling; changing only a label does not prove that the audio was converted.
Does Apification Audio Studio confirm a resampling feature?
No. The available information confirms multitrack editing, effects, fades, preview, and rendering, but not specific controls for resampling or export sample rate.
What should I check after exporting?
Play the entire file and compare its sample rate with the specification, then check its duration, pitch, beginning, ending, cuts, and transitions.
Sources and further reading
Documentation consulted while preparing this article.
- Frecuencias de muestreo de audio en Premiere — Adobe
- Conflictos de frecuencia de muestreo — Steinberg
- Frecuencia de muestreo — Peak-Studios
Explore Apification
Related articles

Multimedia
Different Colors When Exporting an Image: Profiles, Proofing, and Web Delivery
A practical guide to pinpointing where a color difference appears, checking destination requirements, and validating an exported copy without altering the original.

Multimedia
Editing Videos with Different FPS: How to Choose a Timeline and Review the Result
A practical method for cataloging clips, choosing a project frame rate thoughtfully, and reviewing the exported file without assuming every editor handles differences in the same way.

Multimedia
How to Prepare Images for Print: Size, Resolution, and Cropping Without Surprises
Check effective resolution, adjust the crop, and confirm specifications with the printer before exporting your file.