Multimedia
Adapt a Vertical Video to Landscape: Cropping, Side Bars, and Exporting Without Distortion
Choose between cropping, keeping side bars, or designing a landscape layout to reuse a vertical video without stretching the image or losing important information.
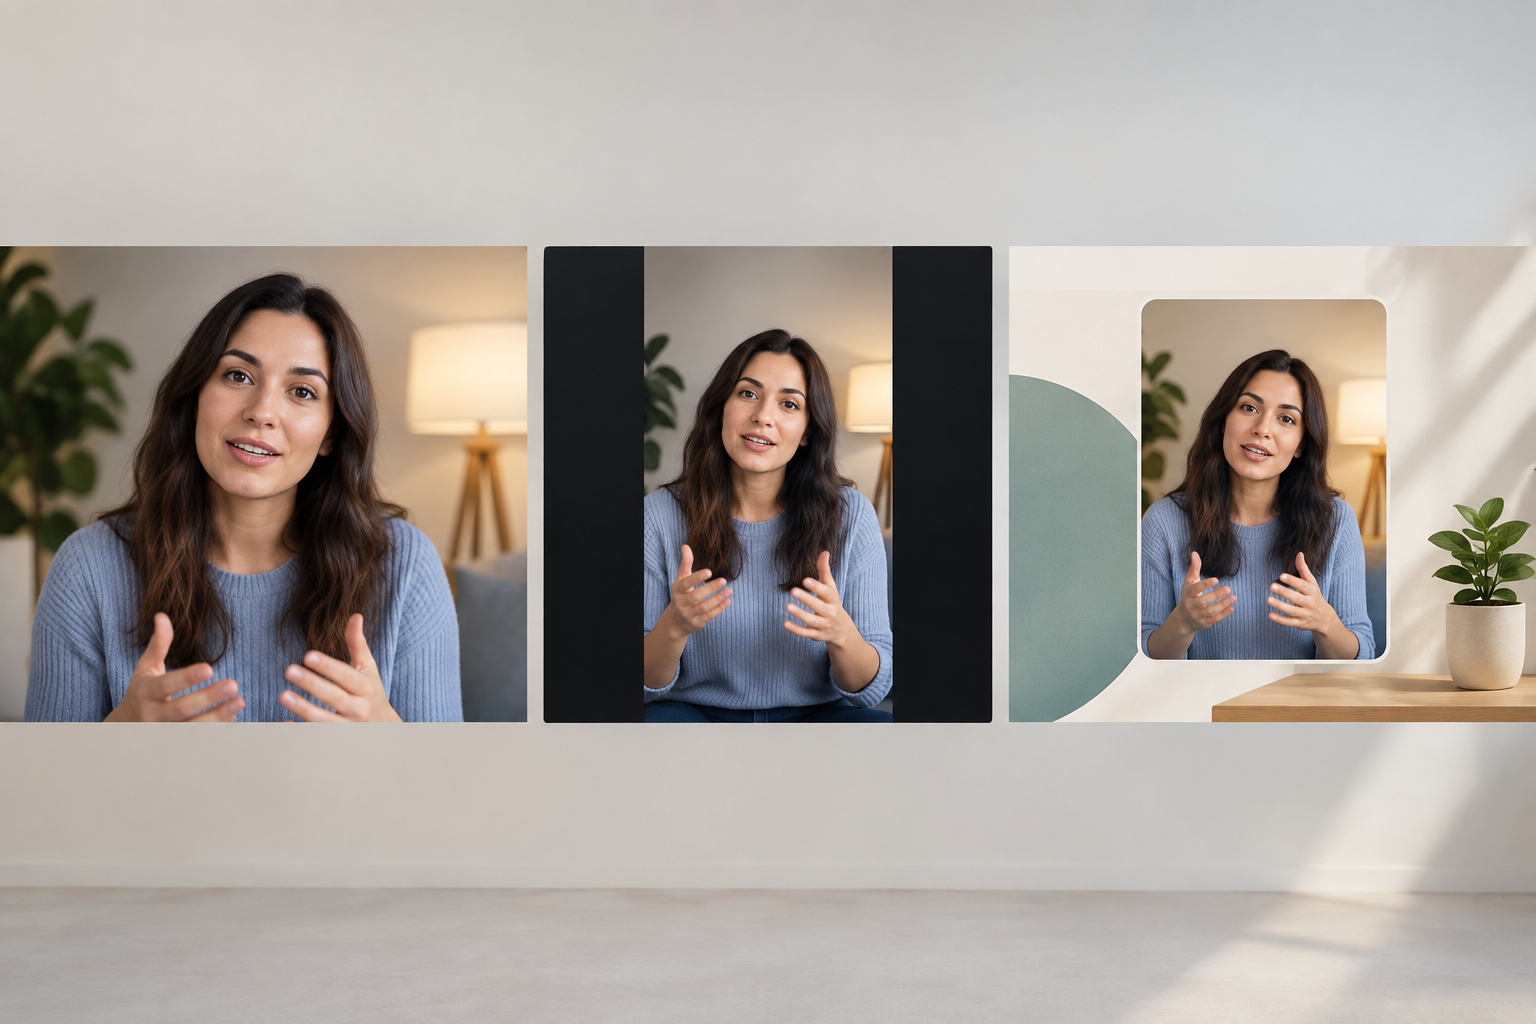
Changing the aspect ratio does not mean stretching the image
When adapting a vertical video to landscape, the challenge is to fill a wider frame without changing the shape of people and objects. There are three basic solutions: keep the entire image and leave empty space at the sides, enlarge it to fill the frame and crop what does not fit, or stretch the video. The last option is usually the least advisable: it changes proportions and can make faces, bodies, and objects look wide or squashed.
Think of the change as a compositional decision, not an automatic resizing operation. The right option depends on what information each shot conveys and where it is located. A centered close-up may work with a crop; a demonstration with text near the edges may need the entire image preserved. Before editing, decide what must remain visible so the result does more than fill the canvas: it must still tell the same story.
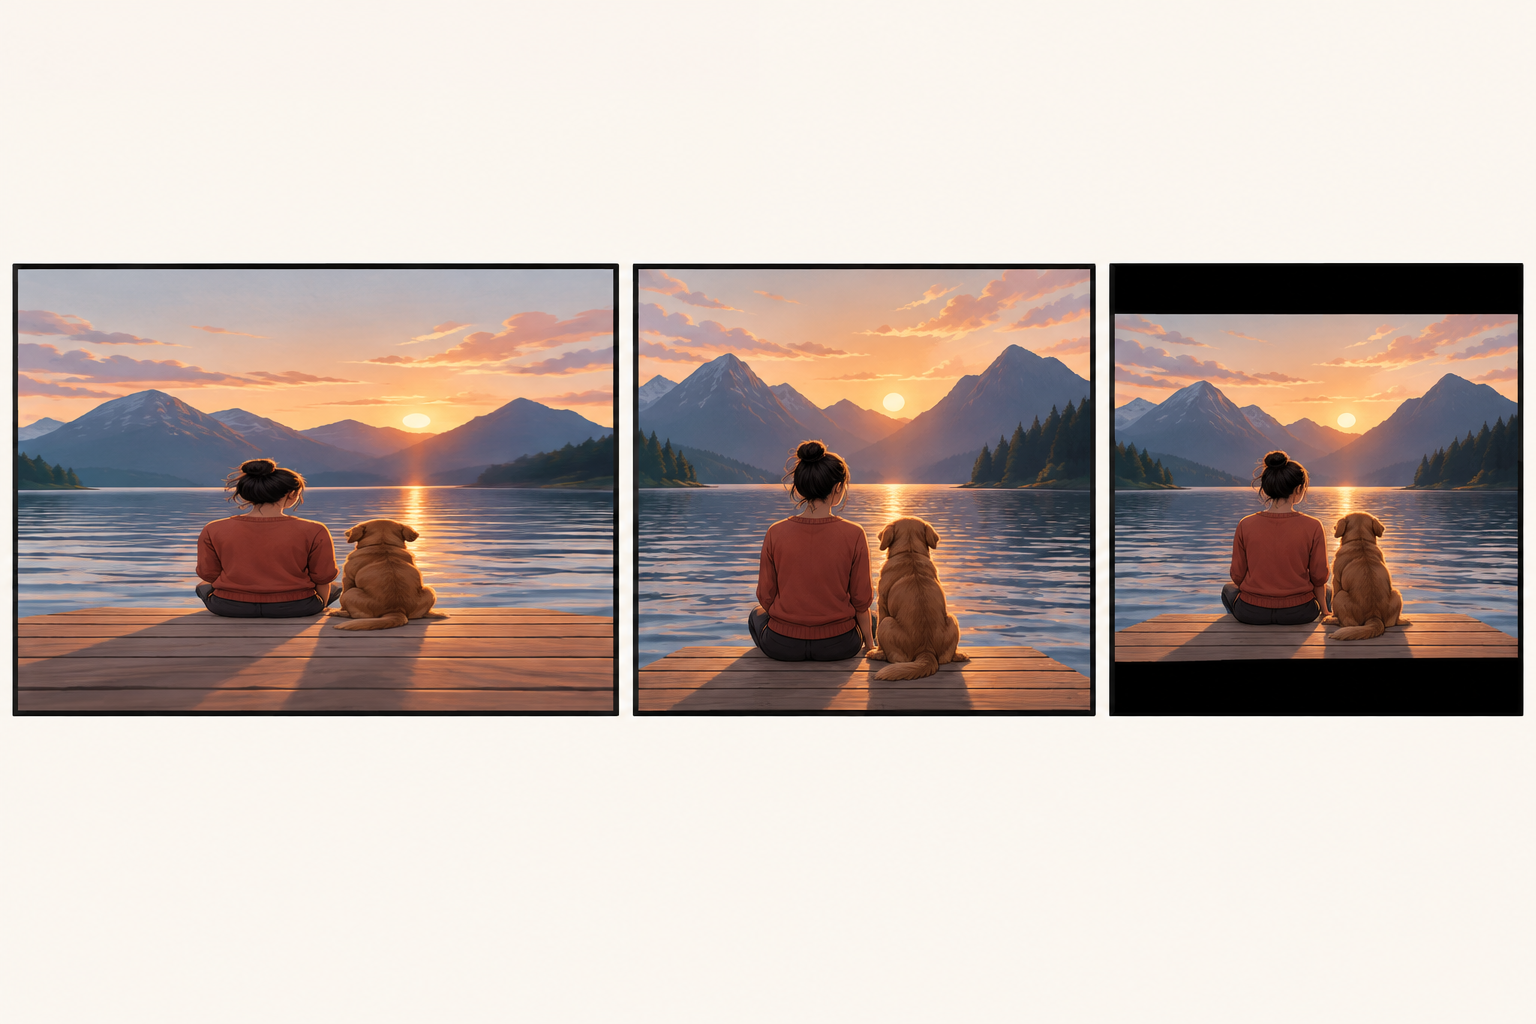
Before editing: set priorities and keep the original
Play the entire video and note which elements are essential: faces, hands showing an object, subtitles, labels, graphics, or actions near the edges. Do not focus only on the opening frame. A person may move, enter the scene, or point to something off to one side; a crop that works at the beginning may hide information a few seconds later. If the clip has multiple scenes, assess each one separately.
Work on a copy or keep the source file unchanged. Also keep the editable project separate from the finished video: the project lets you revisit decisions, while the rendered video is the final output. Before you begin, note where the file will be used and any playback requirements you have been given. Do not assume every channel accepts the same settings; if no specifications are provided, confirm the required format before exporting.
- Mark the subjects and elements that must not be cropped out.
- Watch for movement and changes between shots.
- Keep the original and use different names for the project and the export.
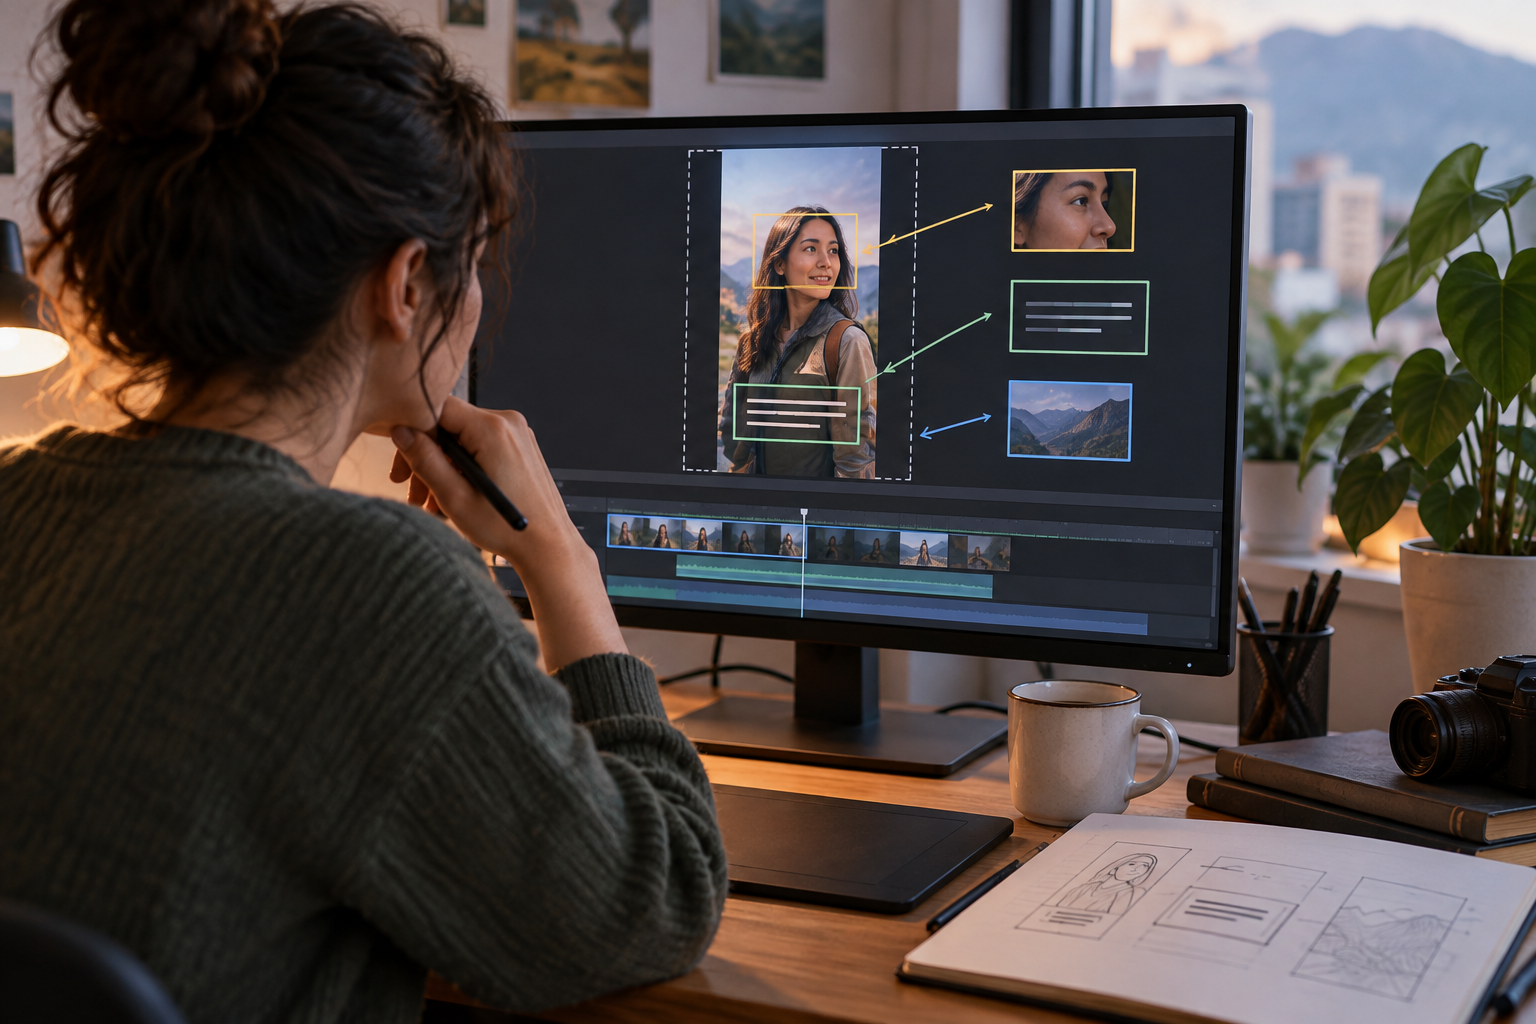
Option 1: Crop the video and check every important moment
Cropping enlarges the image to fill the landscape frame and discards the areas outside it. It can be a good choice when the main subject is centered, the background contains no useful information, and the video can be enlarged without losing legibility. It can also work for short shots of someone speaking, as long as their face and gestures stay within the visible area throughout the clip.
Test the framing at the most demanding points: the beginning, the end, changes between shots, and moments when the subject moves. Pay particular attention to heads, hands, products, and text near the edges. If your editor lets you change the crop position throughout the clip, check that the changes are not abrupt or distracting as they follow the subject. If an important element falls outside the frame and cannot be recovered with stable framing, cropping is not the right solution.
Option 2: Keep the vertical video and style the side bars
If all the content must remain visible, preserve the original aspect ratio and place the clip in the center of the landscape canvas. The extra space can be filled with solid-color side bars. This is a clear, understated option that avoids cutting out information. It is especially useful for recordings with embedded subtitles, screen demonstrations, or scenes where the action fills the entire width of the vertical format.
The color of the side bars should help the scene read clearly, not compete with it. A neutral shade is usually more discreet than a saturated color; if a solid background feels too empty, you can try an enlarged, softened version of the same video behind the original, as long as the result is not distracting. Check the full composition at its actual playback size: the side bars may feel different on a large screen and in a small window. Do not cover subtitles or place decorative elements where the video needs space.
Option 3: Design a landscape composition
An alternative composition turns the extra space into a useful part of the design. You can keep the vertical video on one side and reserve the other for a short title, a complementary image, or contextual information. In a training video, for example, the side space can hold the name of a section; in a presentation, it can include an image related to the topic. The practical rule is that the addition should explain or complement the scene, not repeat what is already visible.
Arrange the composition with a simple hierarchy: viewers should first understand what is happening in the video, then read the secondary element. Avoid crowding the space with long text, decorations, and several competing elements at once. Keep margins and make sure text contrasts with its background. If the video has subtitles, leave a clear area for them. To create this alternative, it is helpful to work with separate tracks for video, images, and text, so you can adjust each element without having to rebuild the entire scene.
Compare options in the preview before rendering
Do not decide based on a still image alone. If possible, prepare a short test using the alternatives that seem viable: cropping, side bars, and a composition. Play the same moments in each version and compare which option best preserves the video's intent, which is easiest to follow, and whether the movement still feels natural. The choice may vary from scene to scene; for a video with very different shots, it may make sense to use different solutions, as long as the transitions do not feel inconsistent.
Previewing helps you catch issues before creating the final file. Examine the start and end of each shot, the readability of any text, and the subjects' positions as they move. Apification Video Studio lets you edit video, audio, images, text, and subtitles on a multitrack timeline, preview the edit, and render the result. You can use that timeline to arrange a composition and check how its elements work together before producing the export.
- Compare the same scenes and moments in every test.
- Review the video in motion, not only while paused.
- Fix cropped elements, hard-to-read text, and awkward visual transitions.
Common mistakes to avoid
The most obvious mistake is stretching the image to fill the frame, but it is not the only one. A centered crop can cut off a hand, a product, or a label even when the face remains visible. Side bars that are too bold can distract viewers, and an enlarged background can create blurry shapes that compete with the subject. It is also easy to place text over subtitles or so close to an edge that it becomes hard to read on a small screen.
Check each scene specifically for these risks: distortion, information outside the frame, distracting additions, and abrupt changes in framing. If a solution works in only one scene, do not apply it to the whole video without checking the rest. When a crop removes essential information and side bars look unsuitable, return to the alternative composition or use a simpler presentation. It is better to accept empty space than to hide an essential part of the message.
- Do not stretch the clip to force it to fill the format.
- Do not approve the framing after reviewing only the first frame.
- Do not add text, backgrounds, or decorations that compete with the action or subtitles.
Export and review the final file separately
Once the edit is approved, render the result and keep the editable project. The project lets you return to the composition; the export is the video intended for playback or sharing. Do not assume that a preview guarantees the final file will look the same: open the export and check the beginning, several points in the middle, and the end. Confirm that the chosen framing is maintained, no unexpected side bars appear, and the audio and subtitles still accompany the content.
Also confirm that the file opens and that its dimensions and orientation match the intended destination. If you find an issue, return to the project, fix it, and create a new export with a different name so you do not confuse versions. In Video Studio, editing and previewing are part of the work before rendering; Apification Cloud lets you organize files and projects in a versioned space and share items with original or transformed download options. Clear names and versions help identify which material corresponds to the approved result.
Frequently asked questions
What is the best way to adapt a vertical video to landscape?
It depends on the content. Crop if the subject and important information fit within a stable frame; keep side bars if you need to show the entire video; use an alternative composition if the side space can add useful context.
Why shouldn't I stretch the video to fill the frame?
Changing the proportions without preserving the relationship between height and width can distort people and objects. It is better to crop, add space around the image, or design a composition.
What should I check before sharing the result?
Play the exported file and check key scenes, edges, subtitles, text, movement, audio, and orientation. Keep the editable project and use a different name for it than for the final file.
Sources and further reading
Documentation consulted while preparing this article.
- FFmpeg Filters Documentation — FFmpeg
- object-fit - CSS — MDN Web Docs
- FFmpeg Documentation — FFmpeg
- ImageMagick Command-line Options — ImageMagick
- Cropping videos or photos — Corel VideoStudio Help
- Using the Player panel — Corel VideoStudio Help
- Switching between Timeline views — Corel VideoStudio Help
- Quick start — Corel VideoStudio Help
- Exploring the workspaces — Corel VideoStudio Help
Explore Apification
Related articles
Multimedia
Trim a long video into clips: cuts, subtitles, and exports without losing the original
A practical guide to turning long recordings into useful clips, with clear cuts, reviewed subtitles, controlled exports, and traceability in Cloud.
Multimedia
Exporting images with transparency: how to avoid black backgrounds, halos, and wrong versions
A practical guide to deciding when to use transparency, preparing layers, checking edges, and keeping the editable file in Cloud alongside the correct variants.
Multimedia
Create a Video with Images and Audio Without Losing the Originals
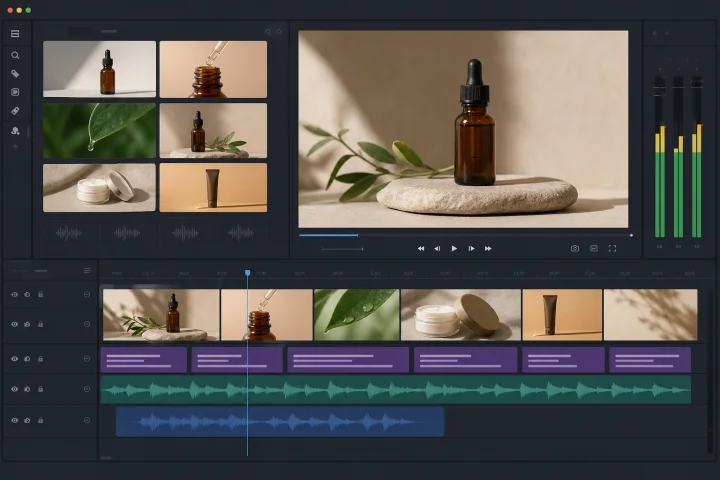
A practical guide to turning screenshots, exported slides, and a voice-over into a publishable video while separating originals, the editing project, and exports.