Multimedia
Update a Training Video Without Re-recording It
A practical guide to correcting a published tutorial or course using timestamps, multitrack editing, Cloud traceability, preview, rendering, and controlled distribution.

Decide whether to update or re-record
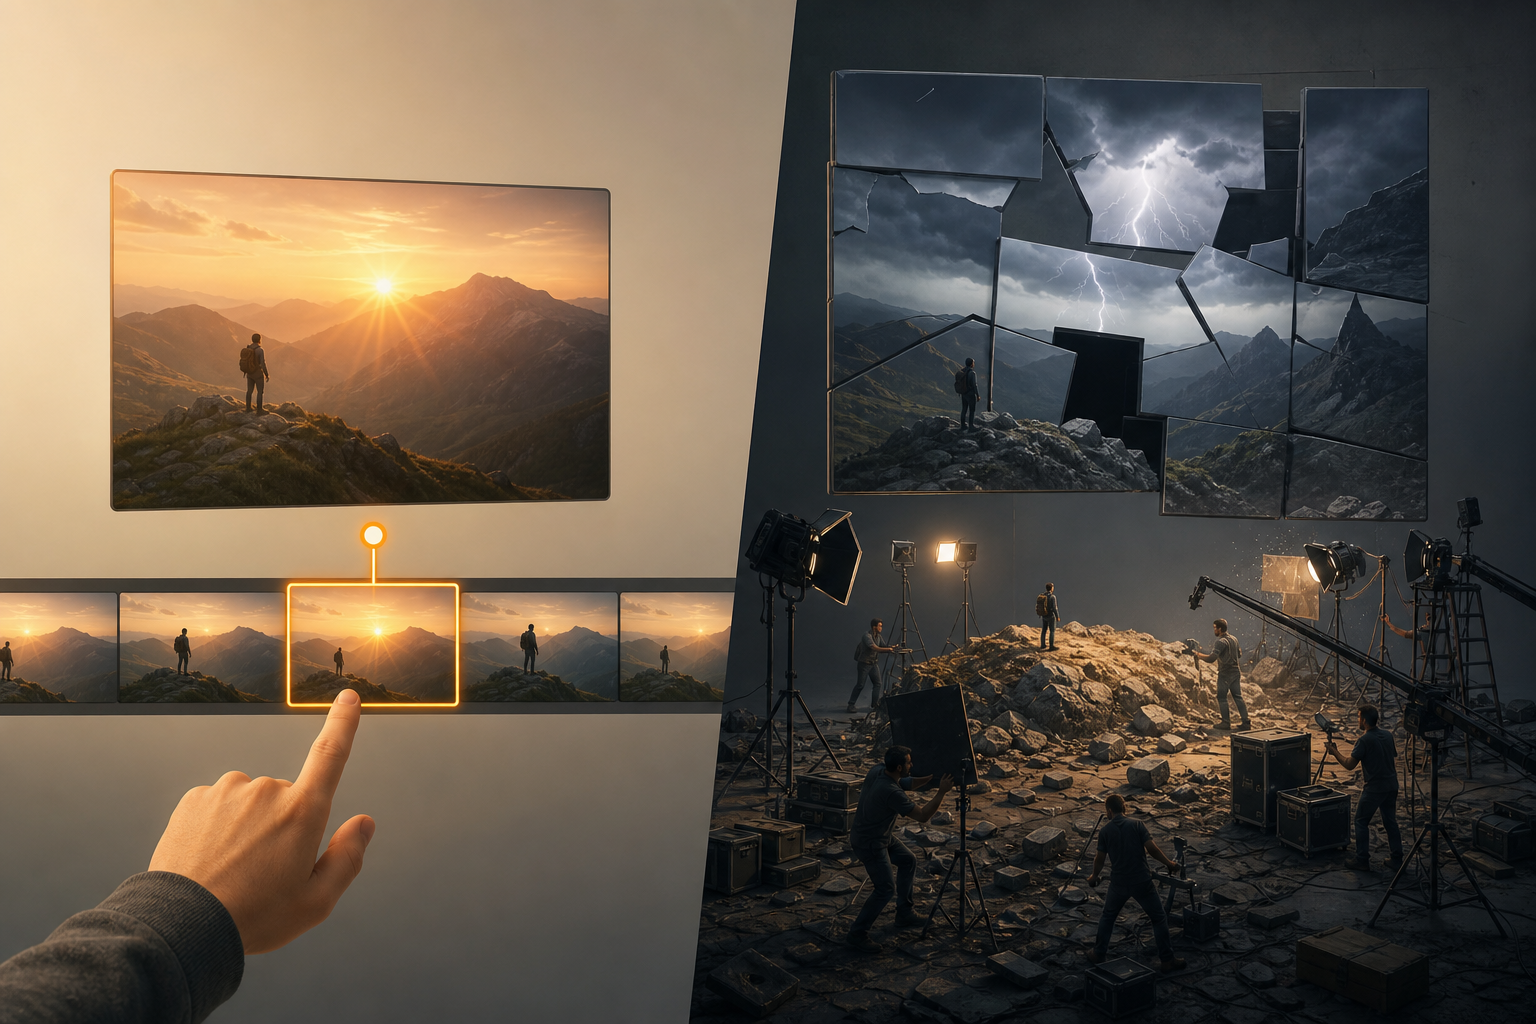
Updating a training video is worthwhile when the problem is localized: an outdated piece of data, a specific screen, an incorrect sentence, a title that no longer matches the product, or a section of audio that could be improved. In those cases, the goal is not to rebuild the piece, but to intervene precisely and preserve the value of the existing material. The first practical criterion is to measure the scope: if the correction affects a few seconds or a short block, editing is usually more efficient than a full new recording.
It is better to re-record when the change alters the structure, the teaching sequence, or the promise of the video. If an interface has changed across every step, if the script needs a different narrative, or if the original audio has constant problems, patching can produce an uneven experience. As an operational rule, separate one-off changes from systemic changes: the first can be solved with cuts, images, text, audio, or subtitles; the second call for a new production.
- Update if the change can be located by minute and second.
- Re-record if the correction forces you to reorganize all the content.
- Do not use a quick correction to hide a larger instructional problem.
Prepare materials and timestamps before editing
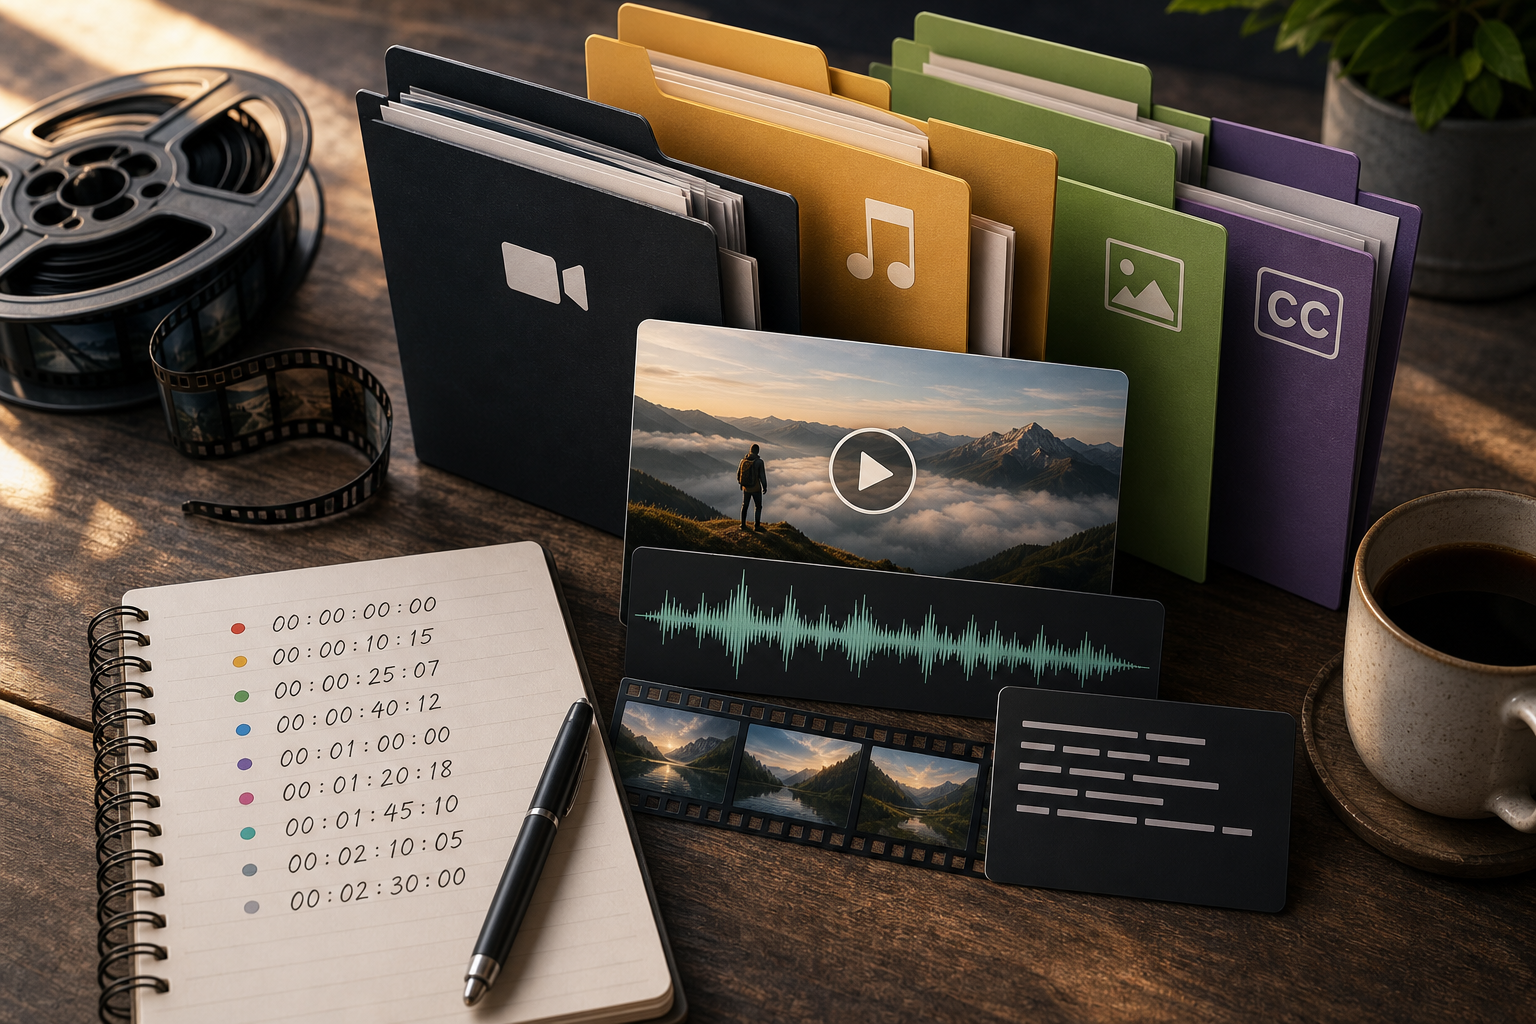
Before opening the editor, prepare a list of timestamps in a simple format: minute, second, problem, solution, and required asset. For example: 03:18, change menu name; 05:42, replace screenshot; 08:10, add clarification in subtitle. This list prevents you from searching by eye during editing and reduces the risk of correcting the wrong section. It also helps with review later, because every modification will have a verifiable reference.
Gather the original video, the corrected script, new screenshots or images, alternative audio tracks, and subtitle files if they exist. Apification Video Studio supports inputs from Cloud such as video, audio, images, text, and SRT or VTT subtitles. The general advice is not to mix source assets with final deliverables: save each material with a clear name so you know what is original, what is a correction, and what is a publishable export.
- Create a timestamp table before touching the timeline.
- Use names such as original, asset, correction, project, and render.
- Check that the necessary images, audio, and subtitles are already in Cloud.
Preserve traceability in Cloud
The update should start with a traceability decision: keep the original. Apification Cloud keeps files, folders, editable services, and generated results within the same workspace. This makes it possible to separate the published video, the editable project, and later renders without moving assets out of the work environment. In addition, views with previews, types, subtypes, extensions, and icons help you quickly recognize which file you are handling.
In Apification Cloud, you can also review saved versions, download previous content, and restore an earlier state. That capability is key when a correction goes wrong or when a team needs to compare what was published with what was corrected. History should not be confused with a license to work without order: if you overwrite names, remove context, or publish renders without labels, history helps, but it does not replace a clear versioning convention.
- Save the original as a stable reference.
- Keep the editable project separate from the final render.
- Use history to go back, not to improvise your organization.
Build the correction in a multitrack project
In Video Studio, the correction is built on a multitrack timeline where video, audio, images, text, and subtitles are organized. The project can preserve the timeline, layers, folders, clips, and export settings, which lets you continue working later without depending only on a final file. For a targeted update, create a simple structure: base video track, layer for images or screenshots, text layer, corrected audio track, and subtitles when appropriate.
Clip editing in Video Studio is non-destructive with respect to the original Cloud file: you can trim the source and modify the start, duration, or speed without altering the original file. You can also create, rename, and reorder persistent layers and folders, and move clips in time or between compatible layers using target indicators. This makes it easier to insert a new screen, cover old information with a label, or synchronize an audio explanation without destroying the source.
- Do not edit with only the render in mind; keep the project understandable.
- Use separate layers for video, images, text, audio, and subtitles.
- Avoid flattening assets if review is still pending.
Text, audio, and subtitles: what to correct and how to avoid visible patches
On-screen text is useful for short changes: button names, dates, notices, or small clarifications. Video Studio allows you to add styled text and subtitles, as well as import SRT and VTT subtitles while preserving their timings. The important decision is when to use a label and when to replace an image or video: if the user needs to see a new interface, an updated screenshot will be clearer; if only a name changes, temporary text may be enough.
For audio, corrections must take continuity into account. Video Studio allows you to adjust volume, silence, or normalization, and apply fades and intro or outro effects. Use this to avoid abrupt jumps between the original narration and a new phrase. A common cause of failure is inserting correct audio with a different level or rhythm; even if the information is accurate, the result can sound like a patch. Review breaths, pauses, and alignment with the on-screen action.
- Use text for short clarifications, not to remake an entire scene.
- Import SRT or VTT if you already have timed subtitles.
- Apply fades when you replace or insert audio fragments.
Review with preview before rendering
Preview is the point where a technical correction becomes an editorial decision. In Video Studio, preview works in the browser and lets you check cuts, synchronization, text readability, audio consistency, and subtitles before rendering. First go through the corrected timestamps, then watch the full video: many errors appear in the transitions between modified areas and untouched areas.
One important limitation must be remembered: Video Studio preview is an interactive approximation, and the final result generated with FFmpeg may vary slightly because of codec, source, resolution, or effects. That is why it is not advisable to approve only by watching an isolated segment. The minimum review should include the second before and after each cut, imported subtitles, volume changes, and any text overlaid on complex backgrounds.
- Review each correction with margin before and after the timestamp.
- Check subtitles, audio, and text in one complete pass.
- Do not confuse preview with final render verification.
Export a new publishable version
When the review is approved, save the editable project and render a new version. Video Studio allows you to undo or redo changes, save the editable project, and render the video for download or saving. It also filters export options by container, codec, resolution, FPS, quality, and bitrate compatibility, showing compatible combinations. This reduces wrong decisions, but it does not remove the need to define the delivery format carefully.
Apification Video Studio can export to MP4, WebM, MOV, MKV, AVI, MPEG, and other compatible containers and codecs. In a training workflow, the file name should communicate version, date, and purpose, for example: support-course-module-03-v2-2026-09. After rendering, play the final file, compare the timestamps with the initial list, and confirm that the export contains what it should. Remember that the editable project and each saved render count as separate resources.
- Save the project before generating the final render.
- Choose container, codec, resolution, FPS, quality, and bitrate from compatible options.
- Test the rendered file, not just the preview.
Share the update without creating confusion
Publishing a correction does not end with the render. Apification Cloud keeps resources private by default and lets you share them with users or groups without changing their public visibility. In addition, items can be shared through links, users, or groups, and can offer original or transformed downloads. The recommended practice is to communicate which version replaces which, who can access it, and whether the previous file remains only as an internal reference.
The main distribution mistake is leaving two active versions without context. If a support team downloads the old video while training uses the new one, the correction loses its effect. Define a controlled withdrawal: keep the original for traceability, update the corresponding link or shared resource, limit permissions when appropriate, and document the replacement date. Cloud properties, versions, trash, and restoration help protect against accidental changes and keep the history accessible.
- Share the new version with the right users, groups, or links.
- Avoid publishing contradictory versions at the same time.
- Keep the original, but withdraw it from operational use if it is already obsolete.
Frequently asked questions
Can I update a training video without modifying the original file?
Yes. In Apification Video Studio, clip editing is non-destructive with respect to the original Cloud file, so you can trim and adjust clips within the project without altering the saved source.
What types of elements can I combine in the correction?
Video Studio lets you assemble video, audio, images, text, and subtitles in a multitrack editor with preview and rendering, using inputs from Cloud.
Can I import subtitles that are already timed?
Yes. Video Studio allows you to add styled text and subtitles and import SRT and VTT files while preserving their timings.
Does preview guarantee that the final render will be identical?
Not necessarily. Preview works in the browser and is an interactive approximation; the final result generated with FFmpeg may vary slightly because of codec, source, resolution, or effects.
How do I avoid losing a previous version?
Keep the original in Cloud, save the editable project separately from the render, and use history to review versions, download previous content, or restore an earlier state if needed.
Sources and further reading
Documentation consulted while preparing this article.
- Apification Video Studio — Apification
- Cloud de Apification — Apification
- Versiones y restauración — Apification
- Transformación de archivos — Apification
- HTML <track> element — MDN Web Docs
- WebVTT: The Web Video Text Tracks Format — W3C
- SubRip Subtitle format (SRT) — Library of Congress
Explore Apification
Related articles
Multimedia
Covers and Thumbnails in Multiple Aspect Ratios: How to Edit Them With Layers Without Redesigning Every Time
A practical guide to adapting the same visual piece to covers, thumbnails, page images, and banners while keeping editable layers, versions, and orderly deliveries.
Multimedia
Video subtitles: review, synchronization, and export without duplicating corrections
A practical guide to separating the script, subtitle track, editable project, and final renders while avoiding correcting the same text in several places.
Multimedia
Browser Video: How to Choose Containers, Codecs, and Exports Without Creating Unplayable Files
A practical guide to choosing the container, codec, resolution, audio, subtitles, and workflow before sharing videos by link, embed, or download.