Multimedia
Prepare clean and consistent audio clips: volume, cuts, fades, and export without version chaos
A practical guide to turning recordings, voice-overs, and loose tracks into publishable audio clips while keeping originals, edits, and exports clearly separated.
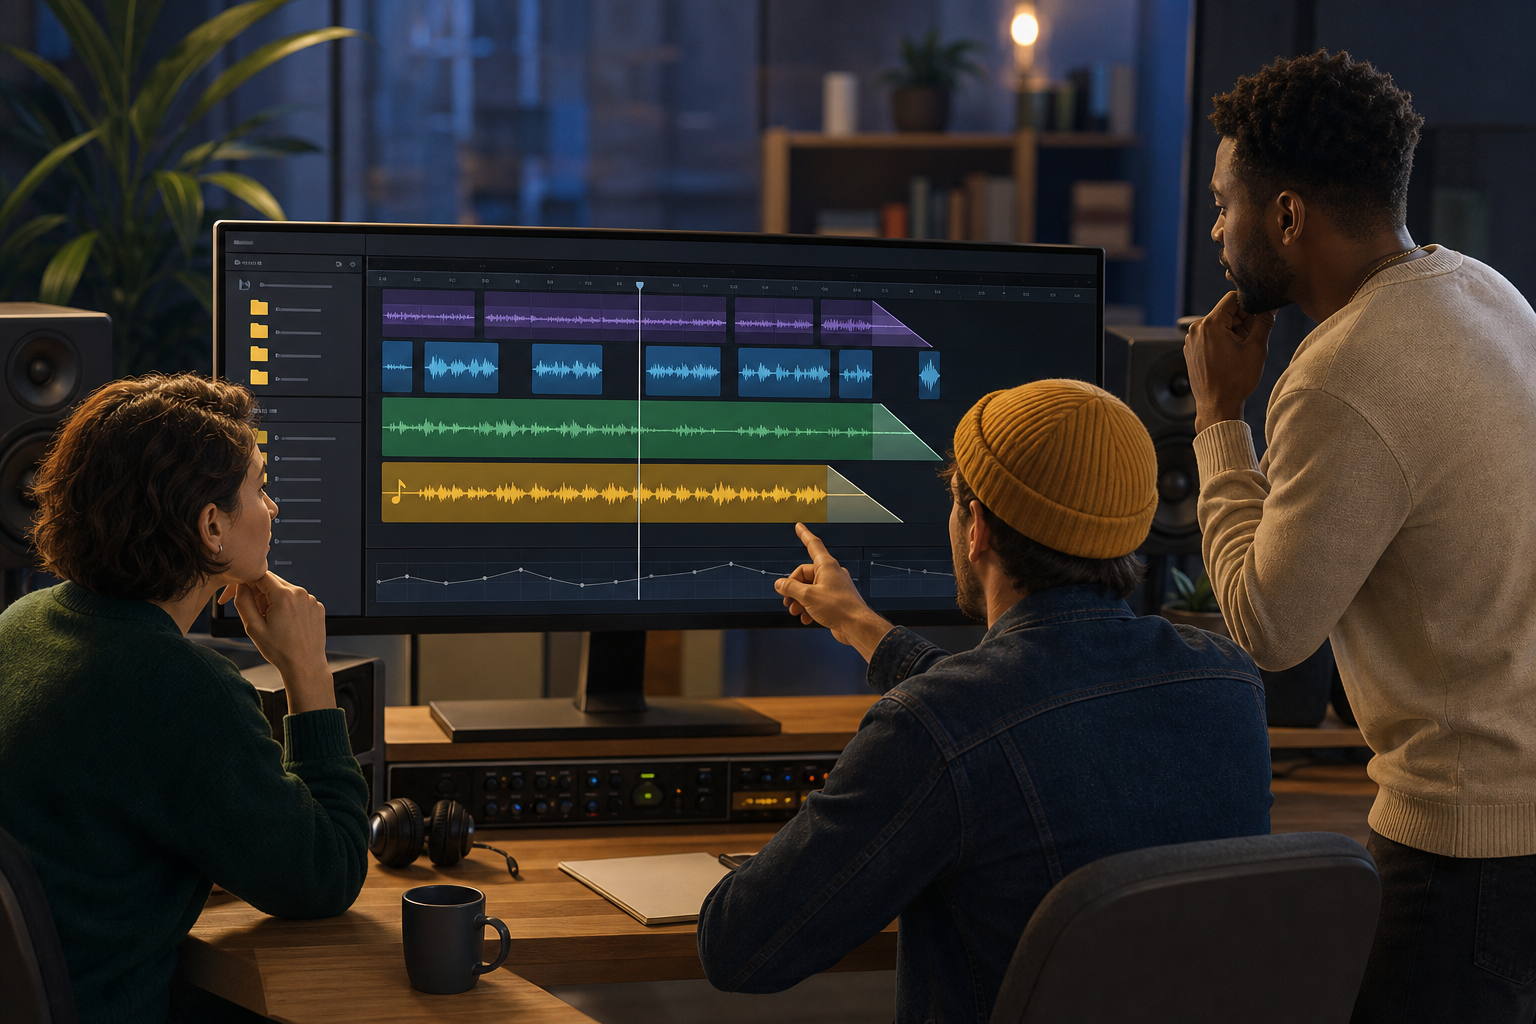
The problem: recorded does not mean publishable
An audio file can be recorded correctly and still not be ready to share. In training, marketing, or internal communications teams, it is common to receive voice-overs with long silences, openings with breaths, dry endings, volume differences between takes, or ambiguous file names. The result does not fail because of one major technical breakdown, but because of accumulated details that make the clip feel improvised when it is integrated into a video, course, page, or internal delivery.
Preparing audio clips requires a repeatable workflow: review the material, decide what to keep, make clean cuts, apply fades when the edges need them, balance levels perceptually, and export an unambiguous final version. Apification fits into that workflow as a workspace where media remains in Cloud during editing and rendering, originals are preserved, the project stores tracks, clips, effects, fades, levels, and regions, and the export generates a new file.
Checklist before editing
Before opening a timeline, it is worth settling the basic decisions. The goal of the clip determines almost everything: a voice-over for a short video is not handled the same way as a support track for internal training or a message that will be sent as a download. The expected duration, publishing channel, language, tone, supporting pieces, and who approves the result should be defined before you start trimming.
You also need to identify the source material. Is there one main take or several alternatives? Is there music, effects, or sound assets that should go on separate tracks? Do you need to export the full mix or only one region? In Apification Audio Studio, you can use markers and regions to label specific moments or intervals, navigate during review, and export only part of the project when the deliverable does not match the entire session.
- Clip goal and specific audience.
- Expected duration and tolerance margin.
- Publishing or delivery channel.
- Main take, alternative takes, and auxiliary tracks.
- Approval criteria: content, duration, perceived volume, and final name.
- Export scope: full mix, selected region, or individual track.

Organize the project without overwriting originals
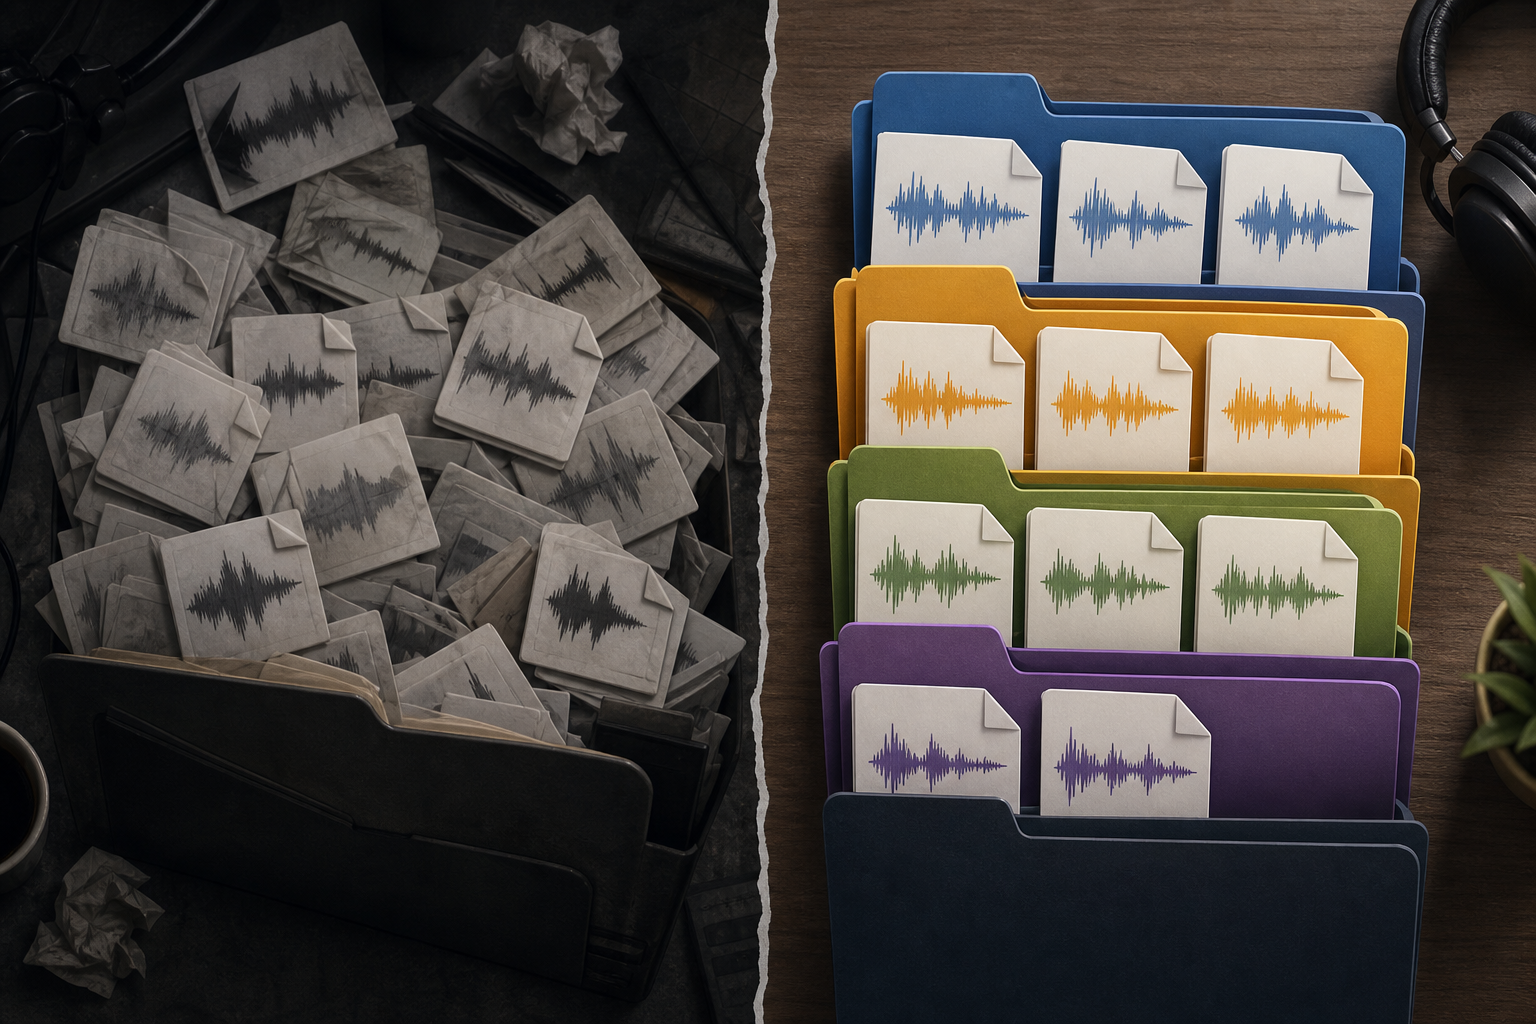
Organization is both a technical and operational decision. In Apification Cloud, files, folders, editable services, and generated results can be kept within the same workspace. For a team that receives recordings, a simple structure prevents many mistakes: one folder for originals, another for projects or work sessions, another for review drafts, and another for final exports. The priority is that no one has to guess which file can be used and which one should not be touched.
The critical point is to separate identity, location, and version. Moving an item in Cloud changes its organization, not its identity, and keeps its associated properties and access rules. In addition, versions and restoration preserve previous content when a compatible edit or update modifies a Cloud item. This does not replace good naming conventions, but it helps correct mistakes: an available previous version can be reviewed or downloaded before deciding whether it should be restored as the active state.
- Use descriptive names: project, piece, language, date, and status.
- Avoid names such as final, final2, or good if there are multiple reviews.
- Keep originals in a folder separate from exports.
- Do not mix editable files with approved deliverables.
- Document which version has been sent or published.
Clean cuts: what to remove and what to keep
The first editing pass should focus on listening, not on applying effects. Locate excessive breaths at the beginning, noise before the first word, pauses that break the rhythm, repetitions, and abrupt endings. In Audio Studio, non-destructive editing lets you move clips between tracks and adjust start, duration, and trimming while preserving the original audio. That feature is important because it lets you correct decisions without destroying the source take.
Not every silence is a flaw. In voice-over, a brief pause can help an idea be understood; removing it completely can make a clip sound artificial or rushed. The practical criterion is to trim what distracts and keep what adds naturalness. If a cut leaves one word too close to the next, it is worth restoring a few milliseconds of room tone or reviewing the entry point. A common mistake is cleaning the track so much that every sentence sounds assembled, not spoken.
Fades and edges: avoid clicks, bumps, and dry endings
The edges of a clip are sensitive areas. A cut made exactly when the waveform is not at a friendly point can create clicks, bumps, or harsh entrances. That is why fade-ins and fade-outs are a basic tool, not an ornament. Audio Studio includes configurable fades and edge effects designed to avoid abrupt starts or cuts. In short clips, a very brief fade may be enough to soften the beginning without the listener perceiving a slow entrance.
The usual mistake is to use fades as a universal solution. If a sentence starts late, the fade does not fix the content problem; if there is constant noise, a fade only disguises it at the beginning or end. The practical decision is to review every edge: entrance, exit, and joins between clips. Apply a fade when the cut sounds dry or produces a bump, but preserve clear attacks when the word or sound asset needs immediate presence.
- Listen to the first and last seconds of each clip.
- Apply a fade-in if there is a click, bump, or overly abrupt entrance.
- Apply a fade-out if the ending feels dry or cut off.
- Do not use long fades if they reduce clarity or energy.
- Listen to the edge again after moving or trimming the clip.
Volume consistency without chasing numbers blindly
Volume consistency is decided by listening to the whole clip and comparing it with its real use. Two takes can have different levels even if they look similar on screen, and background music can cover the voice even if its waveform does not look striking. Audio Studio lets you configure volume and stereo pan by clip or track to balance voices, music, and effects. That capability helps correct perceptible differences without turning every review into a complete rebuild.
In addition to volume and pan, Audio Studio includes a processing chain with equalization, compression, noise gate, filters, echo, reverb, and pitch when available. The operational recommendation is to apply processing with intent: compression to contain obvious variations, noise gate carefully so it does not cut off the ends of words, and equalization to improve clarity when necessary. The most common mistake is processing every clip differently and creating a collection of technically edited audio files that are inconsistent with one another.
Working with multiple tracks: voice, music, and sound assets
A multitrack timeline is useful when the clip is not just an isolated voice. In Audio Studio, recordings, music, and effects can be organized on independent tracks with a detailed time ruler. This allows you to place a voice-over on one track, support music on another, and sound assets on a third, without prematurely mixing the files. The advantage is that each element keeps its role and can be adjusted independently within the project.
The main cause of failure in multitrack projects is competition between sources. If the music takes up too much space, the voice loses clarity; if several effects enter at the same time as an important word, the message becomes diluted. Because Audio Studio lets you adjust volume and pan by clip or track, it is best to start by prioritizing the voice and then add music or effects below that reference. There is no need to complicate the workflow: order, complete listening, and consistent decisions usually solve more than adding processing.
- Define the voice as the main reference when the message is spoken.
- Place music and effects on independent tracks.
- Lower assets that compete with important words.
- Avoid stacking effects during informative transitions.
- Review the clip without looking at the screen to detect distractions.
Responsible export and correct delivery
Exporting should not be an automatic gesture at the end, but a delivery decision. Audio Studio can render the full mix, a selected region, or an individual track. It also lets you select format, codec, bitrate, frequency, and channels among combinations supported by FFmpeg. In practice, it is best to generate variants only when there is a specific distribution or compatibility reason; too many exports increase the likelihood of sending the wrong one.
Export creates a new audio file, while trims, position, level, and effects remain saved in the project. This makes it easier to keep an editable working file and a final deliverable with a clear name. Apification Cloud can produce organized assets, links, and original or transformed downloads, so the team can share the correct result through links, users, or groups. Before sending, listen to the exported file, not just the project, and confirm that the name reflects the piece, version, and destination.
- Export only the necessary scope: mix, region, or track.
- Name the final file with piece, language, date, and approved status.
- Keep the editable project alongside the exported file.
- Listen to the full rendered file before sharing.
- Share the correct deliverable, not the entire working folder.
Frequently asked questions
Does Apification modify my original audio files when I edit?
In Audio Studio, trims, position, level, and effects are saved in the project, and export creates a new audio file. Editing is designed to preserve the original audio while you work.
When should I use a multitrack timeline?
It is useful when the clip combines voice, music, or effects. It lets you organize each source on independent tracks, adjust levels, and prevent sound assets from competing with the main voice.
Can I export only part of the project?
Yes. Audio Studio lets you use markers and regions to indicate intervals, and it can render the full mix, a selected region, or an individual track.
How do I avoid sending the wrong version?
Separate originals, projects, drafts, and final exports in Cloud, use clear names, and share the final file through links, users, or groups. Also review the history and download available previous versions if you need to compare before restoring.
Sources and further reading
Documentation consulted while preparing this article.
- Audio Studio de Apification — Apification
- Cloud de Apification — Apification
- Versiones y restauración — Apification
- Capacidades por formato — Apification
- Transformación de archivos — Apification
Explore Apification
Related articles

Multimedia
How to Add Audio Description to a Video: Script, Pauses, and Mixing
Learn how to select the visual information that needs narration, write concise descriptions, fit them between dialogue, and check the mix before publishing.

Multimedia
How to Hand Off an Editable Layered Design Without Losing Context or Assets
A useful handoff includes an organized editable file, the necessary assets, a visual reference, and a clear explanation of what should continue or change.

Multimedia
Extract Audio from a Video: Steps and Tools
Compare documented Premiere and Canva workflows, review the result, and organize the audio for your next project.