Files and formats
How to Extract Images from a PDF Without Mistaking Them for Page Captures
Learn when to retrieve embedded graphic resources and when to rasterize pages, and how to check resolution, cropping, transparency, and color before reusing the results.
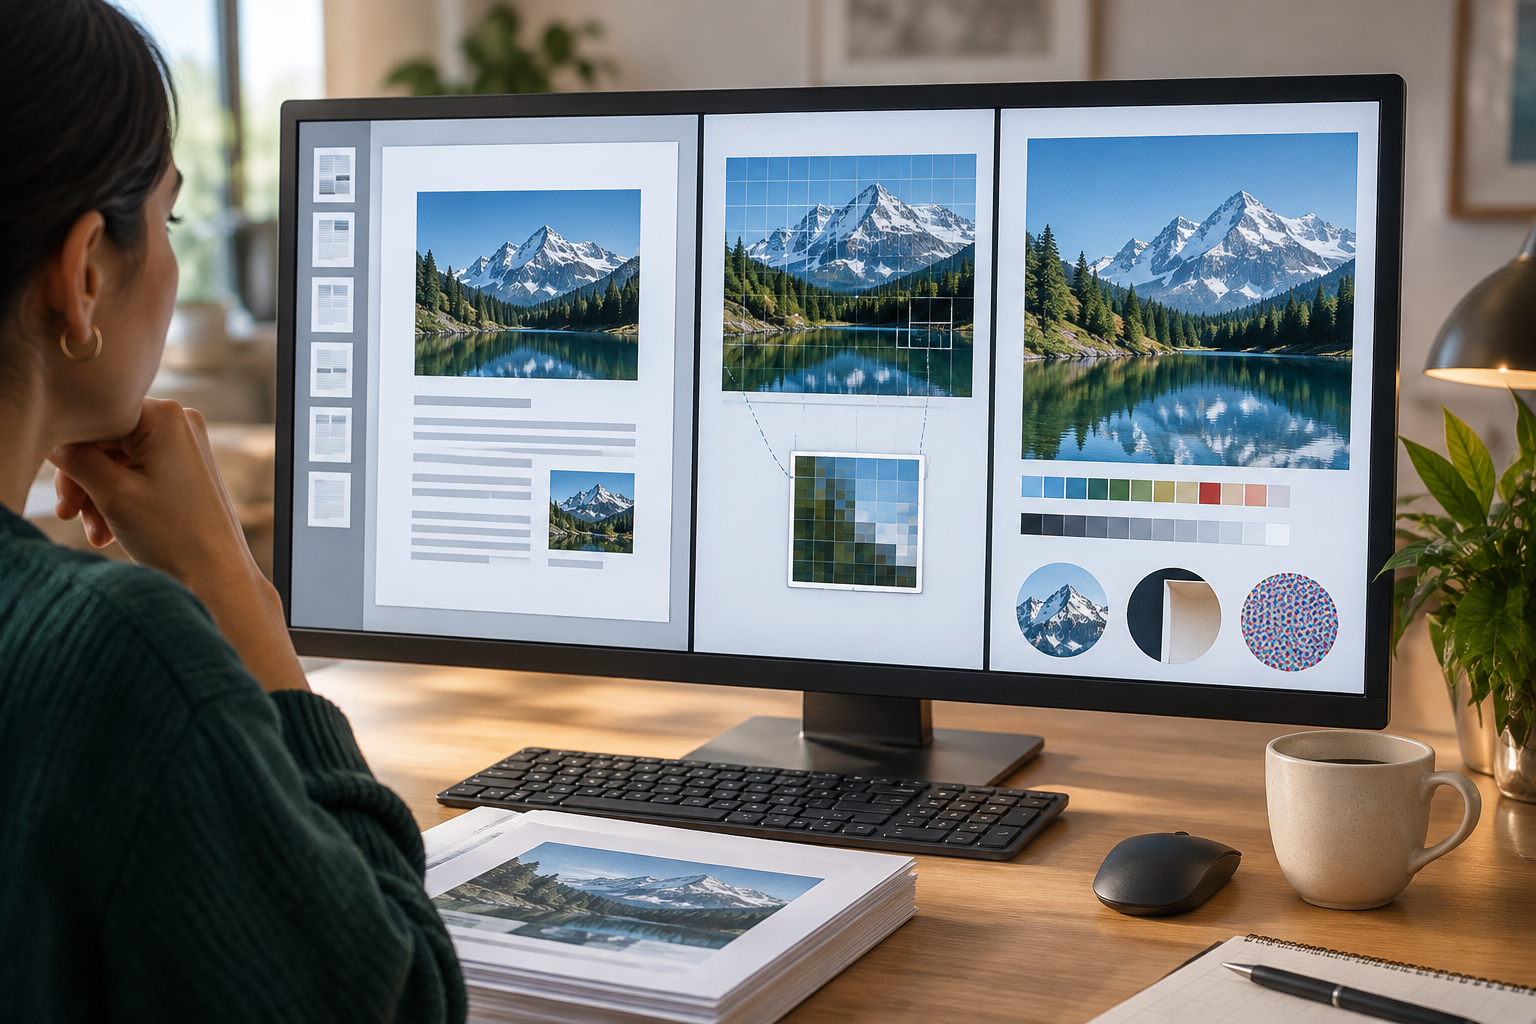
First, decide what you need to get
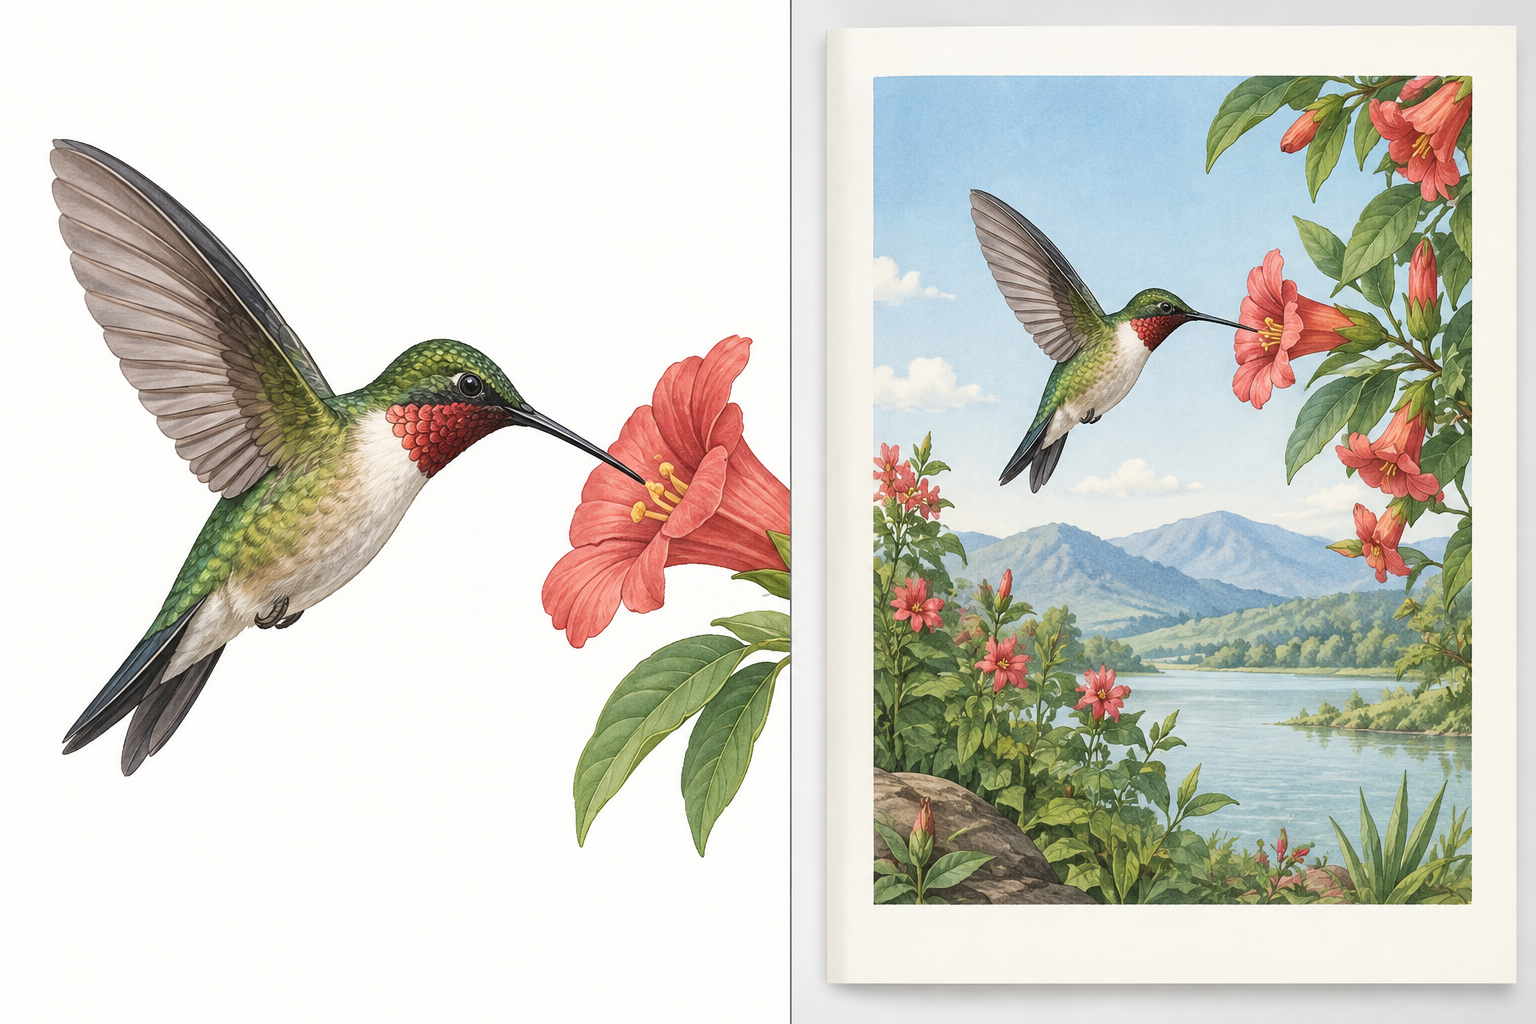
The phrase “extract images from a PDF” can refer to two different tasks. Extracting an embedded resource means retrieving an image stored inside the document, such as a photograph or graphic placed on a page. The result is that resource, not a full reproduction of the page. This can be useful if you want to edit the image, include it in another composition, or archive it as a separate file.
Rasterizing a page, by contrast, means rendering its content as a new image. The result can include text, shapes, vector graphics, backgrounds, and photographs as they appear together on the page. This is more suitable when you need a complete visual reference or want to share a page as an image, but it is not the same as retrieving the original graphic files. Before you begin, state your goal in one sentence: “I need the graphic to edit it” or “I need an image of the page as it appears.”
- To reuse an individual resource, try extracting embedded images.
- To preserve the visible composition of a page, convert the page to an image.
Check what kind of content the PDF contains
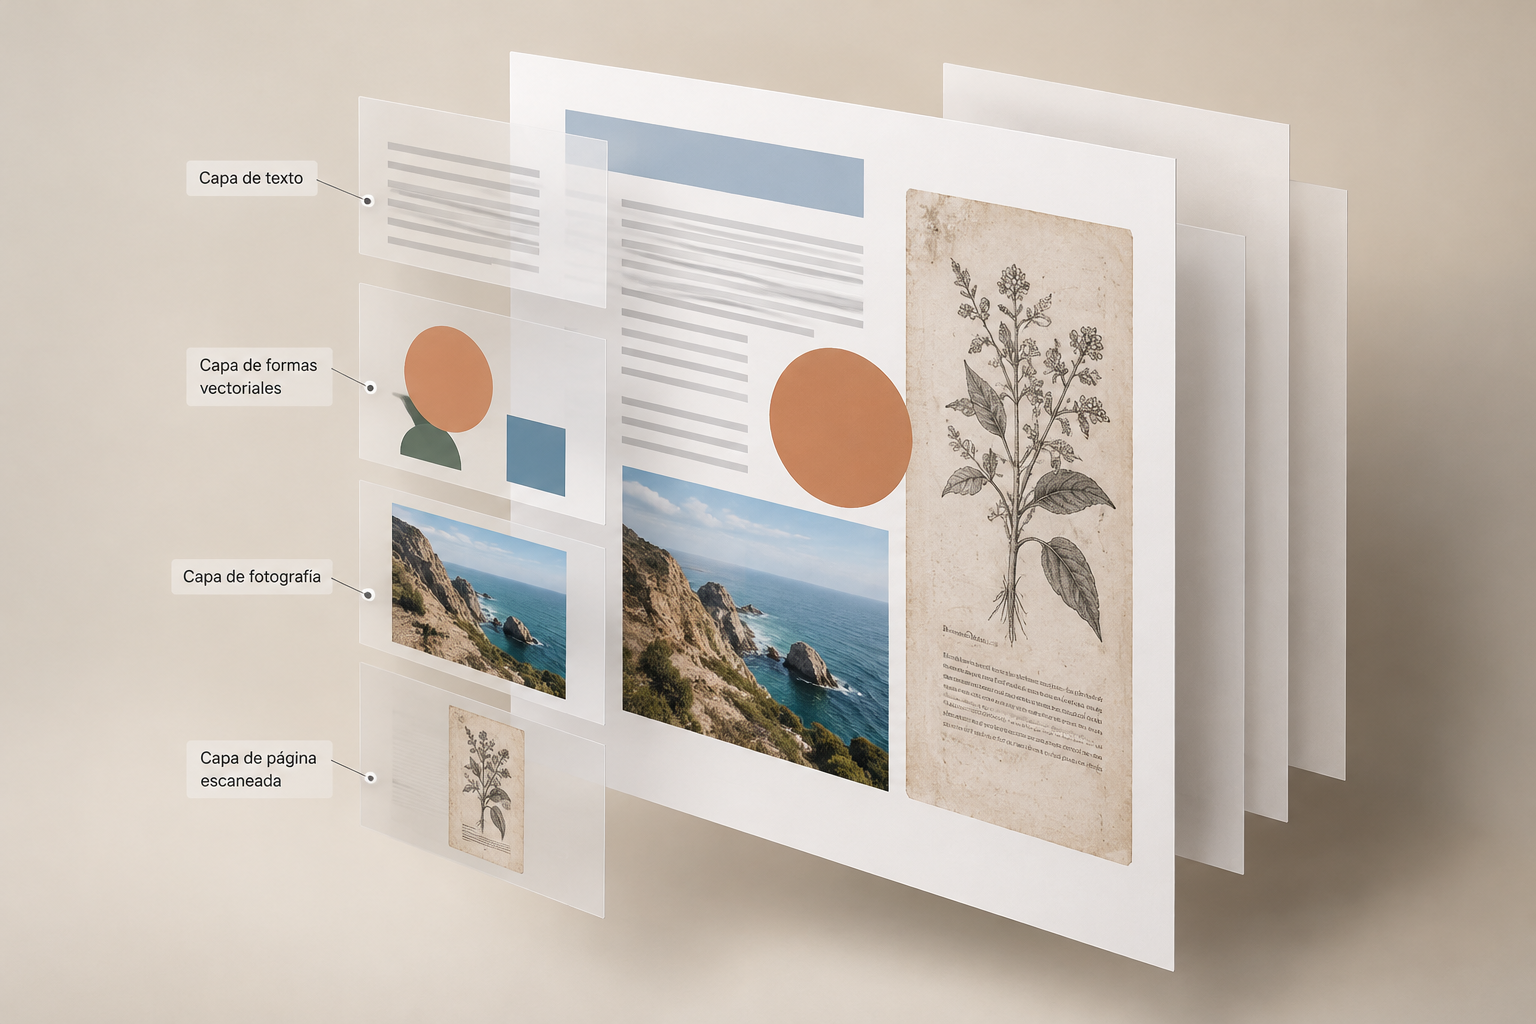
A PDF may contain inserted photographs or raster images, but it can also contain text and vector graphics that are drawn when the page is displayed or printed. A scanned document may also store each page as one large image. In that case, an extraction tool might return the entire page as a single resource rather than separate visual elements. The fact that no individual photograph appears does not, by itself, prove that the document has no graphic content.
Inspect the file before processing it all. Zoom in on a page and see whether the lines in a graphic remain sharp; check whether you can select text or whether the page behaves like an image; and compare several pages, since a single PDF may combine photographs, text, and vector elements. These clues can help guide your choice, but they do not guarantee how the file is structured internally. If you want an image of a vector graphic, rasterizing the area or page can be a practical way to get a visual output, although it will no longer be an editable vector object.
- Look for a representative page with the content you need.
- Keep in mind that a scan may store the entire page as one image.
- Do not interpret “no images found” as proof that the PDF contains no graphics.
Choose the method based on the end use
For editing, start by extracting the embedded resource if the PDF contains the graphic you want. Extraction may preserve the format in which the resource was incorporated, which is often PNG or JPEG, among other formats. That does not necessarily mean you will recover the original source file from before it was added to the PDF: it may already have been reduced, compressed, or prepared for the document. Open the result and confirm that it contains the complete object before taking it into an editor.
For publication or to preserve a page as a visual reference, rasterize the page and choose settings according to its intended use. A page conversion may offer settings for format, DPI, color mode, and page selection; a higher DPI value produces larger, more detailed images, but may also increase file size. If the output format uses lossy compression, check the quality before distributing the file. In an Apification workflow, File transformation lets you process documents through a guided assistant; do not assume it offers a specific image extraction feature without checking the particular tool.
- To edit a resource: prioritize extraction and verify the format and dimensions.
- For a page reference or composition: rasterize it and check the result at its intended display size.
- For publication: choose the resolution and format with both detail and file size in mind.
Check resolution, transparency, cropping, and color
Quality is not judged by format name alone. Check the extracted file’s pixel dimensions and enlarge it to the size at which you will actually use it. If it looks blurry or pixelated in that context, the embedded resource may not have enough resolution for its new destination. Rasterizing the page at a higher DPI can produce an output with more pixels, but it cannot recover detail that was not present in the original content. For small text, fine lines, or graphics with labels, inspect the edges and readability, not just the thumbnail.
Also compare the boundaries of the object with those in the PDF. An image may appear cropped because it was placed that way on the page, because its content extends beyond its visible area, or because the extraction process did not preserve the composition you expected. If the background looks different, check whether transparency was preserved or whether the image is now displayed against a different background. For color, look at both neutral areas and important tones, and compare them with the PDF on a screen and at a similar scale. A visual difference may result from the color mode, the format, or how the resource is displayed; do not assume that all converters reproduce the same appearance.
- Open the file at actual size and check pixels, edges, and fine text.
- Confirm that the framing includes the area you need.
- Check the background and transparency against a contrasting color.
- Compare colors and contrast with the same page in the PDF.
Run a small test and compare it with the original
Before processing a complete report, choose a page that includes the most demanding case: a photograph, small text, a vector graphic, or a combination of elements. Run the chosen method on just that page or resource if the tool allows you to limit the selection. Save the result with a temporary name and open it outside the PDF viewer. This lets you quickly spot whether you got a full page when you wanted a graphic, whether the element was separated from its background, or whether the file lacks sufficient detail.
Compare three things systematically: content, framing, and appearance. Confirm that all the necessary parts are present; check whether the crop matches your goal; and note whether transparency, color, or sharpness has changed. For a page capture, also check the margins and anything close to the edge. If the test fails, change your approach before repeating the process: try rasterization instead of extraction, or vice versa. Do not try to compensate for the wrong output by increasing settings without first identifying what kind of result caused the problem.
- Test page: choose a representative page and, if possible, the most complex one.
- Validation: confirm the content is correct, the framing is complete, and the appearance is acceptable.
- Decision: repeat, switch methods, or adjust the format and resolution.
Troubleshoot the most common issues
If the extractor finds no images, check whether the page uses vector graphics or whether the PDF is a scan made up of full-page images. To get a visible image of a vector graphic, rasterization can include it when rendering the page; however, it does not turn it into an editable source image. If only one huge image appears per page, you are probably dealing with a scan or a page composed as a single resource. Decide whether that full page works for you or whether you need another source.
If you get fragments rather than the whole graphic, the PDF may use several resources or display only part of a resource on the page. Compare the extracted files with the original composition, and do not assume that each separate file corresponds to a complete object ready for reuse. If the quality is not good enough, check dimensions and compression first; increasing the DPI of a rasterized output can add output detail, but it cannot reconstruct missing information. If the color or background does not match, try the output in another viewer and compare it with the PDF before editing it.
- No resources appear: consider vector content or a full-page scan.
- Fragments appear: compare each resource with the PDF’s visible composition.
- The result looks blurry: check the resolution and source before increasing DPI.
- The background or color changes: check transparency, color mode, and viewer.
Keep the original and organize the results
Keep an untouched copy of the PDF you received, and work on a copy if you are going to perform conversions or other modifications. Save extracted resources and rasterized pages in separate locations so you do not confuse an individual graphic with a page capture. Use names that identify the document, page, and content, for example “report-p12-sales-chart” or “catalog-p03-page.” Add a brief note if the file has been cropped, has a different background, or uses a resolution chosen for a particular purpose.
Finish with a checklist: goal defined, suitable method selected, test compared, quality acceptable for the intended use, and files identified. If you manage materials from several documents, an organized, versioned space such as Apification Cloud can help keep files and their context together; the specific extraction or conversion must be carried out with a tool that confirms it supports that capability. Keep the source PDF too: it lets you compare the result again or try another method without relying on an image that has already been transformed.
- Keep the original PDF unchanged.
- Separate individual resources from converted pages.
- Include the document, page number, and content in filenames.
- Note any settings or limitations relevant to later use.
Frequently asked questions
Is extracting an image from a PDF the same as converting a page into an image?
No. Extraction retrieves graphic resources stored inside the PDF; conversion rasterizes a page and may render text, shapes, graphics, and photographs together.
Why don’t any images appear when I extract them?
The PDF may use vector graphics or be a scan in which each page is a single image. The absence of separate resources does not mean there is no visual content.
Does increasing the DPI always improve quality?
It increases the size and detail of the rasterized output, but does not recover information that was not in the PDF. Check sharpness at the final size you intend to use.
Will the extracted image be identical to what I see on the page?
Not necessarily. The resource may be cropped or composed with other elements, and the format, transparency, color, or conversion process may change its appearance.
Sources and further reading
Documentation consulted while preparing this article.
- Documentación de la herramienta «Extraer imágenes» de BentoPDF — GitHub (repositorio BentoPDF)
- Documentación de la herramienta «PDF a imagen» de Snapotter — GitHub (repositorio Snapotter)
Explore Apification
Related articles
Files and formats
Convert a PDF to Grayscale for Printing: What to Check Before You Send It
Prepare a monochrome version without losing the original, then check pages, graphics, contrast, and readability before sending the PDF to print.

Files and formats
How to Find Duplicate Files Before Cleaning a Shared Folder
A cautious method for finding possible copies, checking how they are used, and deciding what to keep before deleting or archiving.
Files and formats
How to Organize Conversions of Many Files Without Mixing Settings or Results
An operational guide to inventorying files, grouping them by task, testing compatible transformations, and reviewing each output before sharing or importing it.