Multimedia
Create a Video with Images and Audio Without Losing the Originals
A practical guide to turning screenshots, exported slides, and a voice-over into a publishable video while separating originals, the editing project, and exports.
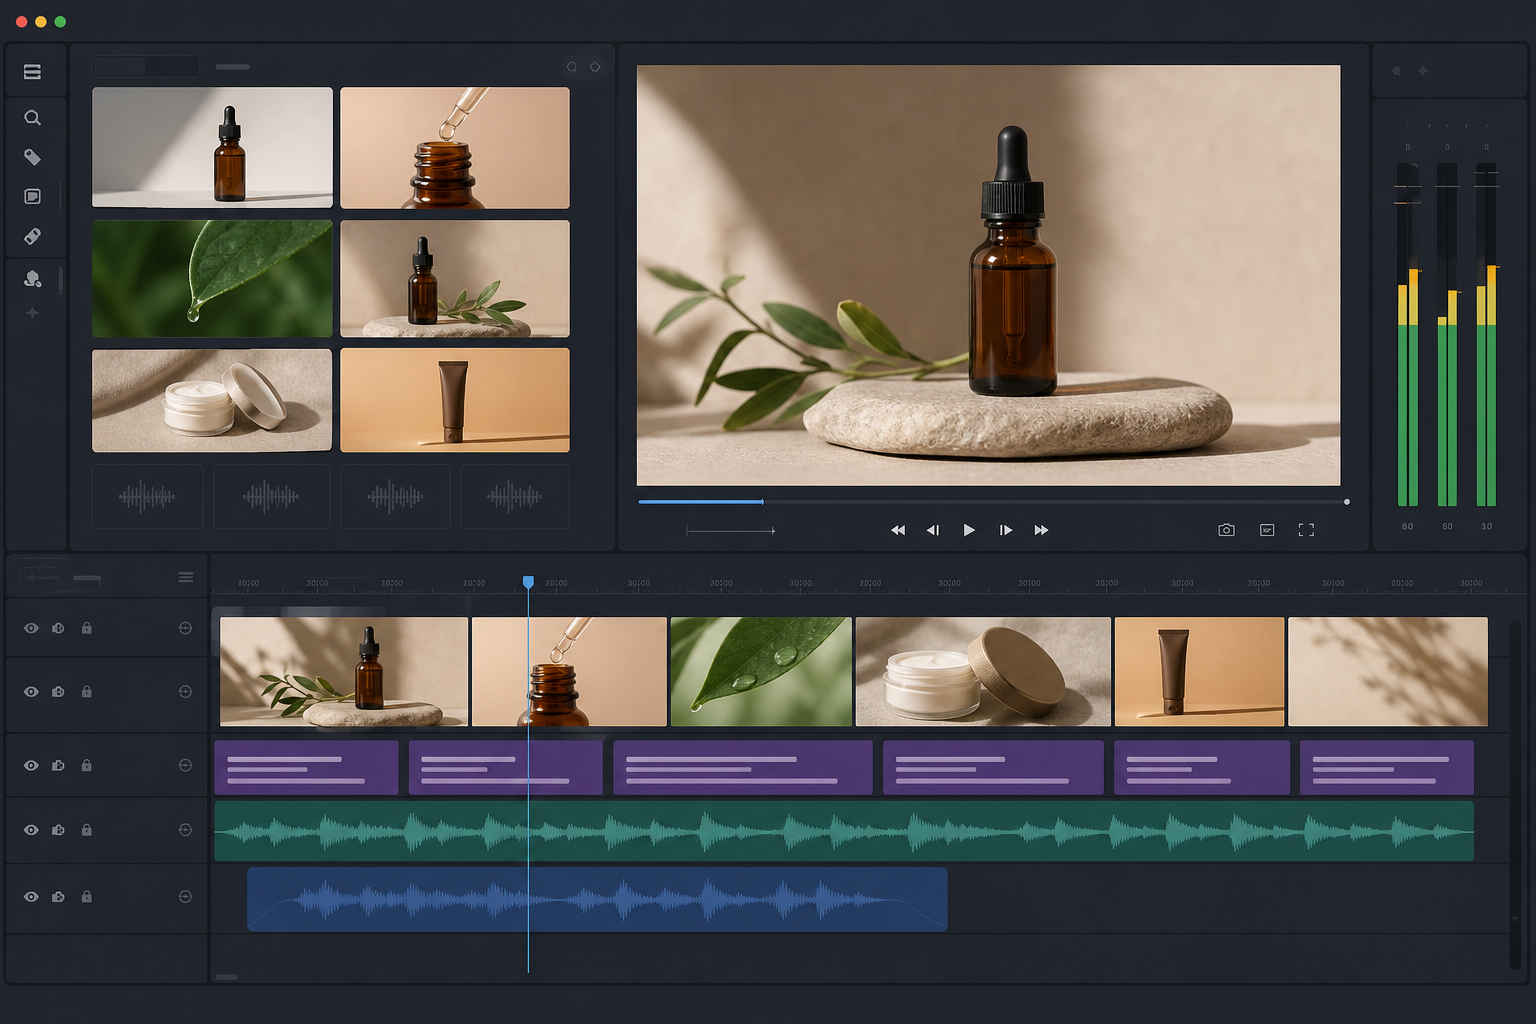
When it makes sense to create a video from images and audio
Creating a video with images and audio is a good decision when the goal is not to deliver loose materials, but to guide an audience through a specific sequence. A presentation forces the viewer to interpret the pacing; a folder of screenshots leaves the context scattered. A video, by contrast, lets you define order, duration, narration, and visual emphasis. It is especially useful for internal training, support, product demonstrations, feature summaries, or short marketing pieces based on existing assets.
There are also cases where it is better not to complicate the workflow. If the content requires collaborative text editing, a presentation or another office document may be enough. If the audience needs to download original assets for reuse, a shared folder may be more appropriate. Video provides more narrative control, but it requires checking sound, readability, duration, subtitles, and export. The decision should depend on the final use, not on the idea that every visual asset must become a video.
- Choose video if you need pacing, voice, a fixed order, and a publishable version.
- Choose a folder if the recipient needs to reuse screenshots, images, or original documents.
- Choose a document or presentation if the content will continue to change intensively.
Prepare input material without damaging the originals
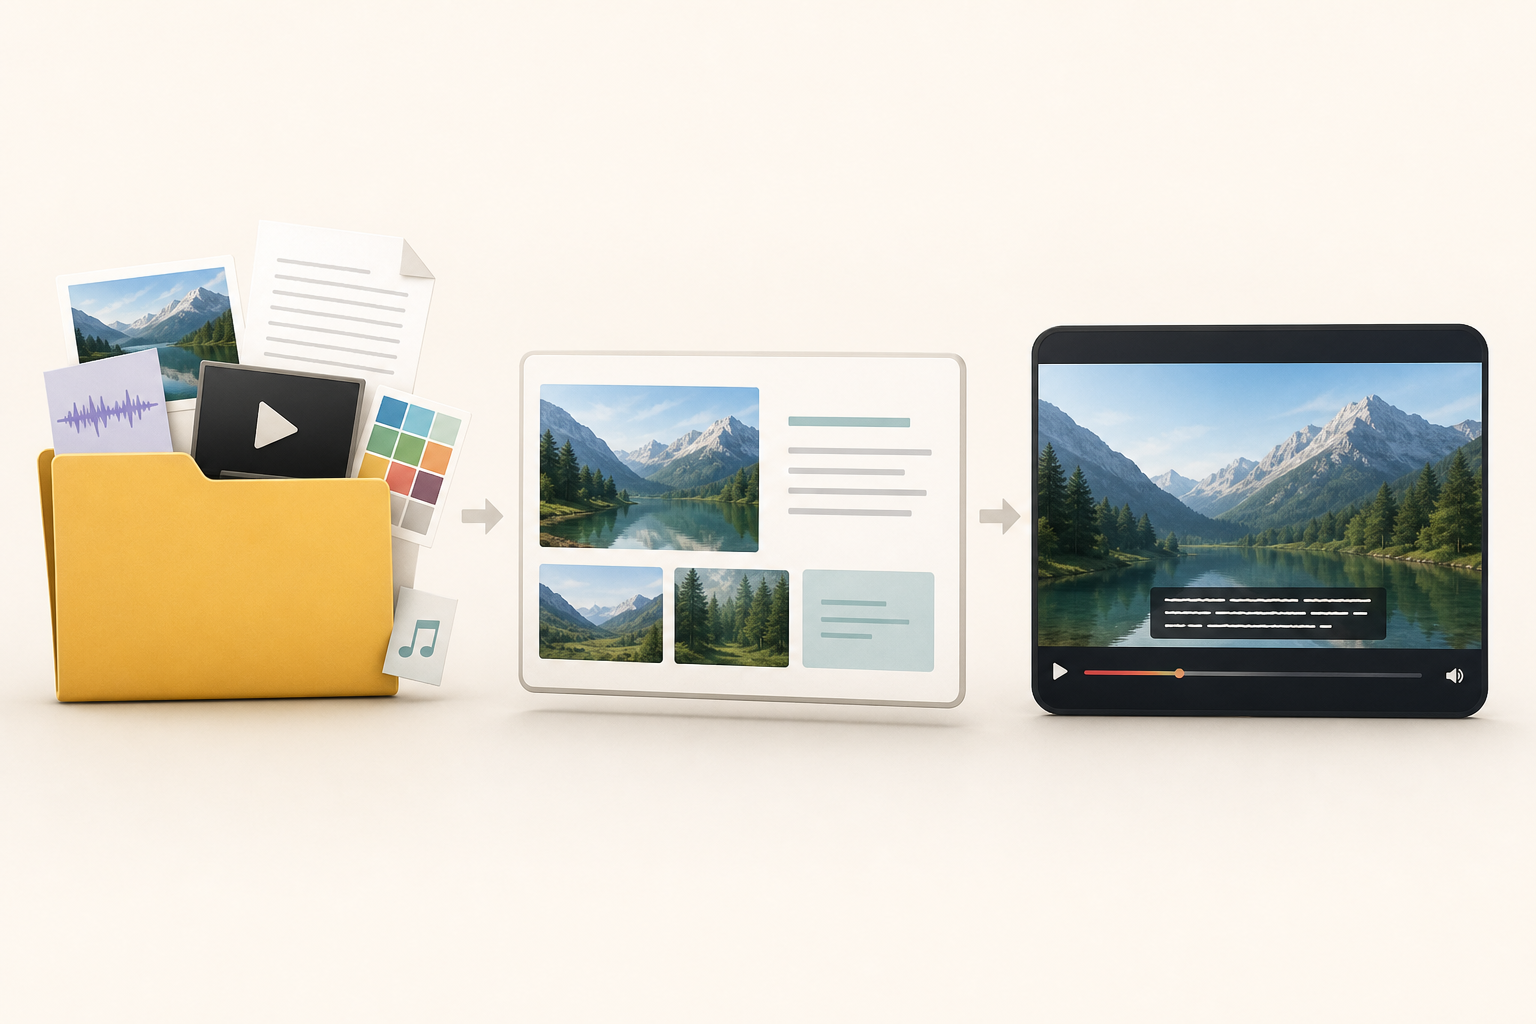
Before opening the editor, separate three work areas: originals, project, and exports. In Apification Cloud, you can manage files, services, and digital projects in an organized, versioned space designed for sharing. Store screenshots, product images, exported slides, voice-over, text, and subtitles as source materials. Do not overwrite them to “fix them quickly”; any correction should produce a copy prepared for editing, while keeping the master file available.
Visual preparation matters because a sequence of images works better when it maintains technical consistency. In multimedia workflows, numbered images can become a video sequence when they share properties such as size, format, and other technical parameters. In technical tools such as FFmpeg, the image2 demuxer reads image files indicated by a pattern, and the sequence must maintain consistency in the size, pixel format, and format of each image. As a practical criterion, avoid treating JPEG as a universal substitute for the master original: it is a format with lossy compression and does not preserve transparency.
- Create separate folders: 01_originals, 02_prepared, 03_project, 04_exports.
- Standardize names: scene_01_cover, scene_02_problem, voice_v1, subtitles_review.
- Check resolution, orientation, transparency, format, and readability before importing.

Define a minimal editing script
The editing script does not have to be literary; it has to be operational. For each scene, note which image will be shown, what message should be understood, how much time it will approximately occupy, and which fragment of narration corresponds to it. This table prevents editing “by eye” and reduces later changes. A simple structure can include opening, problem, steps, result, and closing. If the video explains a feature, each screen should respond to a specific action or idea, not merely decorate the voice-over.
The script also helps detect issues before editing. If a scene requires reading a lot of text while the voice says something else, there will probably be cognitive overload. If a screenshot contains small information, it may need a prepared version or a clearer label. If the narration changes language, region, or terminology, mark those points to review subtitles and visual text. The timeline will be more stable if the team first agrees on the message per screen and the voice entry points.
- Scene: image or clip name, estimated duration, voice line, on-screen text, and notes.
- Mark useful silences for breathing, changing scenes, or introducing a label.
- Define from the start which content will be a visual label and which will be an editable subtitle.
Assemble the project in a multitrack editor
In a multitrack editor, the project is not the final video: it is the set of assets, timeline, clips, cuts, text, and decisions needed to produce it. Apification Video Studio lets you edit video, audio, images, text, and subtitles in a multitrack editor with preview and rendering. The advantage of working this way is that you can place an image track, a voice track, text elements, and subtitles without merging everything from the first minute.
Configure the project with the desired output in mind: resolution, aspect ratio, approximate duration, and publishing destination. In multitrack editing, the timeline is where clips are ordered and cuts are adjusted; tracks separate video, audio, and other elements so the edit can be reviewed more clearly. Previewing should be done on the edited project, not by looking at the originals separately, because only the output monitor shows how cuts, text, and the relationship between voice and image will look.
- Import images and voice-over first, then text and subtitles.
- Place one scene per block so you can move it without breaking the whole edit.
- Preview frequently after each relevant change.
Synchronize narration and images without misaligning the message
Synchronization starts with the voice. Place the full voice-over on the timeline and use its natural pauses as cut points. Then adjust the duration of each image so the viewer sees the right element while hearing the explanation. Cuts should be clean: avoid changing screenshots just before the voice mentions a button or result. An image change can help separate ideas, but it should not hide disorder or artificially lengthen the video.
The most common issues are cumulative. An image that appears half a second late may seem minor, but if it happens across ten scenes, the video becomes confusing. Another source of errors is mixing assets from different sources, regions, languages, or formats without normalizing them: different sizes, screenshots with text in another language, audio with uneven volume, or slides with different margins. If you need to correct audio specifically, Apification Audio Studio lets you edit recordings and tracks in a multitrack timeline with effects, fades, and professional export.
- Check that each important sentence matches the corresponding image.
- Leave brief pauses between blocks so the viewer can process the change.
- Do not use visual changes to compensate for poorly prepared screenshots or unclear messages.
Text, labels, and subtitles during review
Not all text should be treated the same way. A visual label reinforces an idea that is part of the composition: section title, numbered step, brief warning, or feature name. Subtitles, on the other hand, are useful when the text represents the narration or an accessibility aid and may still need corrections. Apification Video Studio lets you work with text and subtitles within the edit, which helps review both without prematurely turning them into a single uneditable image.
The risk of “burning in” text too early is that it blocks review. Technically, there are filters that draw text over video, but that should not be confused with keeping subtitles editable. During review, keep subtitles as a working layer whenever possible and reserve integrated labels for stable visual messages. Also check contrast, size, on-screen duration, and terminological consistency. A correct but illegible subtitle is still a publishing error.
- Use labels for titles, steps, and brief visual calls.
- Use subtitles for voice transcription and reviewable content.
- Avoid long text over dense screenshots; split the scene or simplify the message.
Manage versions and exports
Saving the project is not the same as creating a playable video. The project preserves editing decisions; rendering creates the final file that can be published or sent. In addition, a multimedia output can contain video, audio, and subtitle streams, so exporting is not simply “saving a video.” For the web, the extension is not enough: container, codecs, and playback compatibility matter. That is why it is advisable to agree on the publishing destination before closing the output format.
Apification Cloud lets you review the history of elements, download previous versions, and restore content safely. Use it to avoid ambiguous names such as final_v3_definitive. A clearer convention is product_video_2026-01-15_client_review, product_video_2026-01-18_approved, and product_video_2026-01-18_publication. If you only change a container or reorder streams without applying filters, technical tools may allow stream copy without additional loss; but if you resize, overlay elements, or mix audio, treat it as a new transcoding and check quality.
- Never replace originals with exported files.
- Distinguish between the project file, review render, and approved render.
- Include date, status, and destination in the name of each export.
Final review before rendering and sharing
Before the final render, review the full video from beginning to end without stopping to edit. First watch it as a viewer: is the message clear, does each image appear at the right moment, does the voice have rhythm, can the text be read? Then do a second technical pass. Check that there are no blurry screenshots, scenes with different proportions, accidental silences, subtitles that appear too early, incorrect credits, or elements that reveal information that should not be published.
Once the file is approved, share it according to the team’s workflow. Apification allows you to share elements through links, users, or groups and offer original or transformed downloads. If the video is part of a page, a training program, or a broader workflow, keep the project, voice-over, subtitles, and prepared materials together with the final file. That way, a future correction does not force you to rebuild the edit from a compressed export, and the team preserves a clear chain from origin to publication.
- Audio: consistent volume, no abrupt cuts, and no unwanted silences.
- Image: sufficient resolution, stable aspect ratio, and readable screenshots.
- Subtitles: synchronization, spelling, duration, and contrast.
- Export: format suited to the destination and an unambiguous file name.
- Control: originals preserved, project saved, and approved version identified.
Frequently asked questions
Can I create a video using only static images and a voice-over?
Yes. The workflow consists of arranging the images on a timeline, placing the voice-over, adjusting durations, adding text or subtitles, previewing, and rendering a final export.
What is the difference between a project and an exported video?
The project stores the editing structure: assets, tracks, cuts, text, and settings. The exported video is the rendered file that can be played, sent, or published.
Should I convert all originals before editing?
Not necessarily. It is best to keep the originals intact and create prepared copies only when you need to normalize size, format, orientation, transparency, or readability.
What errors usually desynchronize images and audio?
The most common are cutting images before or after the corresponding sentence, removing useful pauses, moving clips without reviewing the voice, and mixing assets with heterogeneous durations or formats.
Is it better to use labels or subtitles?
Use labels for brief, stable visual messages, such as titles or steps. Keep subtitles as editable content during review when they represent the narration or may need corrections.
Sources and further reading
Documentation consulted while preparing this article.
- ffmpeg Documentation — FFmpeg
- FFmpeg Formats Documentation — FFmpeg
- FFmpeg Filters Documentation — FFmpeg
- WebVTT: The Web Video Text Tracks Format — W3C
Explore Apification
Related articles
Multimedia
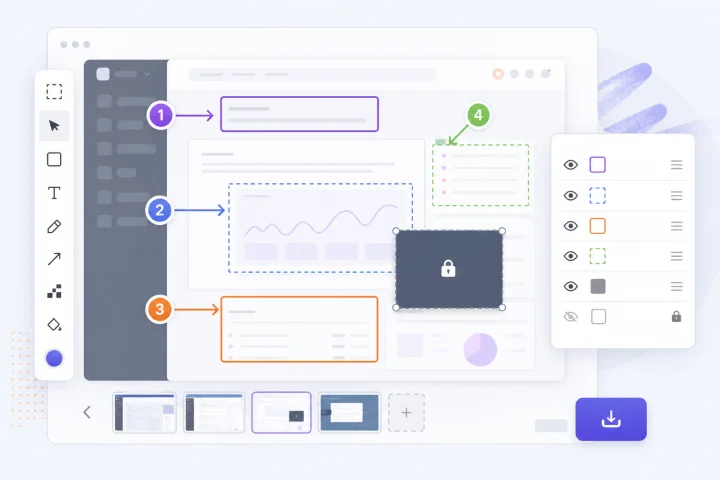
Annotate Screenshots Without Exposing Internal Data
A practical guide to preparing clear screenshots, with layers and visual markers, without accidentally sharing originals or internal data.
Multimedia
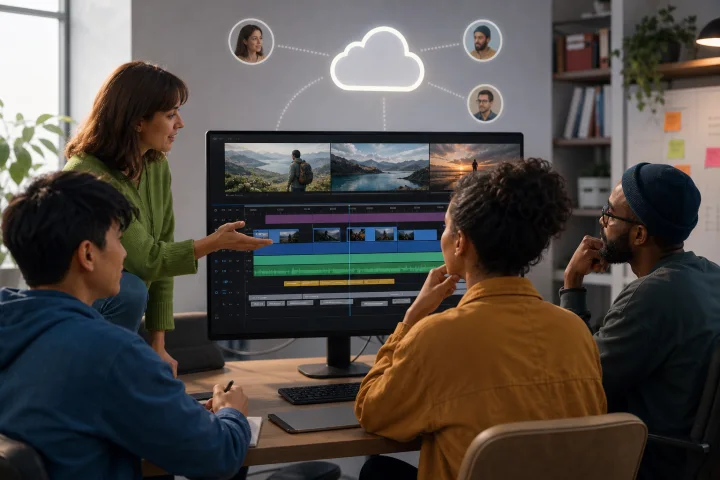
Update a Training Video Without Re-recording It
A practical guide to correcting a published tutorial or course using timestamps, multitrack editing, Cloud traceability, preview, rendering, and controlled distribution.
Multimedia
Covers and Thumbnails in Multiple Aspect Ratios: How to Edit Them With Layers Without Redesigning Every Time
A practical guide to adapting the same visual piece to covers, thumbnails, page images, and banners while keeping editable layers, versions, and orderly deliveries.