Multimedia
Compress, Resize, or Convert Images: How to Choose the Right Adjustment Before Sharing Them
A practical guide to deciding whether to compress, resize, or convert an image before publishing, sending, or sharing it from Apification.
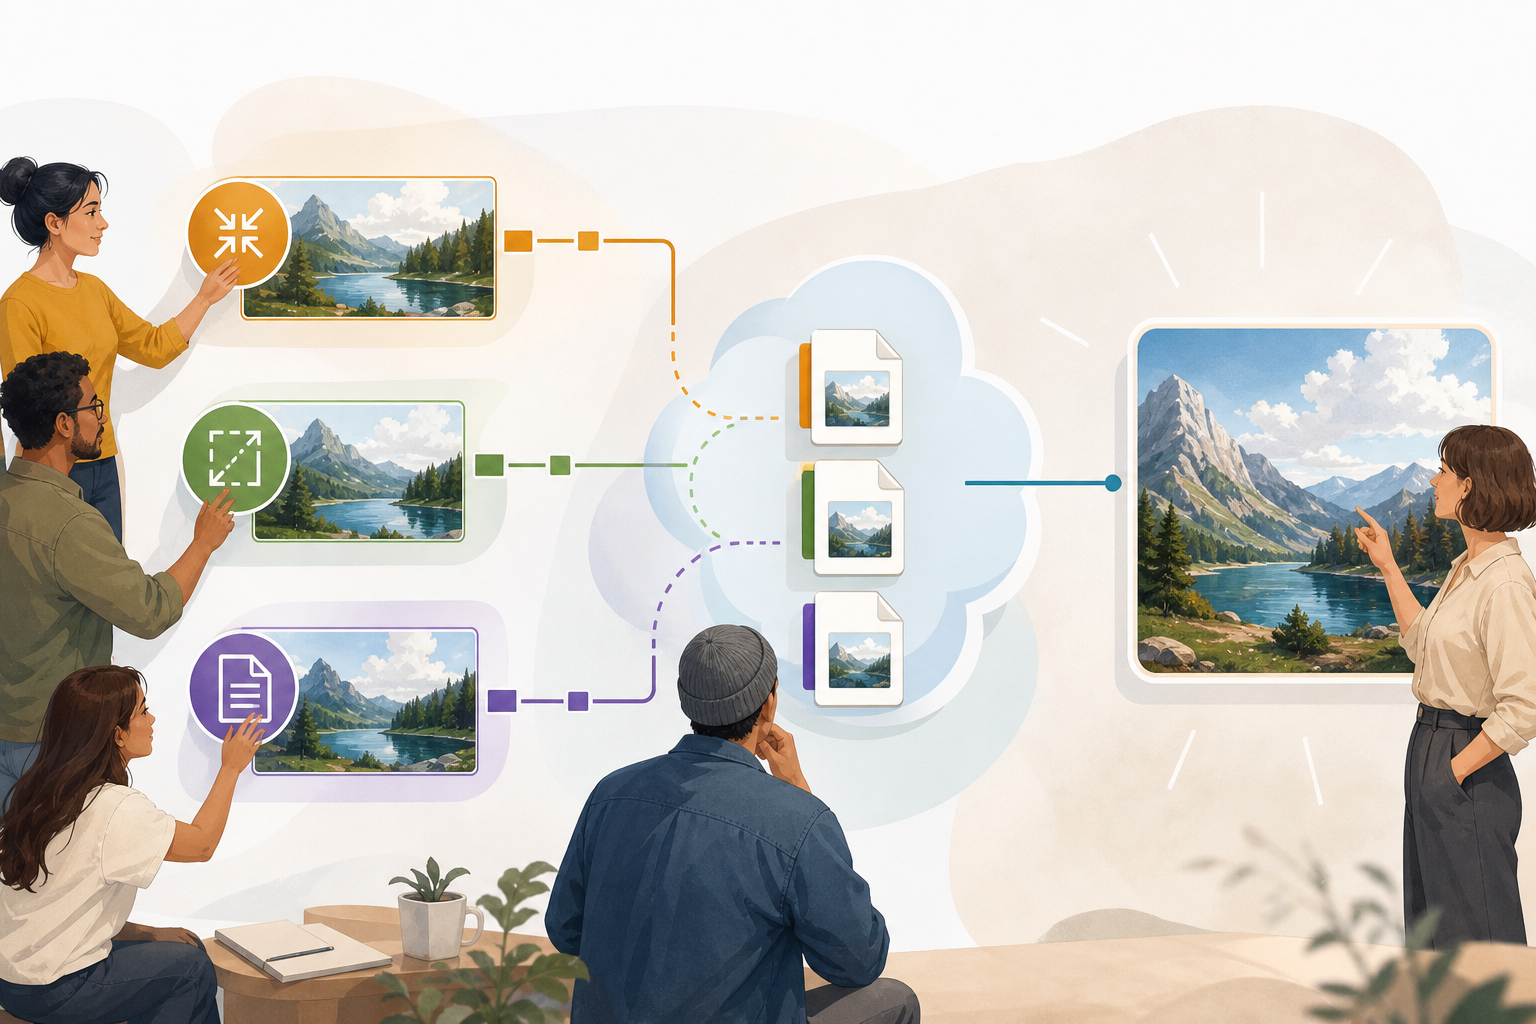
The problem: three similar operations, three different needs
Compressing, resizing, and converting an image often come up in the same conversation, but they do not solve the same problem. Compressing aims to reduce the file size so the download is lighter. Resizing changes the width and height in pixels so the image fits into a page, a thumbnail, a presentation, or a review. Converting changes the format to improve compatibility, preserve transparency, make later editing easier, or prepare a modern export.
Confusion appears when the right operation is applied to the wrong problem. If an image is too large to send, you may not need to change its framing. If it looks huge on a slide, compressing it does not necessarily fix its visual size. If a logo loses its transparent background, the problem is not file size or dimensions, but the chosen format. The first operational decision is to diagnose what is failing before touching the file.
- Choose compression if the main obstacle is download size.
- Choose resizing if the main obstacle is visual fit.
- Choose conversion if the main obstacle is format, transparency, or compatibility.

A quick diagnosis before transforming an image
Before applying any adjustment, review five data points: file size, pixel dimensions, format, transparency, and final use. File size affects downloads, sending, and storage. Dimensions determine whether the image adapts to a web block, thumbnail, or presentation. Format influences compatibility, editing, and transparency. The final use sets the tolerance for change: an image for internal review is not the same as a final asset for a public page.
A simple diagnosis avoids repeated work. First ask where the image will be used and who will open it. Then check whether it must keep transparency, whether accurate reproduction of the source is needed, or whether reducing size is the priority. According to MDN’s format guide, JPEG is suitable for lossy compression of still images; PNG is preferable when transparency or more accurate reproduction is needed; SVG fits icons, diagrams, and interface elements that must scale precisely.
- Web use: check format, dimensions, and the possibility of using fallback variants.
- Presentation: prioritize suitable dimensions and enough sharpness for the displayed size.
- Editable delivery: avoid formats that make later changes difficult if the team needs to keep working.
- Icons or diagrams: consider SVG when precision is required at different sizes.

When to compress an image
Compression is useful when the file takes too long to download, is heavier than reasonable for sharing, or many images accumulate in one deliverable. Compression can reduce size without necessarily changing the framing or visible dimensions. It is especially useful for photographs, campaign images, downloadable assets, or materials that must circulate through links without forcing the recipient to handle unnecessarily large files.
The compression method depends on the format and the goal. JPEG is a common option for lossy compression in still images, but it is not the best choice if you need transparency or maximum fidelity to the source. WebP, according to MDN, offers better compression than PNG or JPEG and supports transparency, as well as still and animated images. AVIF can also be efficient and supports transparency, although MDN recommends providing fallback formats when using AVIF.
- Compress when the problem is downloading, not visual fit.
- Check afterward whether the result is still acceptable for review, publication, or delivery.
- If you use modern formats such as AVIF, plan a compatible fallback when the environment requires it.
When to resize an image
Resizing is the answer when the width and height in pixels do not match the real space where the image will be shown. A banner, a thumbnail, a slide, and a review image do not need the same dimensions. Keeping huge images in small placements can be inefficient; using images that are too small in large spaces can produce a noticeable loss of sharpness.
The main mistake when resizing is enlarging a small image and expecting to recover detail. Changing dimensions does not invent reliable visual information for demanding use. Another frequent error is distorting the image by forcing width and height without respecting proportions. When the problem is not only size but also framing, cropping may be more appropriate. Apification declares resizing, cropping, rotation, and flipping operations within its image processing, allowing geometry to be adjusted according to the case.
- Define the target size first and avoid transforming “by eye.”
- Do not enlarge small files unless the final use tolerates loss of detail.
- Use cropping if you need to change composition, not only dimensions.
- Keep an original version so you can redo the adjustment if the destination changes.
When to convert format
Format conversion is the right decision when the file does not open properly in the target environment, when transparency is needed, when later editing requires a different base, or when a modern export is desired. Not all formats serve the same purpose. PNG is preferable to JPEG if you need transparency or more accurate reproduction. SVG is recommended for icons, interface elements, and diagrams that must appear precise at different sizes.
There are also formats that should be avoided for certain destinations. MDN warns that BMP usually produces large files compared with PNG or JPEG and should generally be avoided for web content. WebP can be excellent for still and animated images with transparency; AVIF can offer good performance and compression, but requires thinking about fallback formats. On the web, the picture element allows multiple sources and a final fallback img, which is useful when publishing modern formats alongside compatible alternatives.
- Convert to PNG if transparency or source accuracy is the priority.
- Convert to JPEG if the priority is a still image with acceptable lossy compression.
- Evaluate WebP or AVIF for modern exports, considering compatibility and fallbacks.
- Keep SVG for icons and diagrams when precise scaling is important.
Common mistakes and how to avoid them
The most costly mistake is overwriting the original. If the team only keeps a compressed, cropped, or converted version, any later change starts from a degraded or limited file. Apification indicates that transformation generates a new result that can be downloaded or saved in Cloud and that the original is preserved, unless a versioning operation is explicitly chosen. This separation reduces the risk of losing the source.
Other common mistakes include losing transparency when converting to an unsuitable format, delivering a file that is difficult to edit, enlarging small images, using BMP on the web, or publishing only a modern format without an alternative when the environment does not support it. It is also worth not confusing optimization with visual editing: if you need to add text, layers, shapes, or filters, Image Studio provides an integrated canvas with those tools and export in modern formats.
- Do not work on the only available copy.
- Verify transparency after converting.
- Review the result in its usage context, not only in the local viewer.
- Distinguish technical transformation from visual retouching.
Recommended workflow in Apification
A safe workflow starts by saving originals in Apification Cloud, inside an organized and versioned space designed for sharing. From there, work with copies or new results. In file transformation, Apification uses a guided assistant to convert, split, merge, optimize, and process documents, images, video, audio, and data. For images, it declares conversion, resizing, cropping, rotation, flipping, optimization, marking, and export of raster and vector formats.
The assistant starts by selecting the type and, when applicable, the actual subtype before choosing files, actions, and parameters. It also calculates a contextual catalog and only offers actions compatible with the selected format, subtype, and number of files. When finished, you can download the result or save it as a new versioned Cloud resource. New resources remain private until you change their visibility, and they can then be used in editors, selectors, sharing, or new transformations.
- Save the original in Cloud before transforming it.
- Select type, subtype, files, action, and parameters in the assistant.
- Download the result if it is a one-off delivery.
- Save it as a versioned Cloud resource if there will be review, editing, or reuse.
- Open Image Studio when layers, text, shapes, filters, or visual export are needed.
How to share the result without losing control
Once the final file has been validated, decide how to distribute it. Apification allows items to be shared through links, users, or groups, and provides original or transformed downloads. For a closed delivery, a link to the final file may be enough. For an internal review, it is usually better to keep access to previous versions and keep the original separate from the optimized result.
The practical rule is to share the minimum level necessary. If the recipient only needs to download a lightweight version, share the transformed download. If the team needs to compare, review, or restore, keep the resource in Cloud and use the item history to download previous versions or restore content safely. This way, compressing, resizing, or converting stops being an isolated action and becomes a controlled process.
- Share the final result when no later editing is needed.
- Keep previous versions when the material has approvals or reviews.
- Use links, users, or groups according to the required access control.
- Do not change the visibility of new resources until the content has been validated.
Frequently asked questions
Does compressing an image always change its dimensions?
Not necessarily. Compression focuses on reducing the file size. If the problem is pixel width or height, the appropriate operation is resizing.
When should I use PNG instead of JPEG?
PNG is preferable when you need transparency or more accurate reproduction of the source image. JPEG usually fits better for lossy compression of still images.
Does Apification modify the original file when transforming an image?
Transformation generates a new result that can be downloaded or saved in Cloud and preserves the original, unless a versioning operation is explicitly chosen.
What should I do if I need to add text or filters to the image?
When the adjustment is no longer only technical, you can use Image Studio, which offers an integrated canvas with layers, text, shapes, filters, and export in modern formats.
Sources and further reading
Documentation consulted while preparing this article.
- Apification — Transformación de archivos — Apification / Afilnet SL
- MDN Web Docs — Image file type and format guide — MDN Web Docs
- RFC 9649 — WebP Image Format — RFC Editor / IETF
Explore Apification
Related articles

Multimedia
How to Add Audio Description to a Video: Script, Pauses, and Mixing
Learn how to select the visual information that needs narration, write concise descriptions, fit them between dialogue, and check the mix before publishing.

Multimedia
How to Hand Off an Editable Layered Design Without Losing Context or Assets
A useful handoff includes an organized editable file, the necessary assets, a visual reference, and a clear explanation of what should continue or change.

Multimedia
Extract Audio from a Video: Steps and Tools
Compare documented Premiere and Canva workflows, review the result, and organize the audio for your next project.