Interactive content
How to Publish an Event Time for Attendees in Different Time Zones
A practical guide to announcing an event time clearly and distinguishing the start from registration and access.

Why a time without a time zone can cause problems
Publishing “at 6:00 p.m.” is not enough when some of your audience is in another region. Each person may interpret that time based on their location, even if the organization means the time at its headquarters. The announcement should identify the reference time zone so nobody has to guess or search for context in other messages.
Ambiguity can also affect practical instructions. Someone might confuse the event start time with when registration opens or the period during which access is allowed. It is best to separate each moment and give it a specific label rather than grouping everything under vague phrases such as “event schedule.”
Before sharing the schedule, define an approved version and check that the event page and related communications match. If you cannot confirm which time zone a time refers to, clarify it before publishing. It is better to correct a draft than to leave each attendee to interpret the reference on their own.
- Avoid announcing only “6:00 p.m.” or “local time.”
- Name the time zone or the city that serves as the reference.
- Distinguish the start time from registration and access deadlines.
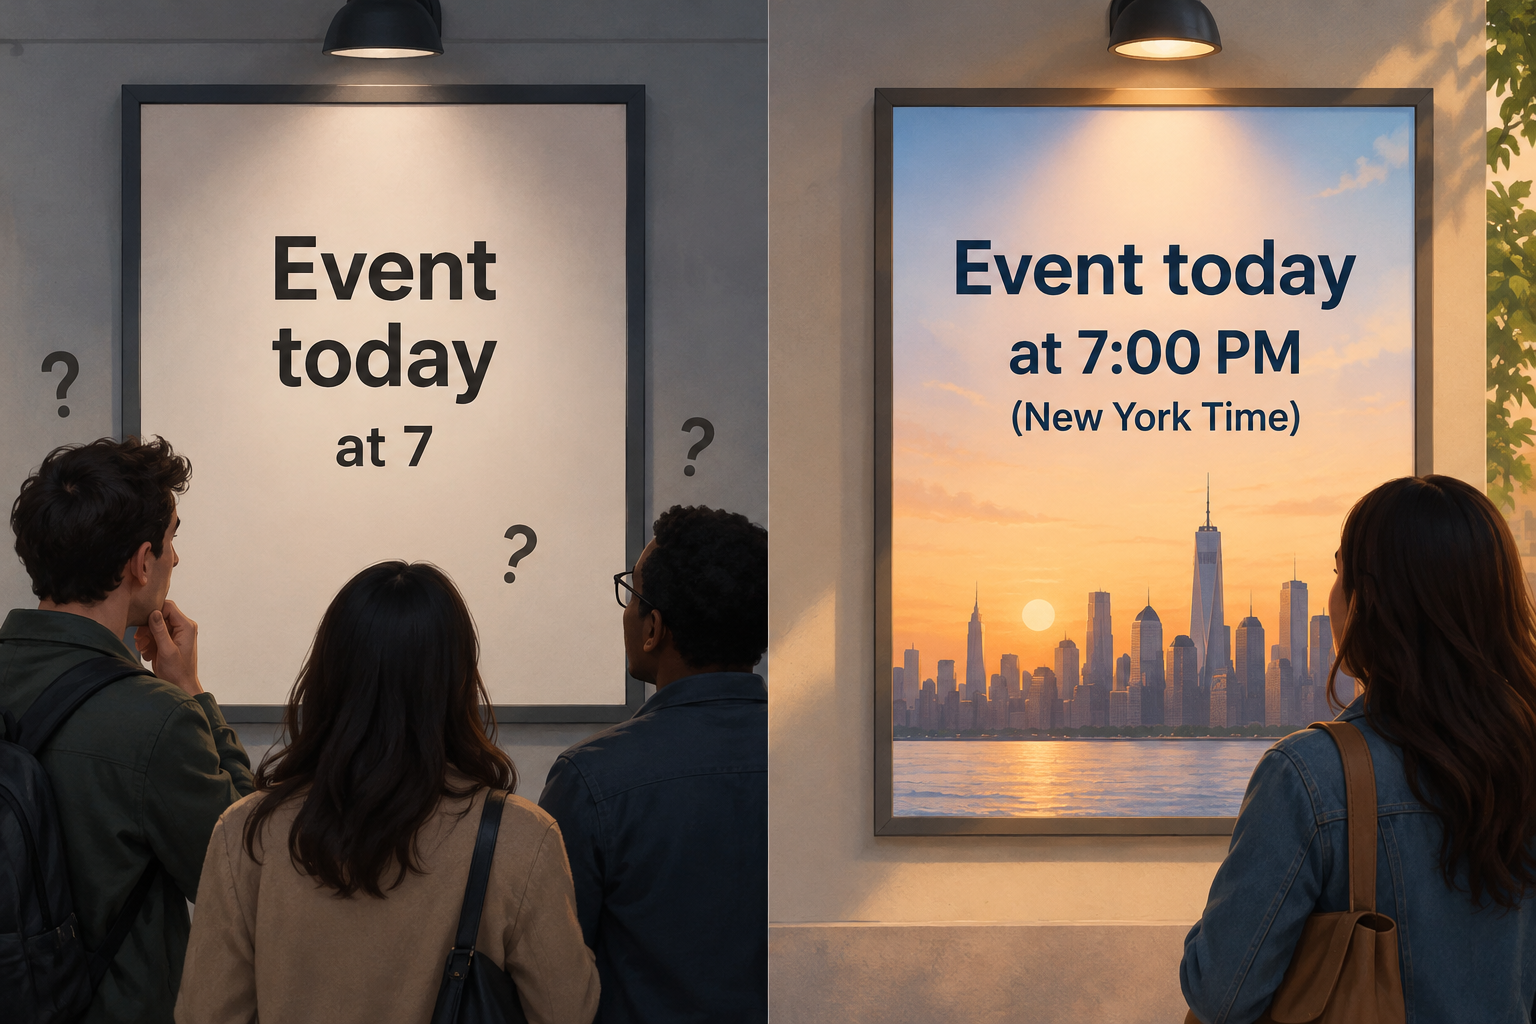
Choose a reference time zone
Select a primary time zone for communicating the event and use it consistently in the title, description, and instructions. It can be the organization’s time zone or the event’s location. For an online event, state the reference time zone as well: the fact that an event has no physical venue does not remove the need to specify how its time should be interpreted.
If you use the event location as the reference, make sure that location is clearly shown in the published information. If you prefer the organization’s time zone, name it explicitly and do not present it as if it were necessarily the time zone of all attendees.
If you include equivalents for other regions, check them for the specific date using a source that lets you identify the time zones and the event date. Do not present an equivalent as valid for other dates without verifying it. If the date or time changes during preparation, check the equivalents again before sharing the announcement.
- Note your chosen time zone before drafting the announcement.
- Use the same reference on the page, in emails, and in shared materials.
- Label each alternative time with its corresponding city or time zone.
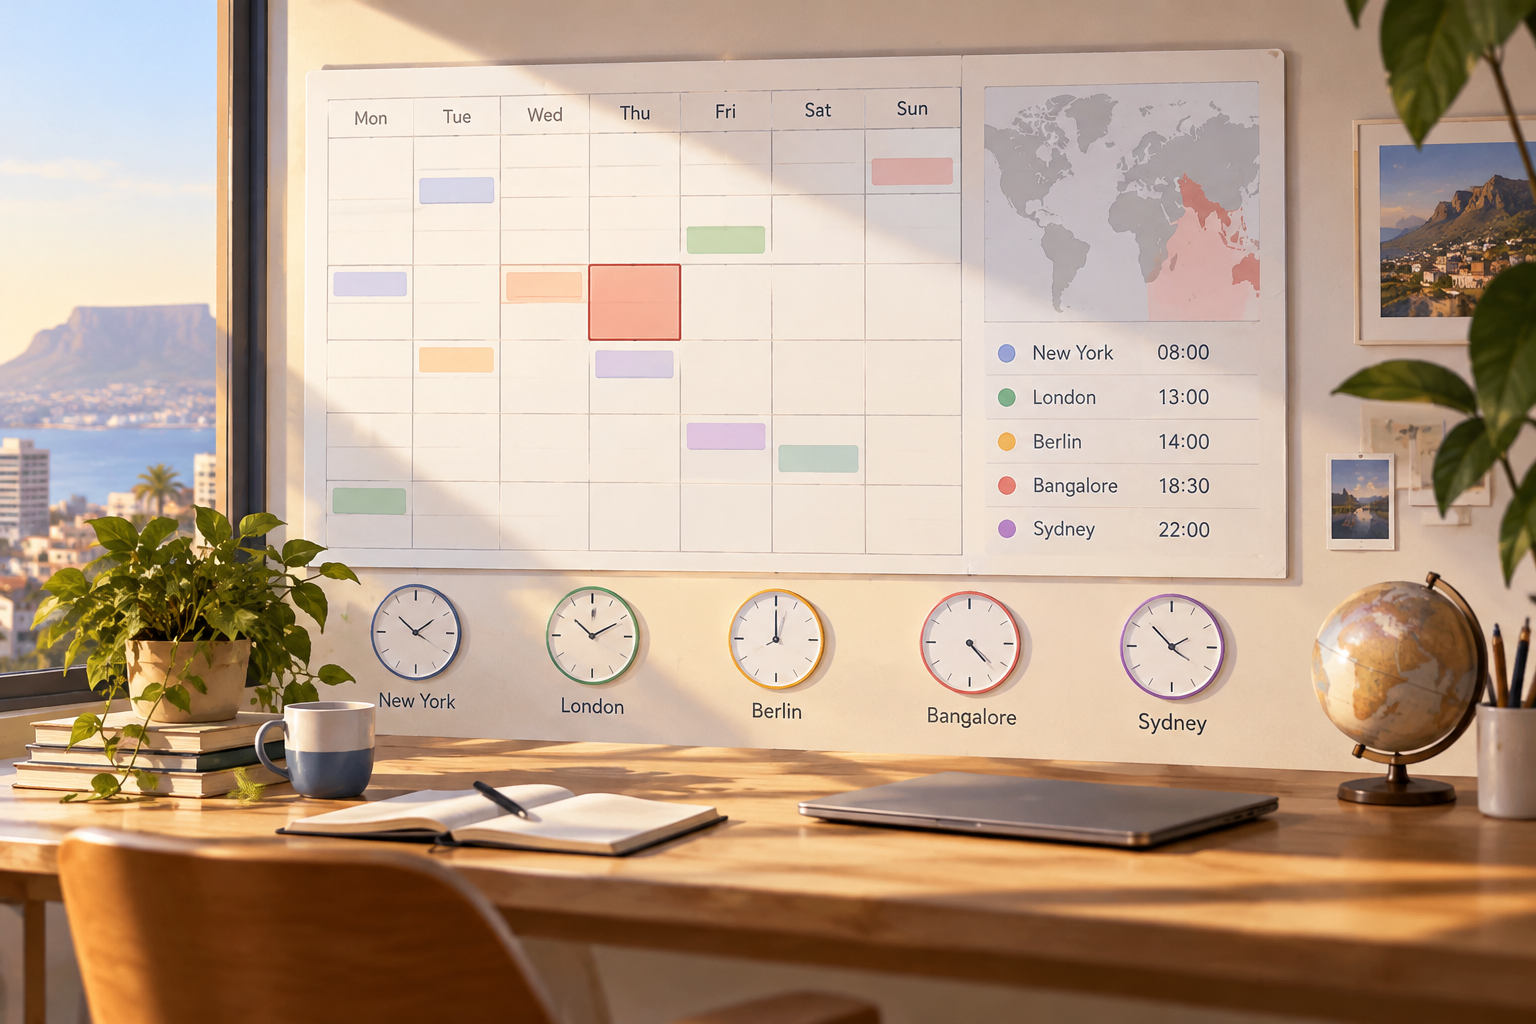
Write the date, time, and time zone clearly
Use the same order across all channels: full date, start time, and identified time zone. For example: “May 20, [year], 6:00 p.m., [city] time.” The brackets are placeholders to be completed and must not remain in the final announcement. Replace each placeholder with confirmed information before publishing.
A full date helps readers know which edition the schedule refers to, especially if they see the announcement later or it is shared outside its original context. Check that the date, time, and time zone appear together; if they are spread across different parts of the page, attendees may not connect them correctly.
If you include times for more than one region, write the city next to each one and check that the local date does not change during the conversion. Avoid using an isolated abbreviation as the only time-zone indication. Present the alternatives in a consistent format so it is easy to identify which one applies to each location.
- Include the day, month, year, time, and reference city.
- Label and check each equivalent before sharing it.
- Remove temporary placeholders, such as the brackets in the example, from the final version.
Use calendar tools accurately
Google Calendar lets you select a preferred time zone. It also lets you set different time zones for an event’s start and end when appropriate. These options help configure event details, but the available information does not confirm that the tool independently checks the time equivalence between two cities.
You can consult the steps and options described in the [Google Calendar documentation on using multiple time zones](https://support.google.com/calendar/answer/37064?hl=en&co=GENIE.Platform%3DDesktop). Use that reference to understand time-zone settings; do not treat it as confirmation that the equivalents you plan to publish are correct for a specific date.
For this reason, verify alternative times separately and do not assume they are confirmed just because you set a time zone in the calendar. If you change the date or time, check the schedule you plan to publish again. Also make sure the announcement text matches the details you decided to share.
- Check the time zone selected for the event.
- If the start and end use different time zones, state this clearly.
- Do not confuse setting time zones in a calendar with verifying a conversion.
Distinguish the start, registration, and access
An event can have several moments with different meanings: when registration opens and closes, when the activity starts, and the period during which access is allowed. Do not group them under a generic label such as “event time.” State which action corresponds to each time and which time zone applies.
For easy reading, show each moment on its own line or in its own block. For example, you could label one line “Event starts” and another “Registration closes.” If there is an access period, clarify when it begins and ends instead of leaving the audience to assume it matches the activity’s start time.
If a deadline or period has a start and an end, write both dates and times. Do not leave it implicit whether a time refers to opening or closing. Review the final instructions and related communications to make sure they show the same details and do not contradict one another.
- Event start: when the activity begins.
- Registration: when registration opens and closes.
- Access: when attendees can enter and when access ends, if applicable.
Publish and review the event information
Before publishing, read the page as someone who does not know the organization’s location would. Check that they can identify the date, time, and time zone, and distinguish the event start from registration and access deadlines. If someone has to infer which time zone is the reference, rewrite that part.
An Apification events page lets you publish event information, collect registrations, and manage capacity, attendees, and access periods. Do not assume the platform automatically converts the time to each participant’s local time zone: that capability is not established in the available product information. Include the reference time zone and any equivalents you have verified in the visible text.
If you correct the date or time after publishing, review every place where the information may appear: the page, the instructions, and related communications. The goal is for anyone who finds any of these materials to see the same updated schedule and recognize what each time refers to.
Apification Cloud lets you manage files and projects in an organized, versioned space, share them, and review the history of items. If you keep event materials there, check that the version you share is current after a correction. This helps you avoid sharing an older material alongside a page that already shows updated details.
- Make sure the page distinguishes times and deadlines.
- Do not attribute an unconfirmed automatic conversion to the platform.
- After a correction, check the information and materials you share.
- Check that all communications show the same schedule version.
Frequently asked questions
Should I publish the time in my city or the attendees’ time zones?
Choose a reference time zone and name it. If your audience is in several regions, add local equivalents that you have verified for the specific date.
Can I reuse the same time-zone equivalent for other editions?
Check it for the date of each edition and verify it again if the date or time changes.
Does Apification automatically convert the time for each attendee?
This automatic conversion is not confirmed in the available product information. Publish the reference time zone and the equivalents you have verified.
Sources and further reading
Documentation consulted while preparing this article.
- Usar Google Calendar en varias zonas horarias — Google Calendar Help
- ¿Cómo funcionan las zonas horarias en Eventee? — Eventee Help Center
Explore Apification
Related articles

Interactive content
Group Event Registration: How to Manage Attendees and Spots
Choose a registration model that distinguishes the coordinator from attendees, and set clear rules for counting spots and managing changes.

Interactive content
Form or Event Page: Which Should You Choose to Collect Registrations?
Choose based on whether you need to collect responses or manage registrations tied to an activity, capacity, attendees, or an access period. Compare the user journeys and check what you need before publishing.

Interactive content
How to Collect Feedback on Files and Link Each Comment to the Right Version
A guide to organizing document, image, and video reviews: identify the version, ask specific questions, sort responses, and decide what to do if the file changes.